The Service Desk business solution is designed to process requests received from an external portal or from the Live Chats workspace and recorded in the ServiceDesk workspace.
To start working with the Service Desk solution, the system administrator must install and activate it.
The administrator then configures the solution in one of the following ways:
- Using the Service Desk Setup Wizard page. Set parameters for all components of the solution. The wizard allows you to:
- Automatically populate Service Desk workspace apps with preconfigured data.
- Manually add custom records step by step for use in the workspace.
- Configuring each Service Desk component individually:
- Populate the System Apps workspace.
- Populate the Contacts and Companies apps in the CRM workspace, where client data is stored (optional).
- Add users to groups and configure access permissions for Service Desk workspace apps.
- Add custom request types and priorities (optional).
- Enable the modules included in the solution to ensure apps function and data displays correctly.
- Configure request intake channels.
- Populate apps for configuring service delivery and request creation.
Install and activate Service Desk
To import the Service Desk solution, follow the following steps:
- Contact your sales rep to request the .e365 file of the solution.
- Go to Administration > Solutions and click the + Solution button in the upper-right corner.
- In the window that opens, click Upload File and select the .e365 file provided by your sales rep.
- Since the solution is paid, it must be activated after the trial period. To do this, go to the Administration > Manage Licenses workspace and click the Activate button next to the solution name.
- In the window that opens, copy the solution registration token and send it to the BRIX sales rep.
- Enter the provided solution activation key in the form and click Activate.
Populate the System Apps workspace
System Apps is a system workspace that is not part of the Service Desk solution but is used for operation and data generation across various solution apps.
The administrator populates the following apps:
- Service Schedule. Specify the company’s working hours when operators receive and process requests. When creating a schedule, select working days and days off, taking into account holidays from the production calendar.
- My Legal Entities. Store the legal details of your company’s legal entities.
- External Users. Add users you want to grant access to the external portal. For more details, see Invite users to the Service Desk portal.
- Internal Users. Store employees who create and process requests. This app is created when the Service Desk solution is activated.
Populate the Internal Users app
You can add an internal user in the following ways:
- Go to the Internal Users app and click the + Internal User button. In the window that opens, select a company employee in the User field and click Save.
- Enable the Create/Edit Internal Users module. In this case, the app is populated with information about company employees from Administration > Users. New users invited to the company are also automatically added to the Internal Users app.
- Add users imported from Active Directory. To do this, go to the Internal Users app and click Create. Data will be imported from Administration > Users. To update the list with new users, click Update.
This method also adds user information to the Employees app if no record for that user previously existed.
In the app, you can also assign a work schedule. To do this, select the users, click Selected Items, and choose Edit Work Schedule. Select the desired schedule and click Save. For more details, see Work schedule.
Configure groups and access rights to the ServiceDesk workspace
First, the system administrator needs to assign users to groups to define their swimlanes. By default, the solution includes the Operators group, i.e., employees responsible for handling customer requests.
To assign users as operators and create additional groups, follow these steps:
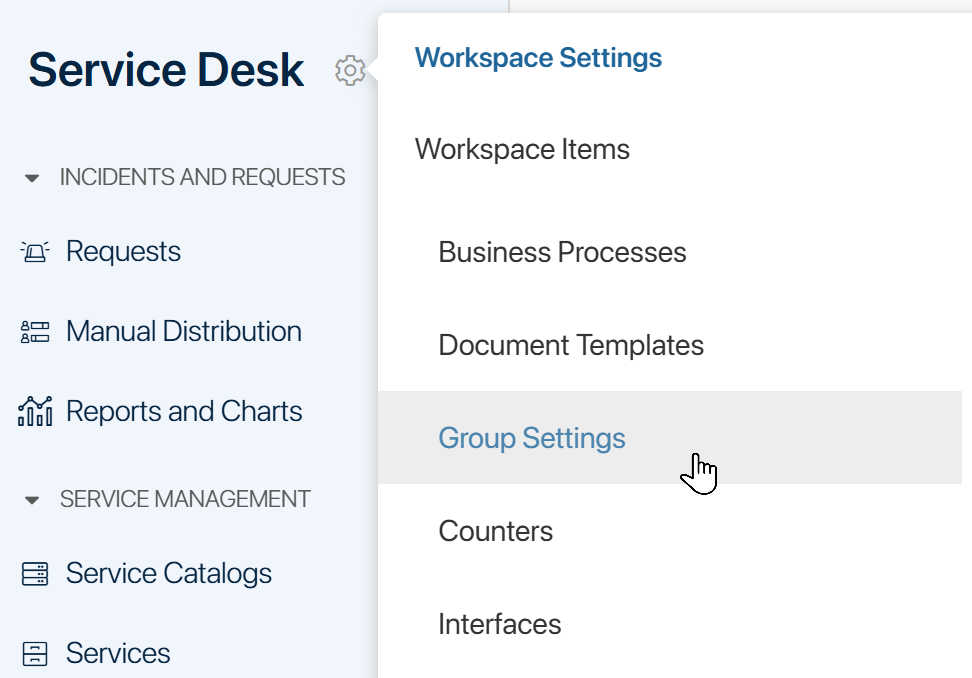
- Click the gear icon to the right of the ServiceDesk workspace and select Group Settings.
- To modify a group’s members, select it from the list and click Edit on its page. In the List of group participants field, specify the users and save the changes. In the same way, you can edit the default Operators group.
- To create a group, click +Group in the top-right corner of the page. Assign a name and add employees to it.
For more details, read the Groups article.
After configuring groups, restrict employee access to workspace apps and data. To do this, click the gear icon next to the workspace or app name and select Access Settings.
For example, users in the Operators group should only have access to the main page, Requests, Problems, RFC, Schedule, and Employee Activity apps, and knowledge base. Access to reports and system apps should only be granted to users in the managers and system administrators groups.
For more details on restricting access to the workspace, app, or app item, see the Access permissions in BRIX article.
Add custom request types and priorities (optional)
By default, the Requests app allows you to register requests with the following:
- Types: Service request and Incident.
- Priorities: Critical, High, Medium, Low.
You can create additional request types and priorities. To do this, modify the context of the Requests app. Add new category selection options for the Request type and Priority properties.
Both properties are configured in the same way. Let’s look at an example of how to add a custom request type:
- Unlock the Service Desk solution to edit the forms of its apps.
- Go to Service Desk > Requests, click the gear icon next to the app name, and select Form Settings.
- In the window that opens, go to the Context tab and click on the Request type property.
- In the property editing window, add a new request type in the Values field, for example, Internal requests.
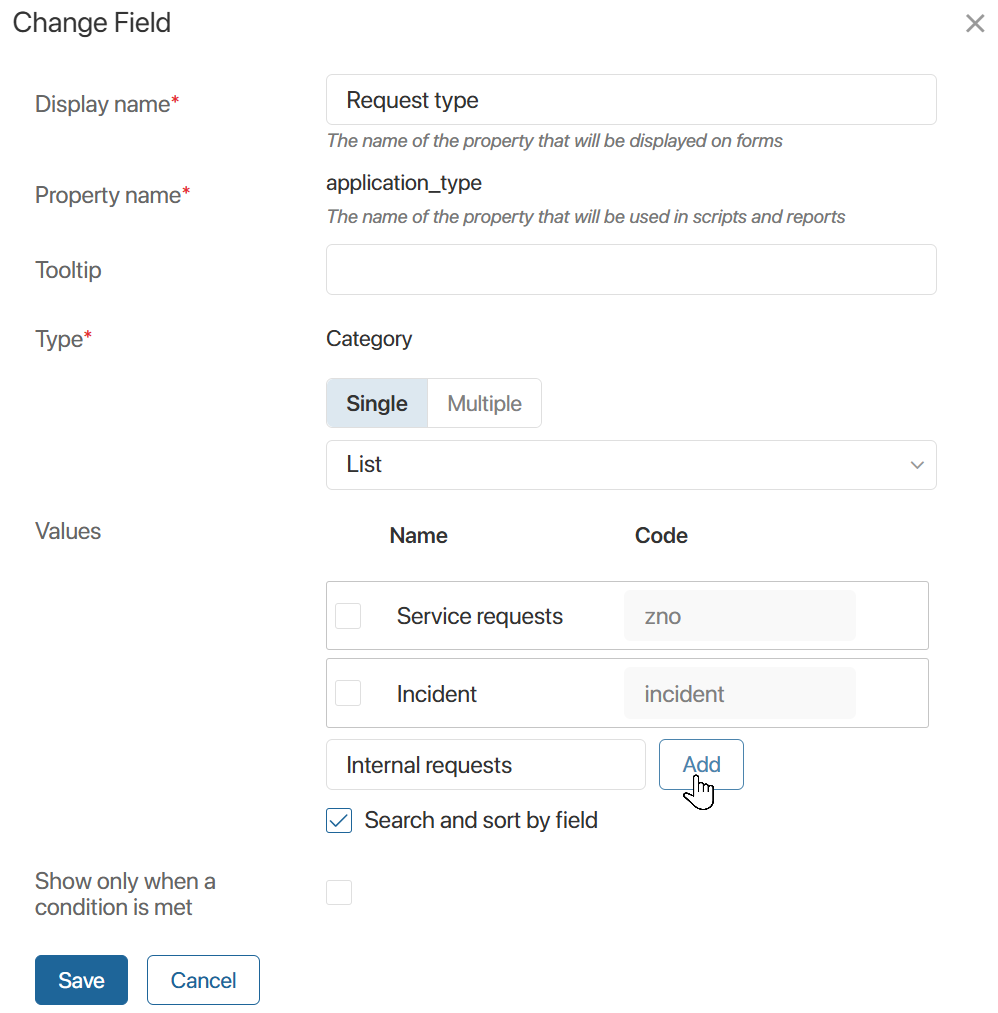
- Click Add, then click Save.
- In the upper-right corner of the form settings window, click Save.
- To use the custom type for configuring request processing rules and SLA targets, add it as an item in the Request Types app.