To receive requests, you can set up different channels for receiving customer requests:
- Live chat.
- External portal.
Set up a live chat
If Live Chats are used for customer support in your company, you can set up automatic request generation. Then, when a new request comes in, a new item will be created in the ServiceDesk workspace without the operator’s involvement.
To do this, the system administrator needs to configure the live chat as follows:
- Create a new live chat or open the settings of an existing one.
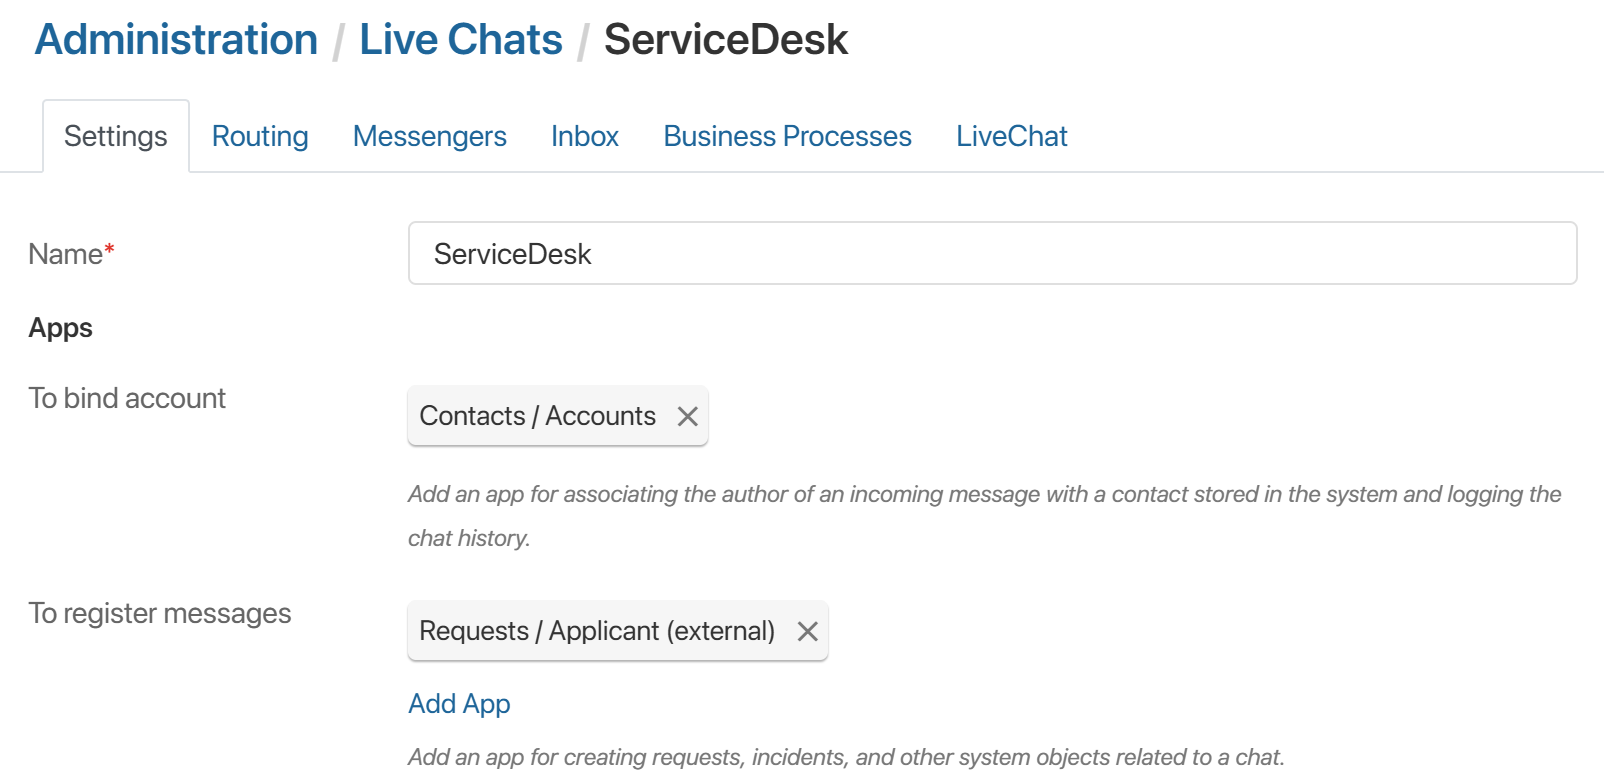
- Go to the Settings tab.
- In the To bind account field, specify CRM > Contacts > Accounts.
- In the To register messages field, set ServiceDesk > Requests > Applicant (external).
- Open the Business Processes tab.
- To the right of the When new session is created event, click Select and specify the ServiceDesk > Requests > Create a request from a live chat process, which is added to the system when Service Desk 2.0 is activated.
- Map the Live Chats workspace properties to the business process properties so that session data is transferred to the process context when the instance is launched. To do this, click Set Up in the Input Parameters column.

- In the window that opens, match the parameters that will be transferred to the process for creating the request:
Business Process Field |
Live Chats App Field |
Attachments |
Session. Last received message. Attachments |
Subject |
Session. Subject |
Message Text |
Session. Last received message. Message text |
Session ID |
Session ID |
- Save the settings.
After that, all messages received in the live chat will be automatically registered in the Requests app in the ServiceDesk workspace.
Set up the external portal
In Service Desk 2.0, the portal is pre-configured and ready for use. It is a separate page of the system that is accessible to external users. By using the portal, customers and partners can view the list of services you provide, create a service request themselves, as well as view news and read articles.
To allow external users to interact with the portal, you need to configure the display of content on its page. To do this, follow these steps:
- Customize the external portal layout for your company in the Service Desk Settings directory on the Portal tab.
- To enable external users to create service requests, add a list of available service categories from the Service Directories directory to the portal pages.
Please note that users only have access to the service catalogs specified on their page in the External Users directory.
- To help users quickly familiarize themselves with the system, display the onboarding page on the portal.
Instructions are created in the Onboarding directory. The order and display settings are configured in the Service Desk Settings directory on the Portal Onboarding tab.
- To display news on the portal page, go to the News directory and add app items.
Only news items with the Published field set to Yes are displayed on the portal.
- The external portal can also display articles that are used when handling requests.
Only articles whose pages have the value Yes set in the Public article field are displayed on the portal page.