Directories are a group of apps in the Service Desk solution that store the data needed to work in the ServiceDesk workspace.
Records in these apps are added by BRIX users who have permission to create app items.
Since directories are regular apps, you can configure them using standard settings: set up business processes, customize forms, restrict access to data, add action buttons, and more. To open the settings menu, click the gear icon next to the app name.
Below is a closer look at each directory.
Incident Categories
The items created in this app allow you to classify Incident type requests by the issues reported.
For example, an operator would classify a request about a data breach under security issues, while data failing to save to the database would be classified as a programmatic issue.
By default, the app includes a folder tree for organizing items:
- All Items.
- Security issues.
- Network issues.
- Programmatic issues.
- Network issues.
- Hardware issues.
- Other.
To quickly find incident categories with similar topics, select a folder in the tree.
To create an incident category and place an item in a specific folder:
- Go to Service Desk > Incident Categories and click the + Incident Category button in the upper-right corner.
- In the window that opens:
- Enter a category name, for example, Equipment failure.
- To create an additional hierarchy, select a thematically related category in the Parent Category field. The record is chosen from existing items in the app.
- In the upper-left corner of the form, click the pencil icon next to All Items and select a folder to place the item in, for example, Hardware issues.
- Click Save.
The record will appear on the app page.
Technical Support Groups
Use this app to define the teams responsible for each support tier. When creating a service, you can assign a specific support group as responsible.
For example, different support groups might handle different categories of clients.
To create a new item, click + Technical Support Group and fill in the fields:
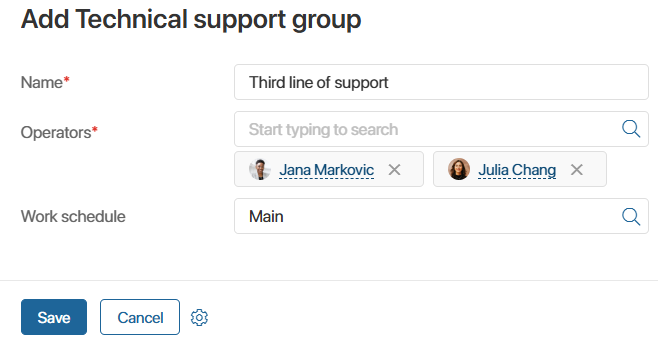
- Name*. The name of the support group.
- Operators. Select the users who belong to the group. You can add individual users, user groups, or org chart elements.
- Work schedule. Choose the working hours for the operators from the Work Schedule directory.
Click Save.
Impact Level
The Impact Level app defines how broadly a request affects users. For instance, a request may affect all employees, a specific team, or just one person.
Impact levels are used when creating the prioritization matrix and when submitting a new request.
To add a new impact level, click + Impact Level, enter a name in the window that opens, and click Save.
Prioritization
This directory is used to create rules for automatically determining the priority of a request when it is created. To add a rule, open the Prioritization directory and click + Prioritization.
начало внимание
You can only create one item in the Prioritization app.
конец внимание
In the window that opens, fill in the parameters for determining the request priority:
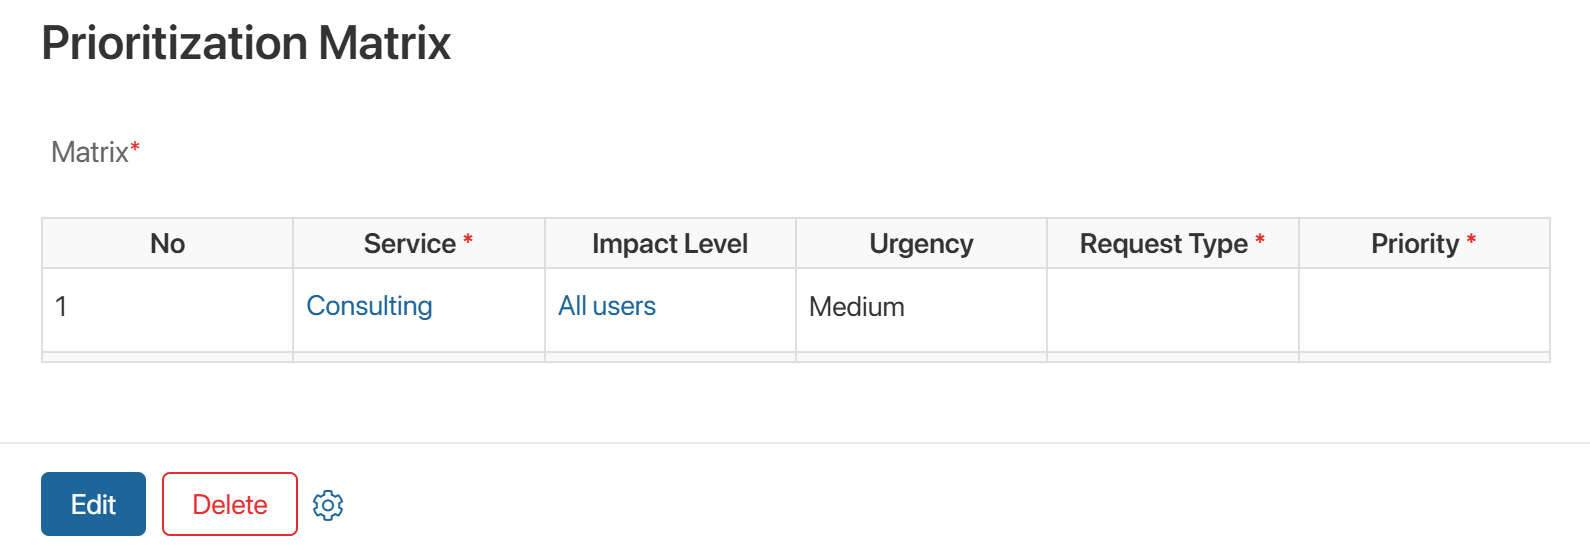
- No. It is filled in automatically.
- Request Type*. Click the field and select the type of request from the list. By default, the options are Service Request and Incident. To learn how to add more request types, see Install and set up the Service Desk solution.
- Service*. Select the service for which the priority will be set.
- Impact Level. Indicate how much the request affects users. The values are taken from the Impact Level directory.
- Urgency. Define how urgent the request is: Low, Medium, or High.
- Priority*. Set the priority that will be automatically assigned to the request if it matches the rule: Critical, High, Medium, or Low.
Click Save. The system will create an item called Prioritization Matrix in the directory.
Please note, that each row in the table corresponds to one priority rule. Make sure each row is unique.
To add more rules, open the item page and click Edit.
Request Template
The Request Templates directory is where you create and store templates that can be used when creating Service Request type requests.
For example, when submitting a request to connect to the internet, an operator can use a pre-made template that already includes all the required parameters.
To create a new template, click + Request Template and fill in the following fields:
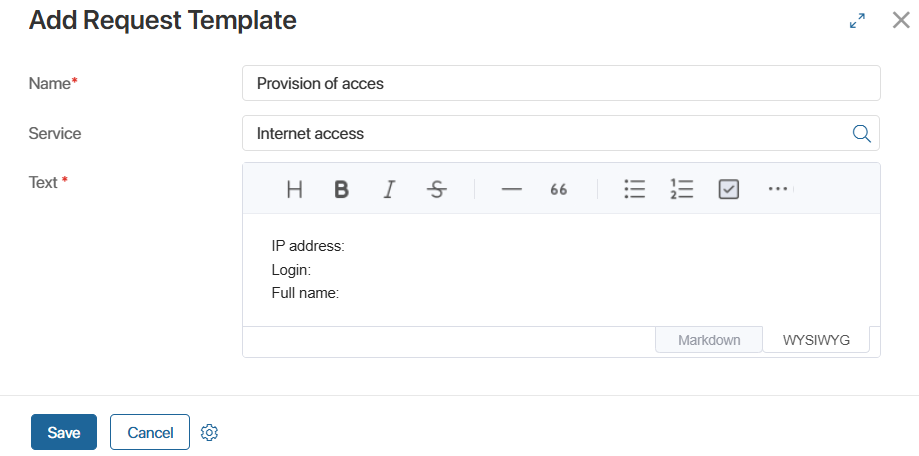
- Name*. The name of the template.
- Service. Select the service this template applies to.
- Text. Enter the text that will appear in the Request text field when the request is created.
Click Save.
Request Types and Request Priorities
These system directories are populated during the initial solution setup. They store the options for the Request Type and Priority properties from the Requests directory context as individual items:
- Default values:
- For request type: Service Request and Incident.
- For priority: Critical, High, Medium, Low.
- Custom values created by the administrator during the initial Service Desk solution setup.
These apps are populated with data so that request types and priorities become available for selection when configuring request processing rules and SLA standards. For example, to process high-priority requests under a standard with a shorter resolution time.
To add items to each app, go to its page and click the Update Directory button in the upper-right corner. If the administrator creates a new custom request type or priority options while working with the solution, the data in these apps must be updated again.
Tag
The Tag directory lets you create keywords or phrases related to the topics of requests or their solutions. You can use tags to make requests easier to find later.
To create a tag, click + Tag, enter a name for it, and click Save.
Problem Classes
The Problem Classes app allows you to group problems into categories. For example: hardware failures, software errors, information security incidents, etc.You can assign a class when creating a problem and use it later for search.
To add a new group, click + Problem Class, enter the class name and the person responsible, and click Save.
Price List Types
This directory is used to create and store different types of price lists, which are categorized based on the services provided by the company.
For more details, see Price list types and price lists.
Activities
This directory stores types of employee activities, both work-related and non-work-related, that occur during the workday.
For more details about activities and how to create them, see the Activities article.
Response Templates and Template Categories
You can prepare operator responses to user requests for specific services. When an operator marks a request as completed, they can select a response template with text appropriate to the request topic.
To quickly find a ready-made response from the request form, it is convenient to group templates by topic. To do this, first add a category in the Template Categories app and specify it when creating the response template.
To add a response template:
- Go to the Response Templates directory and click the + Response Template button in the upper-right corner of the page.
- In the window that opens, fill in the fields:
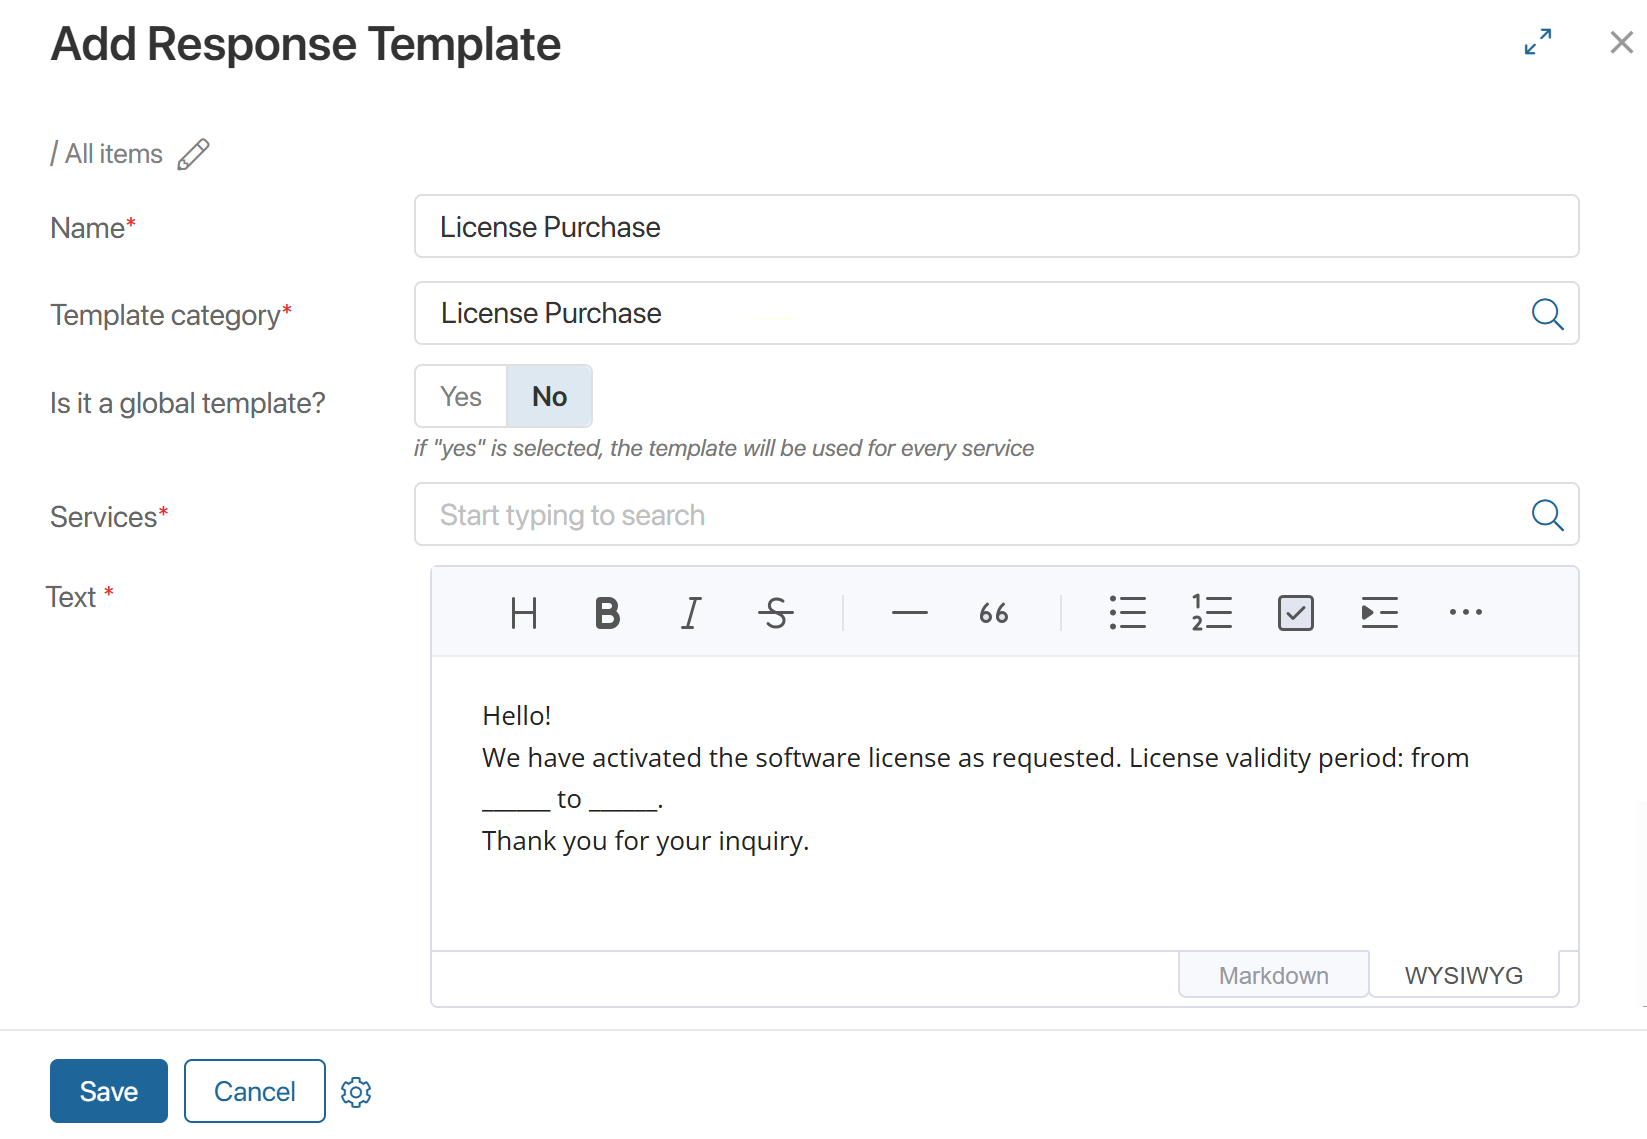
- Name*. Enter a name for the template.
- Template category*. Select the desired category from the Template Categories directory.
- Is it a global template? Select Yes if the template can be used when completing requests for all services. If the response is only suitable for requests related to a specific service, leave No.
- Services*. This field appears if the template is only suitable for specific services. Specify those services.
- Text*. Enter the response to the request. This could be:
- A request completion notification.
- A template where the operator will fill in request-specific details.
- Information about frequently asked requests, and so on.
Click Save.
Feedback
This app stores customer feedback received after a request has been completed. Feedback can come from:
- Internal users leaving comments in a task confirming completion of the request.
- Clients submitting feedback via a form on the Live Chats workspace.
To view a piece of feedback, open its page.
The page displays the related request, its completion status, service quality rating, and the client’s comment.
News
In this directory, you can create news that will be displayed on the external Service Desk portal.
To add a news item, click the + News button and enter the information.
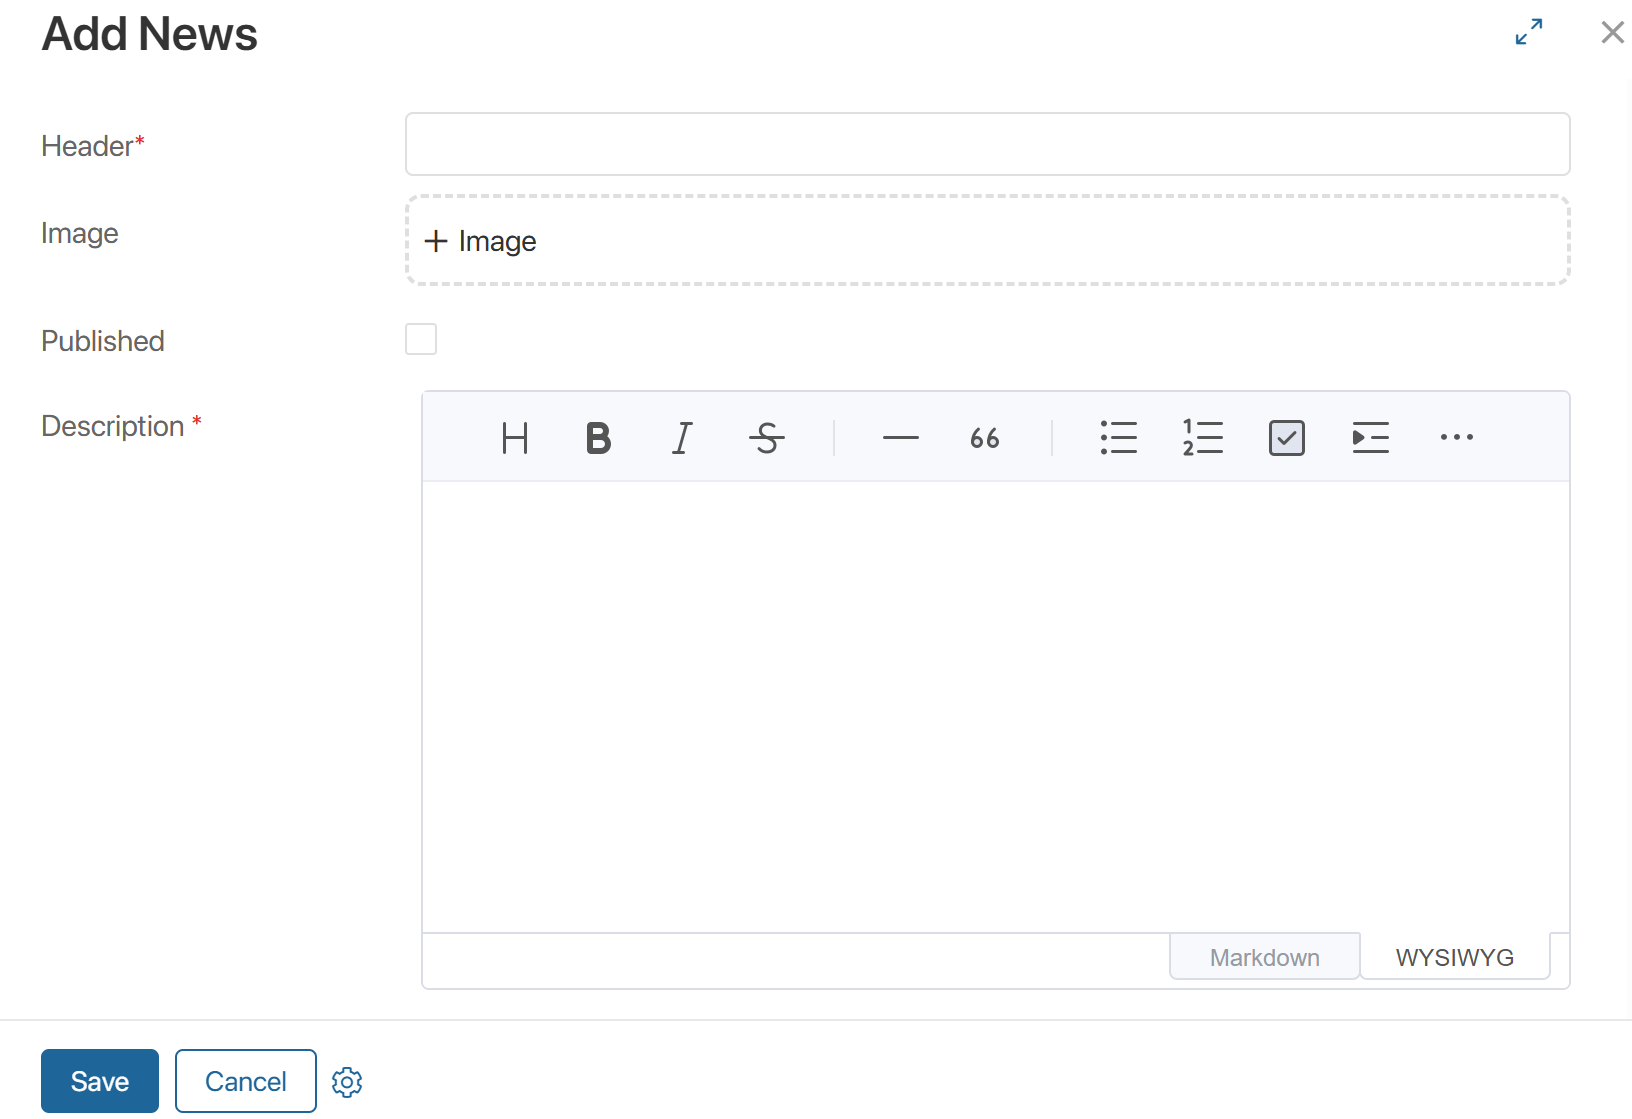
- Header*. The name of the news item.
- Image. A cover image for the news.
- Published. Toggle this on to publish the news to the portal.
- Description*. The news content.
Click Save.
To unpublish a news item, open its page, click Edit, and switch off the Published option.
External Users
This directory is used to store and manage information about users of the external Service Desk portal. For more details on how to create a user data page, see Invite users to the Service Desk portal.
Files
This is a system app. It automatically stores files uploaded when working with items in the Service Desk workspace apps. This app is not intended for user interaction. You do not need to create items or configure settings in it.