In the Service Desk solution, employees handle customer requests, which are registered in the system as requests.
Requests can be submitted to the ServiceDesk in three ways:
- An operator creates a request manually on the main page or in the Requests app of the ServiceDesk workspace.
- A customer submits a request themselves via the external portal using the +Request button.
- A customer sends a request to a live chat. In this case, the request is automatically registered in the system through preconfigured business processes.
To automatically register requests via business processes, you need to additionally configure the live chat. For more details, see Set up channels for receiving requests.
Request are stored in the Requests app within the ServiceDesk solution.
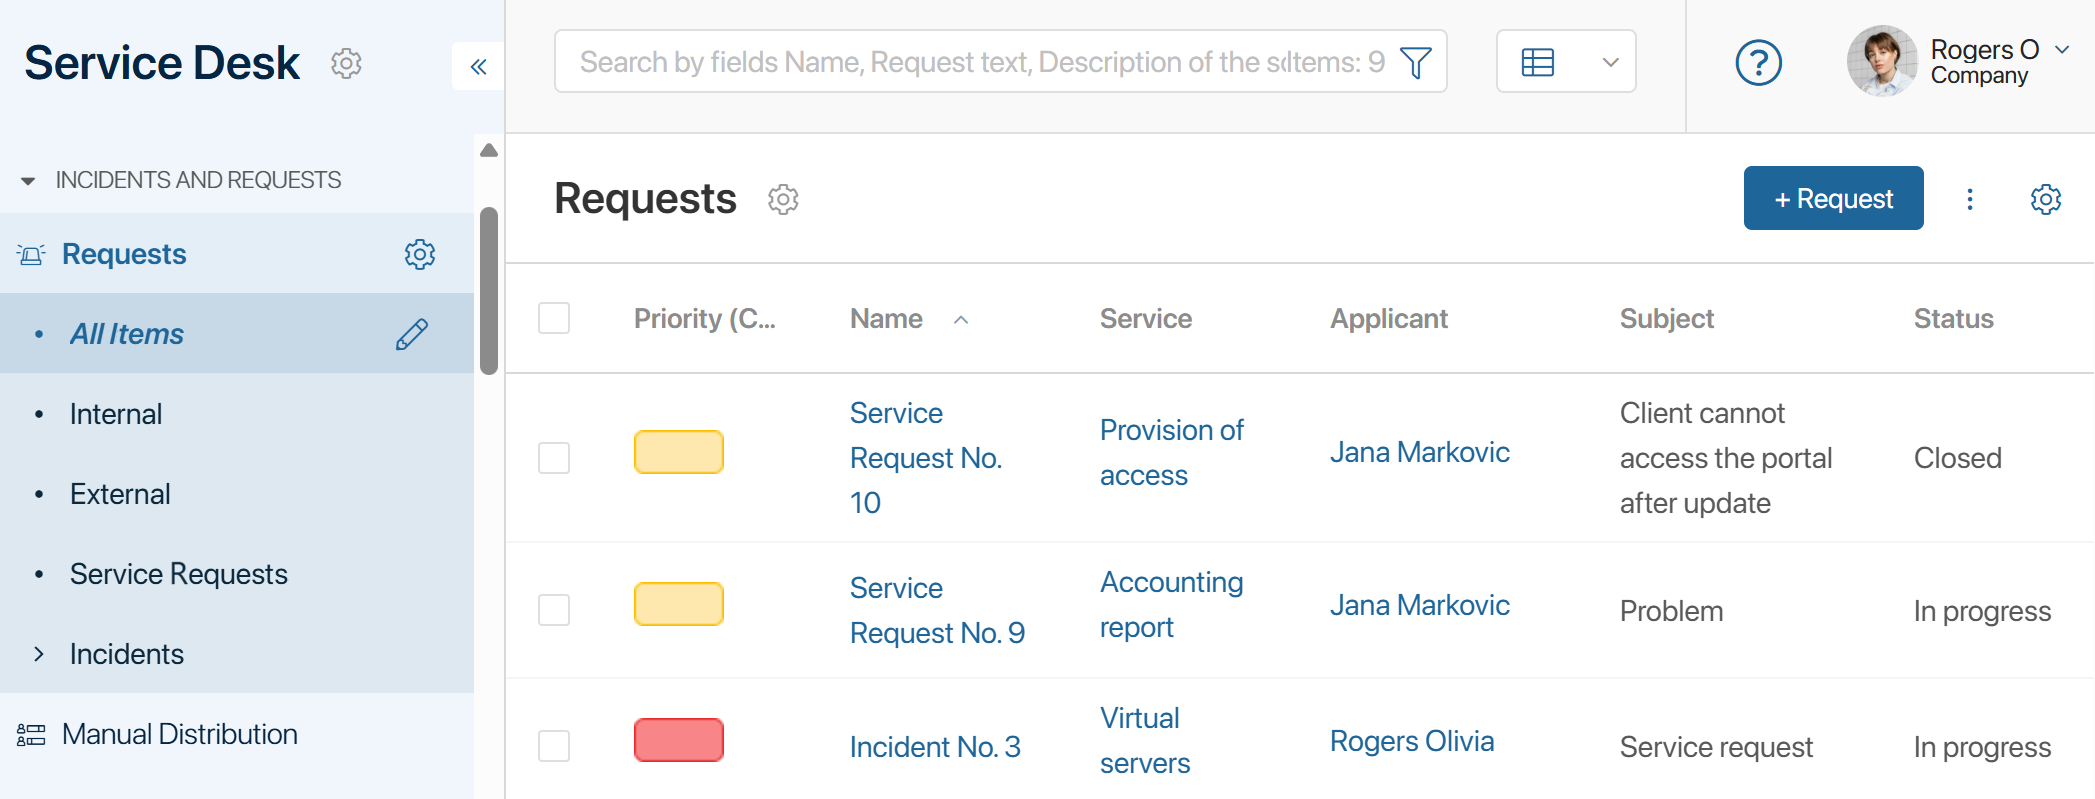
By default, all registered requests are displayed in the app as a table, containing key information about the request: priority, subject, applicant, topic, status, assignee, etc.
In the table settings, you can select which item properties to display and configure data sorting options.
Requests can also be displayed as tiles or a Kanban board, which provides a clearer visual of each request's status.
Using the hierarchical app configured within the Requests app, items are organized into folders:
- All Items.
- Internal. Displays requests from company employees.
- External. Displays requests from clients.
- Service Requests.
- Incidents. Requests related to a specific issue. These are classified into the following categories: Security issues, Access issues, Programmatic issues, Network issues, Hardware issues.
The administrator can create a different set of folders, for example, to filter requests by priority.
A request can be placed in a specific folder when creating or editing the item.
Request status
During the creation and processing of a request, it's status changes:
- New. The request has been created but not yet assigned to an operator.
- Pending classification. This status is automatically assigned to requests created via the Live Chats workspace. These requests forms only contain the subject, message text, and attached files. All other required information must be filled in manually: ticket type, service, priority, etc.;
- Accepted. The request has been assigned to an operator.
- Pending approval. A request receives this status if the operator has sent it for approval to a responsible person, such as a department head.
- In progress. The operator has started working on the request.
- On hold. Work on the ticket has been manually paused, for example, if the operator is waiting for a reply from the applicant. This status is also used when the work is completed and the system is awaiting feedback from the applicant.
- Completed. The operator has resolved the issue and marked the request as completed.
- Closed. A solution has been provided, and the customer has received a response.
- Canceled. A status assigned to canceled requests, for example, when work on the request is not required or the request was created by mistake.
In addition to these standard statuses, you can add custom ones. You can also enable manual status changes from the ticket form. Please contact your system administrator to enable this option. For more details, see Status field.
Request priority
Priority is marked by color:
 — Critical.
 — High.
 — Medium.
 — Low.
When a new request is created, its priority can be set automatically. To do that, set the prioritization rules in the Prioritization app.
Request search
At the top of the Requests app, there is a search bar that allows you to quickly find a request by its title.
To filter tickets, you can use request-related data such as priority, status, tag, assignee, etc. To do this, click the ![]() , icon, specify the parameters, and click the Search button.
, icon, specify the parameters, and click the Search button.
For more details on how to use the search feature, see Search and filters.