When working in BRIX, you can add a field to the app with a link to another app. This field can be configured so that employees can create records in the associated app when viewing the item page.
For example, it's convenient to work with candidates in two apps: CVs and Interviews. On the CV viewing form, an HR employee can create an interview with a candidate without switching to the Interviews app. Simply click the add item button ![]() .
.
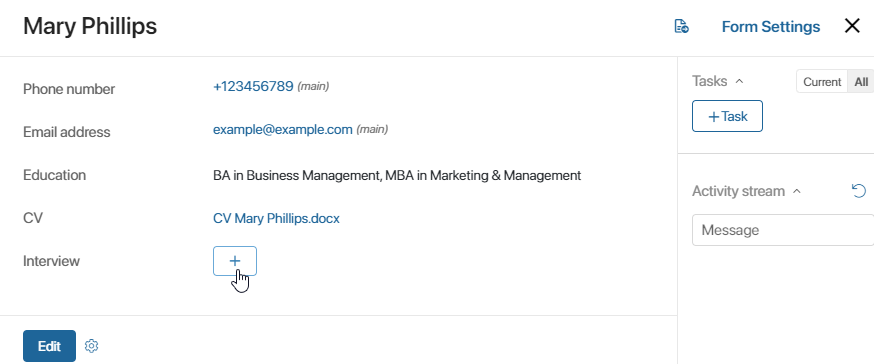
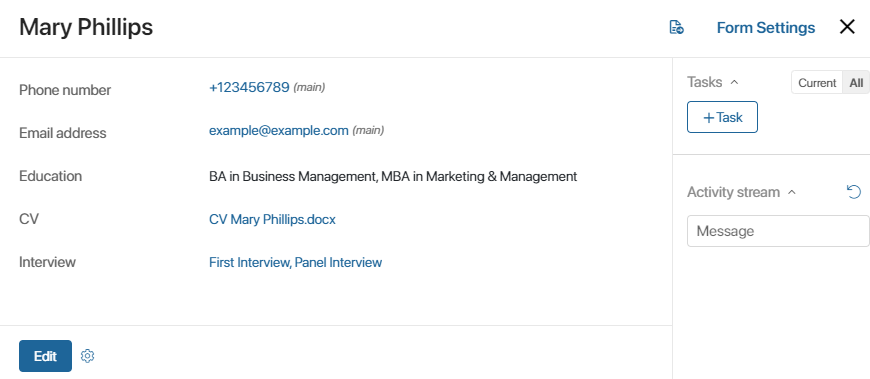
The new interview entry will appear both on the CV page and in the Interviews app.
Let’s see how to configure creation of the linked item from the app view form.
Add a link to an app
To the form of the CVs app, add an App field and configure it:
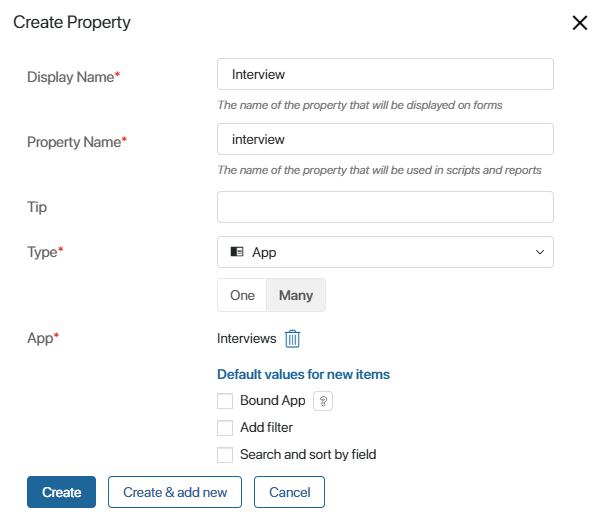
- In the App* field, select Interviews.
- Since we want users to be able to add several interviews to the page of one CV, we need to select Many. Otherwise, users will only be able to add one interview.
- To configure automatic input of values into the fields of the Interviews app items, click the Default values for new items link.
For example, on the interview form, the Candidate field can be pre-filled automatically with the name from the linked CV. Read more in Default values for new items.
Note: do not activate the Bound apps option because once it is enabled, the add button will be unavailable. To learn more about all settings of the App type field, read the App data type article.
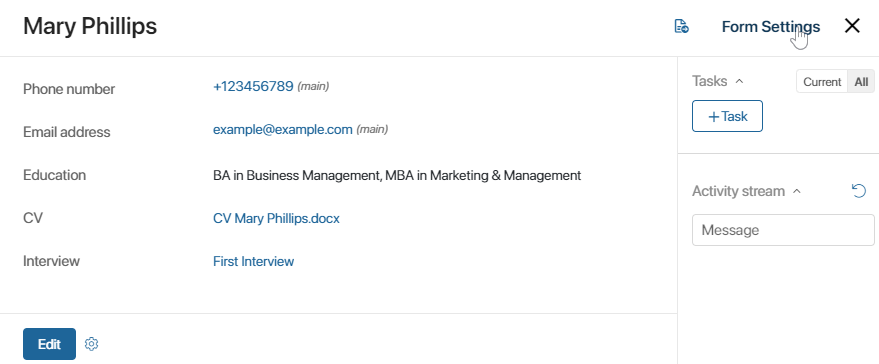
Once the form is configured and saved, users will be able to create new interviews directly on CV’ pages.
начало внимание
The add button is only available to those users who have the permissions to view or edit the current app item and to create items of the associated app. These settings need to be set for app items.
конец внимание
Set up the add button
In the button settings, you can:
- Hide the button if you don’t need to create items from the page.
- Change the way of adding items.
Based on the same example, let’s see how to change the settings of the add button.
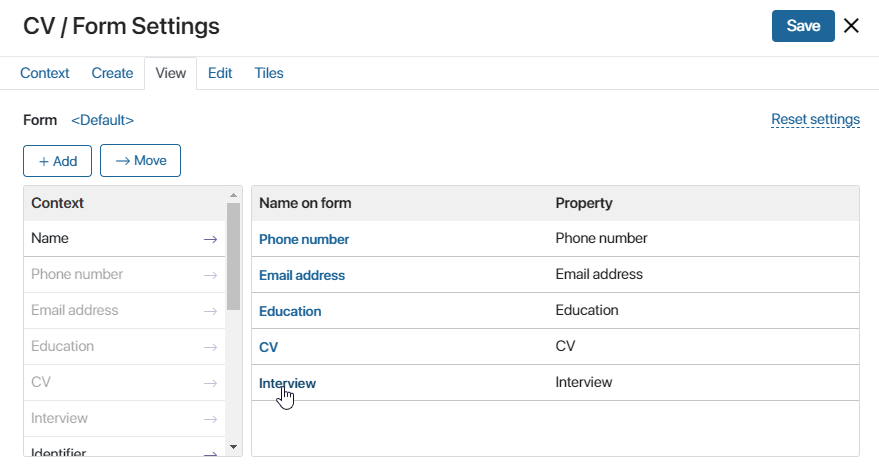
- In the CV app, switch to the advanced mode for configuring the forms. It is impossible to configure the add button in the standard mode.
- Open the View tab and click Interview in the list of properties.
- In the window that opens, go to the App Item tab.
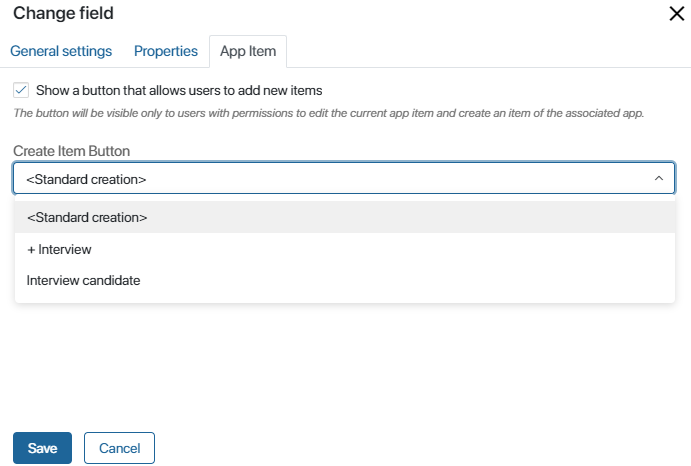
- Show a button that allows users to add new items. Uncheck the box to hide the add button from the view form.
- Create Item Button. Select how a new item needs to be added. In our example, three options are available: <Standard creation>, + Interview, and Interview candidate.
Let’s take a closer look at these options.
- <Standard creation>.
This is the default option allows users to save a new item of the linked app. When a user clicks the button, a standard window for creating a new interview opens.
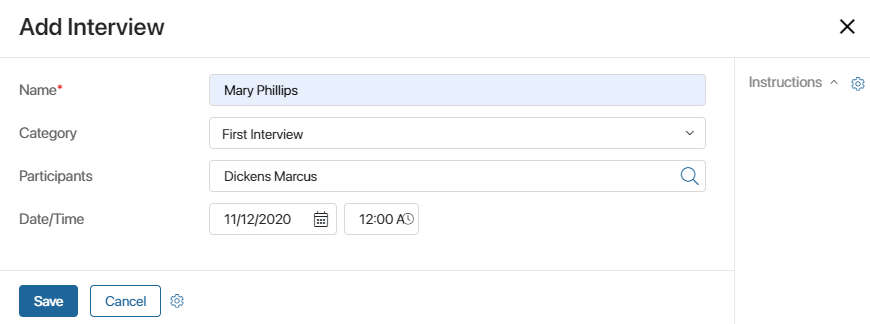
Fields configured for automatic value insertion from the CV will be pre-filled. The user manually enters values in empty fields. After saving, the item is added to both the Interviews app and the CV view page.
- + Interview.
This option works the same way as the button for creating app items located on the app page. Fields configured to automatically pull values from the CV will be pre-filled. If a business process is linked to the button for creating a new item, it will also be triggered. - Interview candidate.
The option allows you to run by button a business process created at the level of the app to which the item is added. If a button to run the process from the app page has been added, the process will appear in the list for selecting an app item create button. The name of the option in the settings corresponds to the name of the process.
To have an app item added at runtime, include the Create App Item activity.
For example, the Interviews app is configured with the Interview candidate process. In this process, an HR employee sets a date for the interview, the department manager confirms the date. The supervisor then receives a task Prepare a test case and the interview is added to the calendar.

A new item is then created and added to both the Interviews app and the CV page from which the process was run.