To add a new service:
- Go to the Services app and click + Service.
- In the opened window, fill in the required fields:
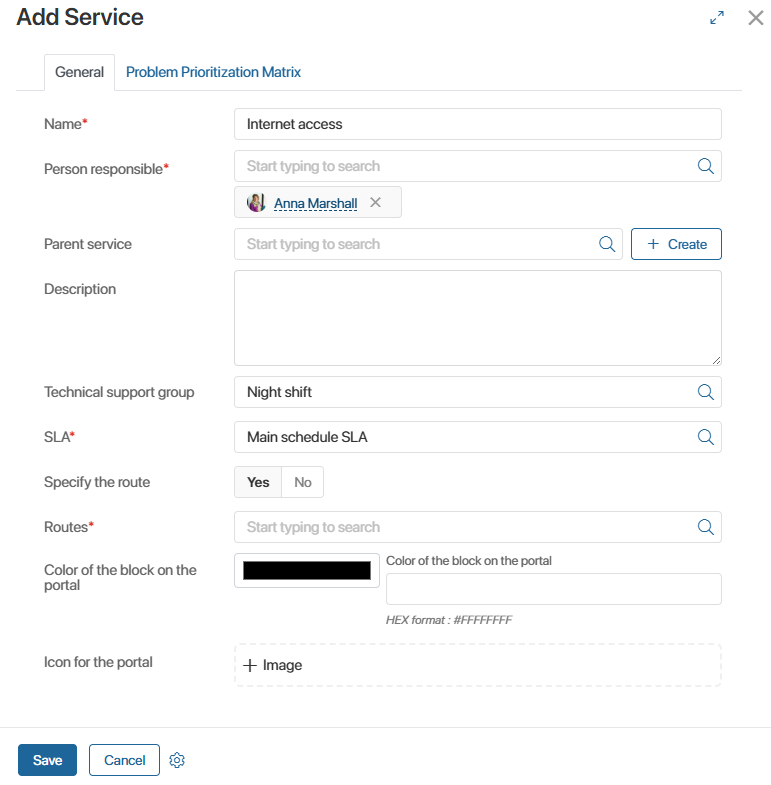
- Name*. The name of the service.
- Person responsible*. One or more users responsible for processing requests related to this service.
If one responsible person is specified, they will be automatically assigned to all new requests. If multiple persons are defined, the system will assign the least busy operator to each new requests. - Parent service. To create a hierarchical list, specify the service that will be the parent one for the service you are creating.
This way you can create one parent service, for example, User accounts, and several child services: Mailboxes and System accounts. Related services form a structure that can be viewed on the Service tree page. - Description. Detailed information about the service.
- Technical support group. The Service Desk 2.0 operator group dedicated to handling requests for this service. Available groups are managed in the Technical support groups directory.
- SLA*. Service provision terms regulating request processing times.
- Specify the route. Select Yes to process requests using a predefined route.
- Routes*. Select a request processing route from the Routes directory.
- Icon for the portal and Color of the block on the portal. Customize how the service block appears on the external portal. Upload an icon and specify a HEX color code for the block.
- Click Save.
The new service will appear in the Services app and can be selected when creating requests.
To display services on the Service Desk 2.0 external portal, you can group them into catalogs. For details, see the Service catalogs article.