When adding a system or custom widget to a form, you can bind its settings to context variables. This allows you to dynamically change the behavior of the widget on a page or in a business process. For example, you can show or hide a tab depending on the value the user selects in the linked field.
This article will cover:
- How to bind a widget option to a context variable.
- How to hide or show the tab depending on set conditions.
Bind a variable
You can bind the widget settings fields to context variables. This is convenient if you need to dynamically change widget settings on a page or during a business process. To bind a field:
- Click the
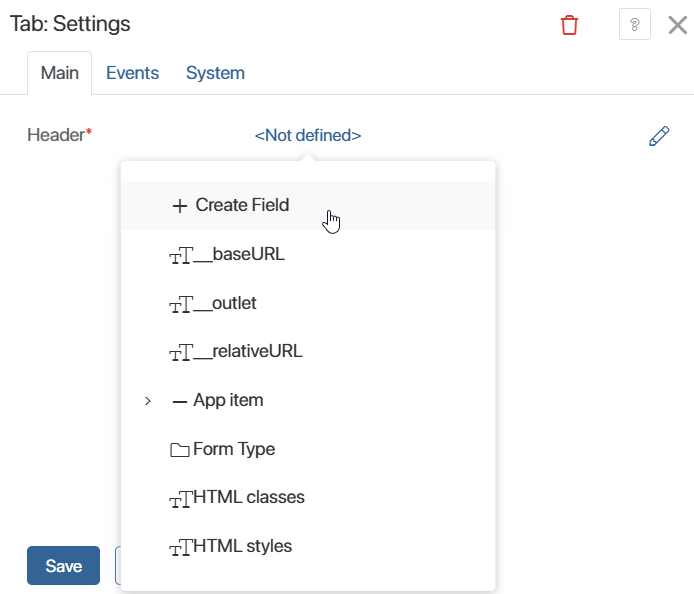
 icon next to the necessary field name and select <Not defined>.
 - In the drop-down list, you can bind a field in one of the following ways:
- Select an existing context variable from the drop-down list. The list only displays variables with the same data type as the bound field.
- Create a new context variable by clicking the Create Field button.
- Save and publish the widget.
The setting is now defined by the selected context variable.
Create a new field from widget settings
If the context doesn't contain a suitable variable to bind to the field, you can add the variable to the context directly from the widget settings window. To do this, click Create Field.
In the window that opens, the name and data type are automatically filled in with the values from the widget option being bound. You can change the name, code, and other parameters of the variable. Then click Create.
The new field will be added to the widget context and automatically bound to the option for which it was created.
When adding a field of a complex data type, such as Category or Table, all the values of the included parameters with their names and codes are copied to the new variable. This helps you quickly create a suitable context variable without having to enter all the values manually.
Use case for the dynamic tab display
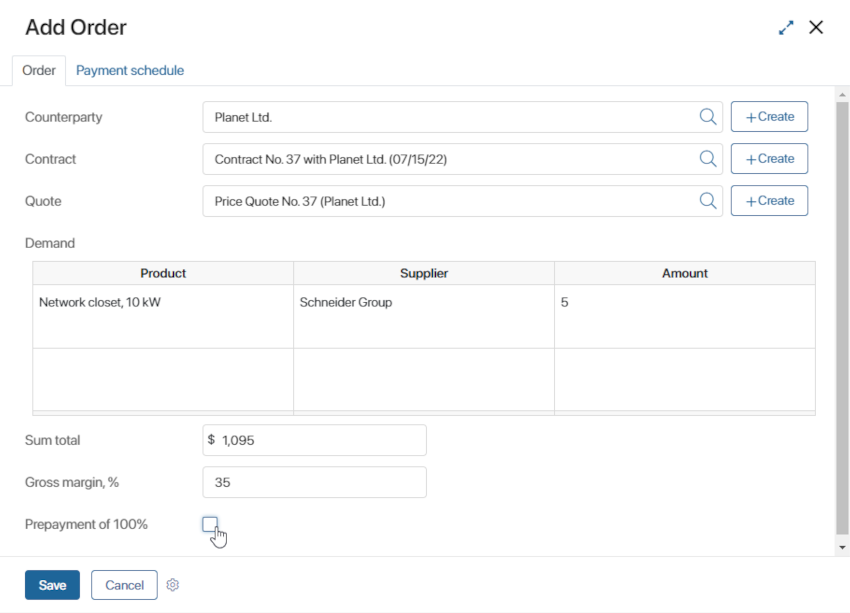
Let’s say we have the Orders app to handle customers’ requests. For orders without prepayment, it is required to determine the payment schedule. In this case, the sales rep fills out a table with the schedule information on a separate tab. The tab can be hidden or displayed depending on whether the sales rep checks the Prepayment of 100% box or not.
This can be done with the following settings:
- Go to the Orders app menu and click Form Settings.
- In the window that opens, add the following properties on the Context tab: Payments of the Table type and Prepayment of 100% of the Yes/No switch type.
- Go to the Create tab and click <Default>, and then click +Create Form, or Edit Form if the form has been created earlier. The interface designer will open.
- Drag the Tabs widget to the top panel and add the Order and Payment schedule tabs. Add the Prepayment of 100% property to the first tab and the Payments table to the second one.
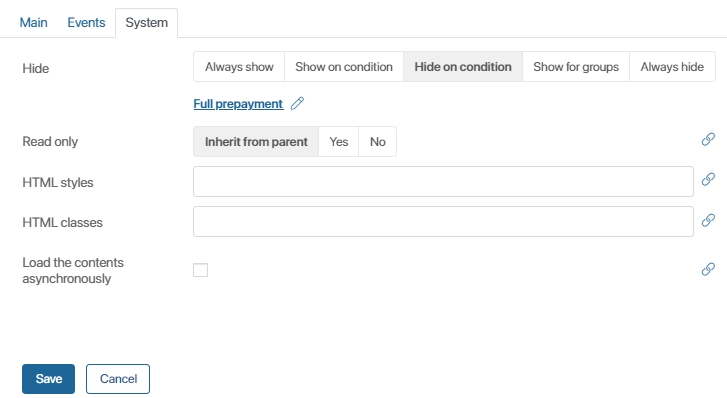
- Go to the Payment schedule tab’s system settings. In the Visibility field, select the Hide on condition option and bind it with the Prepayment of 100% property.
- Click Save and Publish on the designer top panel.
Now, if the Prepayment of 100% box is unchecked, a new Payment schedule tab will appear on the page, where the user can specify order details. If the Prepayment 100% box is checked, the new tab will not appear.