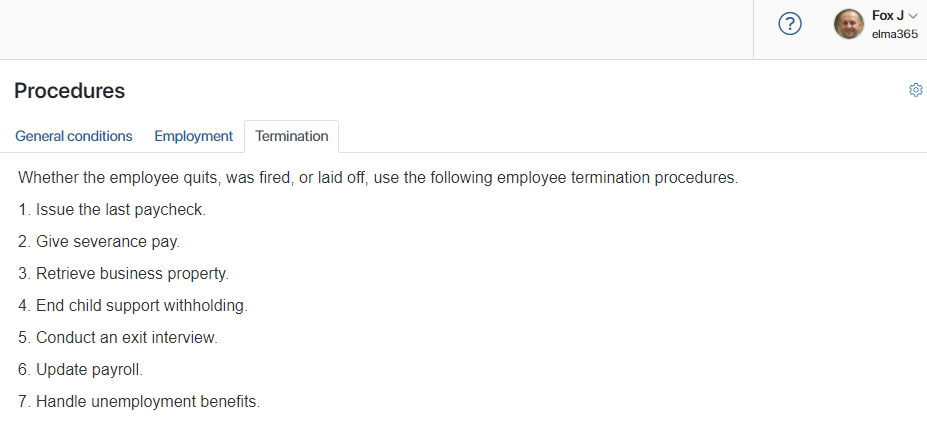
By using Tabs, you can group associated data and divide a form into logical segments.
To place the widget on a form, drag it from the right panel of the interface designer to the canvas or click +Widget. Read more in Form templates for apps and processes.
Widget settings
Configure the widget in the opened window on the Main, Events, and System tabs.
Main tab
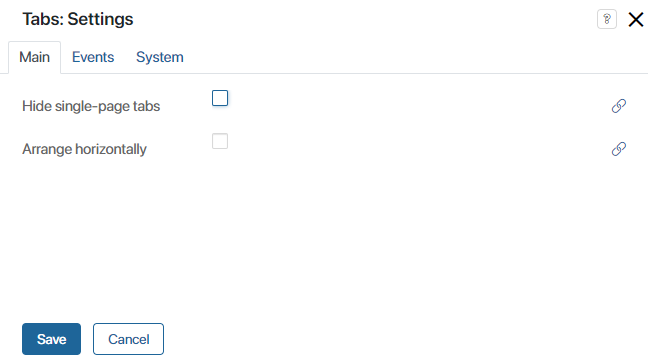
- Hide single-page tabs. Select this option if you want to hide the tab name when the widget has:
- Only one tab configured.
- Multiple tabs added, but only one is available to the user. You can also specify a condition under which the tab name will be hidden. To do this, link the field to a context variable of the Yes/No type using the
 icon.
icon.
- Arrange horizontally. Select the checkbox next to the field if you want to change the tab layout from vertical to horizontal. You can also specify a context variable of the Yes/No type whose value will determine the tab layout.
Events tab
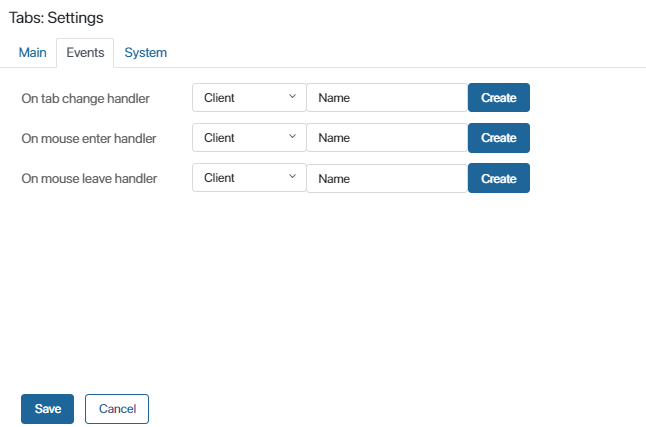
This tab allows you to customize the widget’s behavior by selecting functions from scripts that will be called when various events occur. On mouse enter handler and On mouse leave handler are available for any widget. Find out more in System widget settings.
For the Tabs widget, you can also set On tab change handler. The function selected for it is executed when you switch from one tab to another. For example, you can update the contents of a tab based on user-entered data.
System tab
The main system settings are the same for all widgets. They allow you to control widget visibility and access to widgets, etc. Read more in the System widget settings article.
For the Tabs widget, you can also enable the Load the contents when the tab is active option. Then widgets and data on the tab will be loaded only when you switch to it. This allows you to speed up the loading of a form or page.
When you add several tabs, you can change their order. To do that, click on a tab and drag it to a different place within the widget.
To finish configuring the widget, click Save. To make the form available to users, click Save and then Publish on the interface designer toolbar.
Add a tab
To create a tab in the widget:
- Click the + icon.
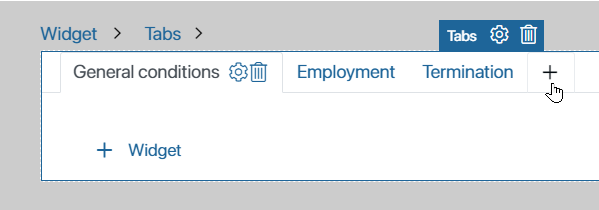
- In the opened window, specify the title. You can also specify system settings for the new tab.
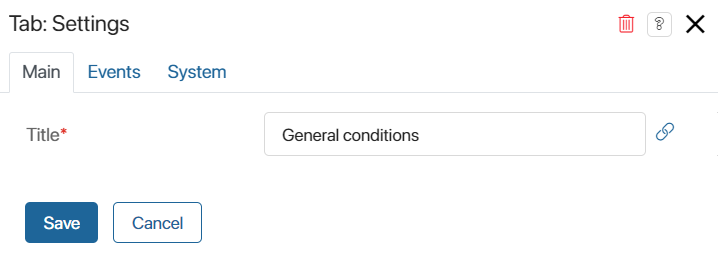
- For each tab, add content that will be displayed if the user clicks on its title.
The created tabs can be rearranged, deleted, and their settings can be edited.
Example
In this case, the Tabs widget is used to divide the employee procedures into three categories.