Switch between the Create, View, and Edit tabs to modify the app’s properties, change their order, and configure what each of the app’s forms includes.
Create tab
On this tab, you can set up the creation form of an app item.
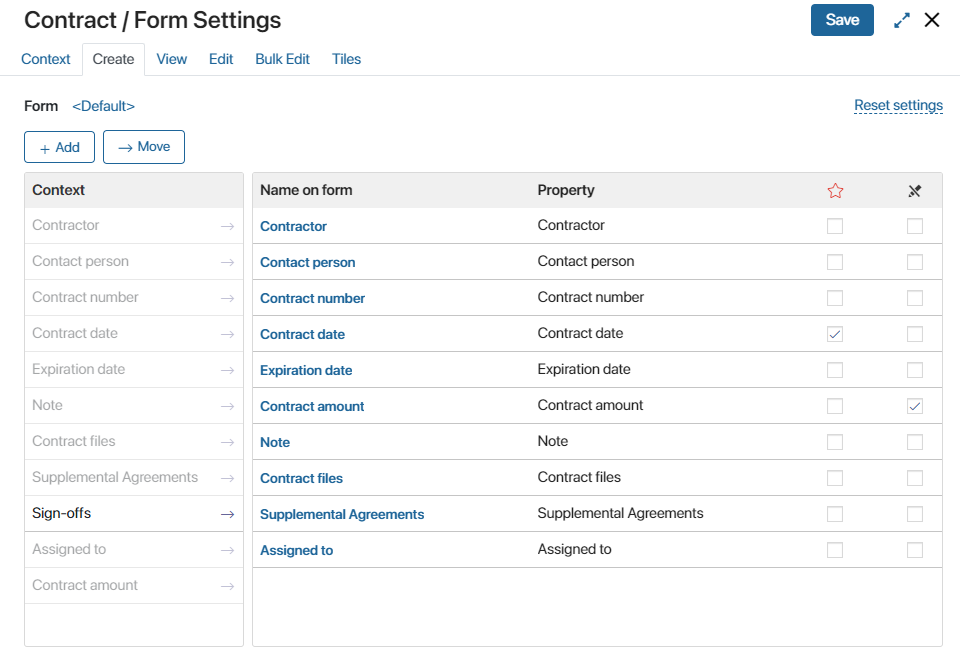
- Drag the properties from the Context column to the Name on form column. Each property in the Name on form column stands for a field on the page, which the users will have to fill in when creating a new item.
- To rearrange the fields on the form, user drag-and-drop.
- You can mark properties as required
 and as read-only
  .
. - To add a new property, click +Add. The new property will appear in the Context column and on the Context tab.
Display of properties
You can define how the property will look on the page: edit its name, add the tip, and mark the field as required or read‑only.
To do that, click on the property’s name in the Name on form column and edit the parameters in the provided window.
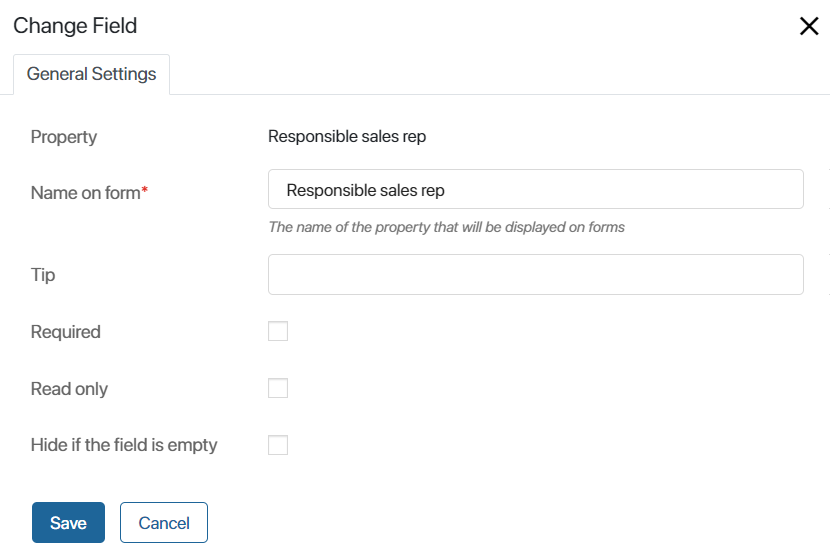
The General Settings tab has the following fields:
- Property. The name that you specified when creating the property. It cannot be changed.
- Name on form*. The name that the users will see on the form. You can change it if needed.
- Tip. Additional information that explains to the users how to fill in the field on the creation page.
- Required. Check this box to make this field a required one.
- Read only. When this box is selected, users will not be able to edit this field on the item creation form.
- Hide if the field is empty. If the checkbox is selected and this field is not filled in, it will not be displayed on the form.
For the App‑type field, you can also customize the value to be entered in the field or set up the display of data from nested properties. For more information, see the App data type article.
Once you've configured the creation form, click the Save button in the upper right corner of the page.
You can also hide the field names on the form and display only their contents. This option is configured in the interface designer when editing the form template. For more information, see the Form templates article.
View tab
On this tab, you can customize the item view page.
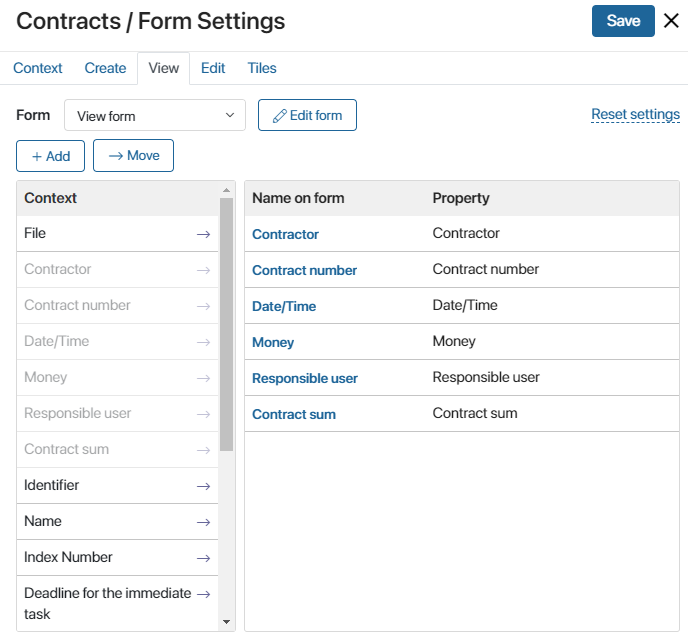
The view form is set up in the same way as the creation form. Since users do not need to perform any actions on a view page, the fields on this form cannot be marked as required.
By clicking a property name, you can change some of its parameters. For example, you can edit the form name or add tooltip text.
For an App-type property, you can also customize the value to be entered in the field and set up the display of data from nested properties. For more information, see the App data type article.
After you've finished customizing the display form, click the Save button in the upper-right corner of the window.
Edit tab
On this tab, you can customize the item edit page.
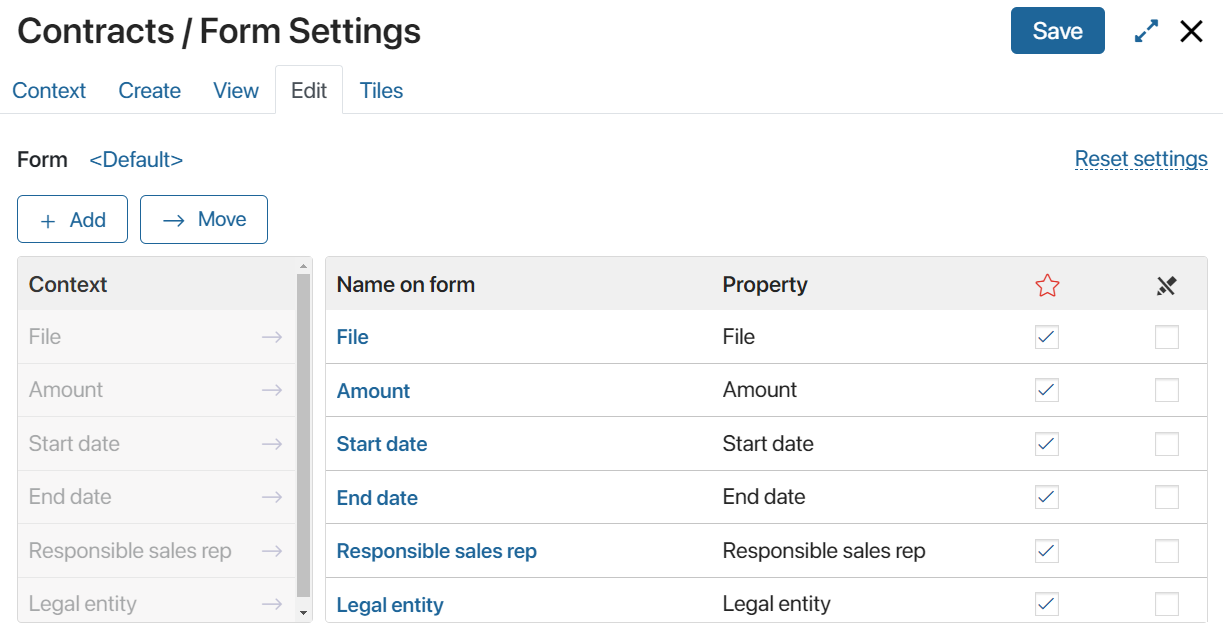
This form is configured in the same way as the creation form.