You can automatically adjust the timelines of linked tasks in the project plan edit mode. To do this, click the gear icon on the plan toolbar and enable the desired option:
- Auto‑scheduling. Allows automatic forward shifting of dates for linked tasks.
- Reverse auto‑scheduling. Available when auto-scheduling is enabled. Using this option, you can automatically shift linked tasks backward.
- Show time buffer. Highlights slack time on the chart with gray shading:
- Until the project end for tasks that are not linked to others.
- From the end of one linked task to the start of the next. You can also display the interval between tasks numerically to the left of the chart. To do this, configure the columns in the task table.
- Highlight links. Highlights the connection line in black on the chart when hovering over it or over one of the linked tasks.
- Auto delays. When creating links between tasks, a lag equal to the interval between the end of one task and the start of another is saved at the moment the link is established. To view or change this value, double-click the connection line.
- Show constraints. Helps control the movement of linked tasks by dates in the plan during auto-scheduling and reverse auto‑scheduling.
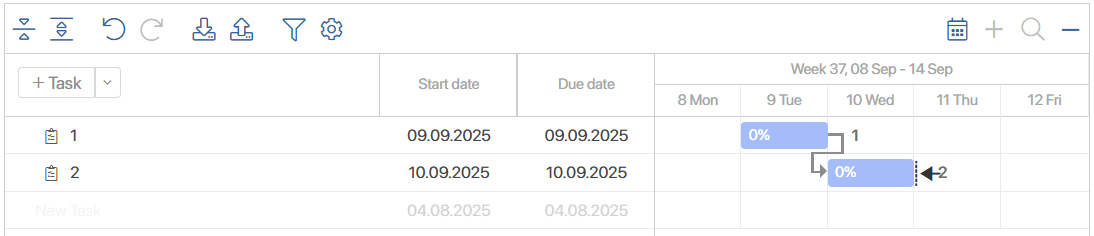
For example, two linked tasks are arranged sequentially on the plan. The second task will start as soon as the first is completed.
By enabling the Auto-scheduling option, you can change the start date of the first task by moving it forward. To maintain the dependency, the start date of the second task will automatically adjust, shifting forward on the calendar as well.
If you additionally enable the Reverse auto-scheduling option and change the start date of the second task by moving it backward on the calendar, the start date of the first task will also adjust automatically.
Please note if the Use the business calendar option is enabled in the project settings and the deadline of a dependent task falls on a non-working day:
- In case of auto-scheduling, the date will shift to the first business day after the non‑working day.
- In case of reverse auto-scheduling, it will shift to the business day preceding the non‑working day.
Configure buffer time between linked tasks
If the start date of the second task is not planned immediately after the completion of the first, a delay is automatically saved when creating the link between them, that is, a time interval between the end of one task and the start of the next at the moment the link is established. This is done using the Auto delays option, which is enabled by default.
When auto-scheduling is enabled, shifting the first task forward will automatically move the second task while preserving the established lag.
To quickly change the buffer time between tasks:
- Enable the Auto-scheduling option.
- Double-click the link line between the tasks and, in the window that opens, specify the number of delay days.
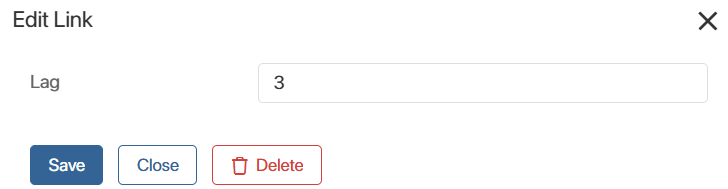
- Save the changes.
The second task will then automatically move to reflect the new delay.
Show constraints
Displaying constraints helps control task movement during auto-scheduling and reverse auto‑scheduling. Enable this option to display an arrow indicating:
- The date to which the task was last shifted.
- The date constraint beyond which linked tasks cannot be shifted.
For example, if two tasks with a Finish > Start link are created in the project plan:
- In case of Auto‑scheduling. If Task 1 is moved to the right, an arrow will appear at its new start date. It indicates that the task cannot start earlier than the set deadline and restricts the ability to shift Task 2 earlier than this date.

- In case of Reverse auto‑scheduling. If Task 2 is moved to the left, an arrow will appear at its new end date. It indicates that the task must be completed no later than the set deadline and restricts the ability to shift Task 1 beyond this date.