If the company or individual users need the interface translated into a language not available by default, the system administrator can add an additional locale. To do this:
- Submit a request for a new locale to technical support.
A support specialist will forward your request to the developer and, once processed, will provide you with:
- A list of .po files containing resources for translation.
- A utility and instructions for creating a Language pack module for the target locale from these files.
- Translate the resources in the provided .po files using dedicated software, such as Poedit.
Note: The file must not contain any empty translation strings. If a source string does not need to be translated (for example, a field code), copy the original text and paste it as the translation.
- Build a Language pack module as a .e365 file by running the utility according to the instructions.
- Verify that the module works correctly.
- Install the module. If it contains invalid data, an error will occur during installation. In this case, check the .po files and fix errors in specialized software, such as Poedit.
- Enable the module.
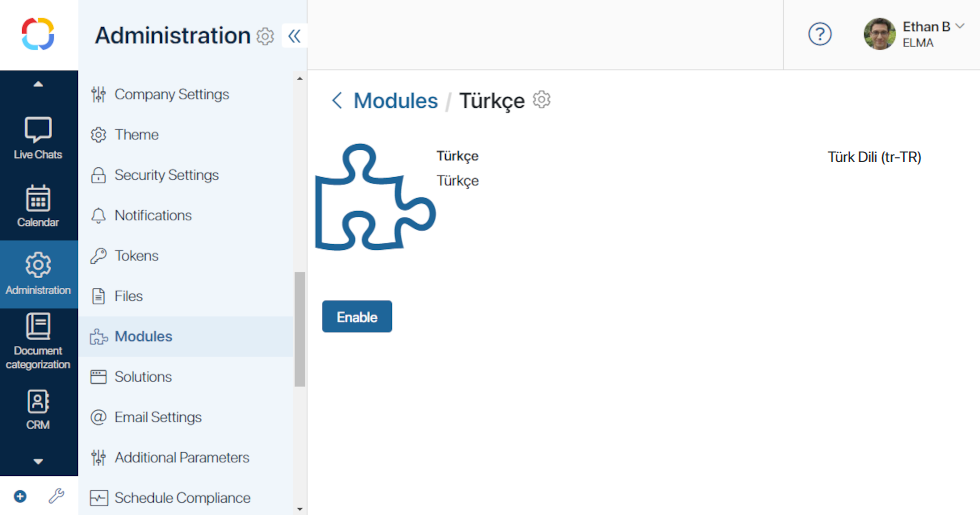
You can now switch the interface language to the new one in the company settings and user profile. The language name and code are specified when creating the module.
After that:
- Depending on your needs, translate at the configuration or component level.
- Check the new locale.