This feature allows you to automatically apply updates to a workspace from an .e365 file.
For example, the order processing procedure has changed in one of the divisions of your company, and this has had a positive effect. To customize the work in other divisions in the same way, you can export the updated workspace and use it to update the other ones. It's faster and more reliable than manual updates.
The updating procedure is similar to the importing one. However, when you update a workspace, you make changes to the existing one instead of creating a new workspace.
начало внимание
Only the users included in the Administrators group can update workspaces.
конец внимание
Start update
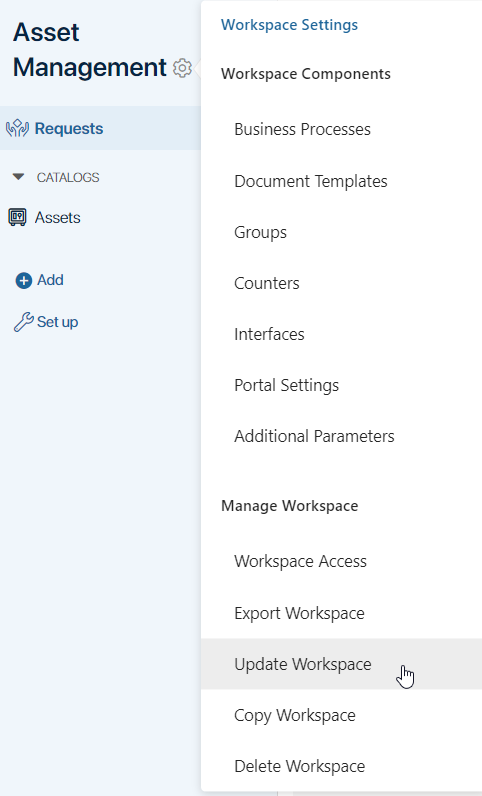
- To start updating a Workspace, click
 next to its name and select Update Workspace.
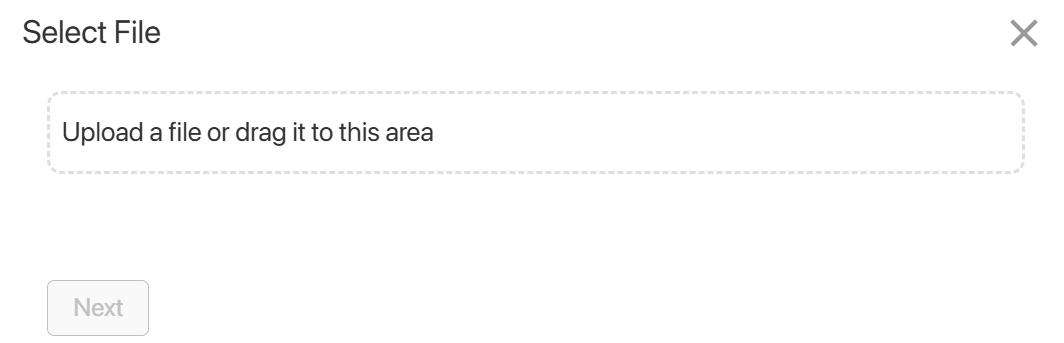
- In the window that opens, upload an .e365 file from your computer or from system files containing the previously exported workspace. Click Next.
If you are updating a workspace that was created or modified in a newer version of the system (e.g., 2024.4) than your current version (e.g., 2024.1), a warning will appear. The update may not complete, or the workspace may not function correctly, as there may be changes in the newer version that are incompatible with your version. Choose whether to cancel or proceed with the update process.
- A version check of the workspace from the uploaded file will be initiated. If errors are found, such as duplicate pages, you will not be able to update the workspace. If the check is successful, click Next.
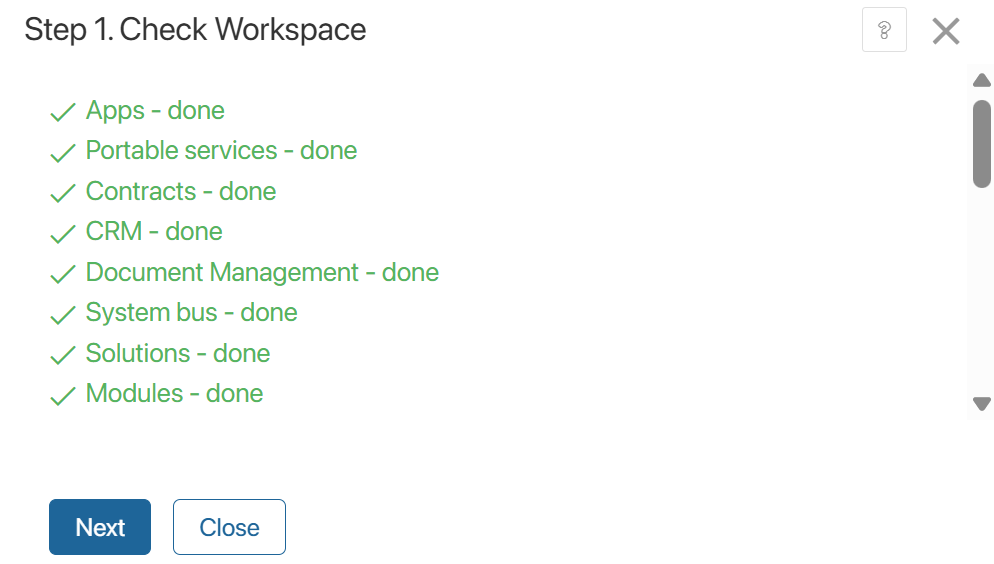
- The comparison between the existing and uploaded versions will start.
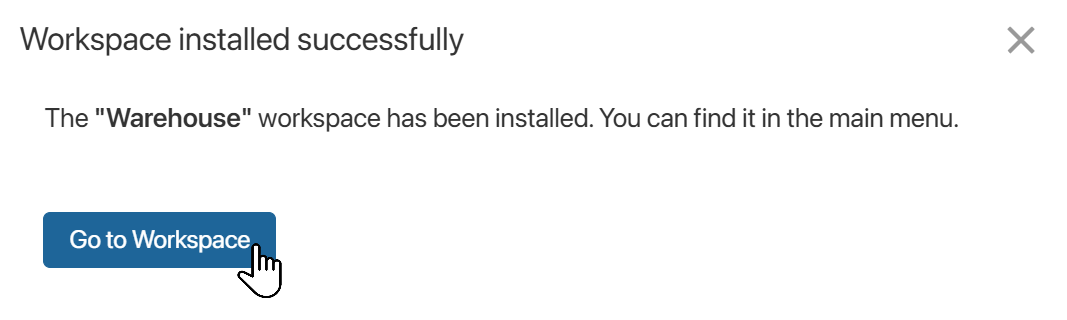
- When the update completes successfully, click Go to Workspace.
Compare existing and uploaded workspace versions
When comparing, the system verifies the alignment of workspace components and their settings.
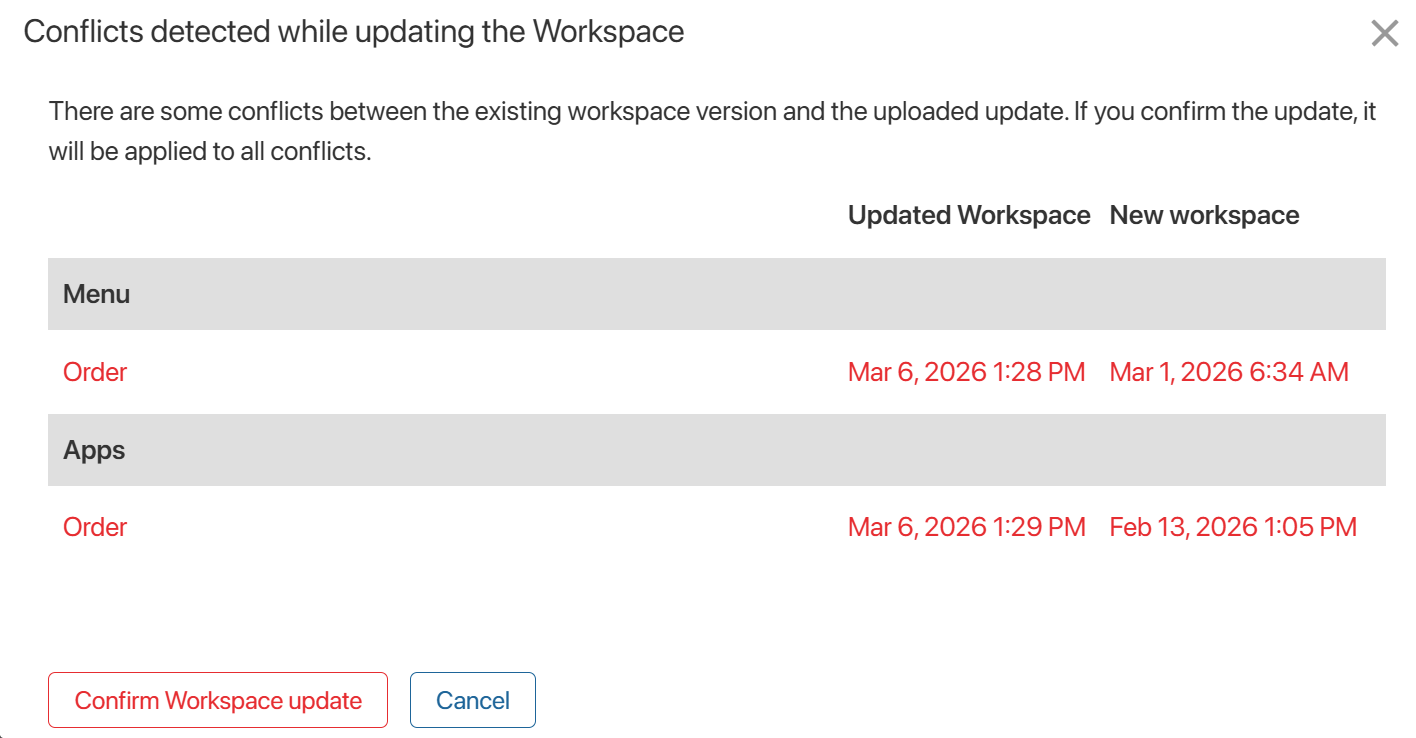
Check conflicts in the workspace components
If there are differences, for example, if the new version includes the edited settings of a business process or app that exists in the current company, a list of changes opens. Confirm the replacement of the workspace in the system with the version from the downloaded file.
Note that conflicts cannot be resolved individually. You need to either accept all the changes you make, or cancel the update.
If you previously created workspace components (business processes, apps, etc.) that are not included in the uploaded version of the workspace, their absence in the new version will not be regarded as a conflict by the system. The update will not affect them.
If you are updating a system workspace that contains a custom app, the system will verify the app code as well as the first entry in its version history. If the app code matches but the version history entry does not, the app from the source company will be added to the system workspace of the target company with a different code.
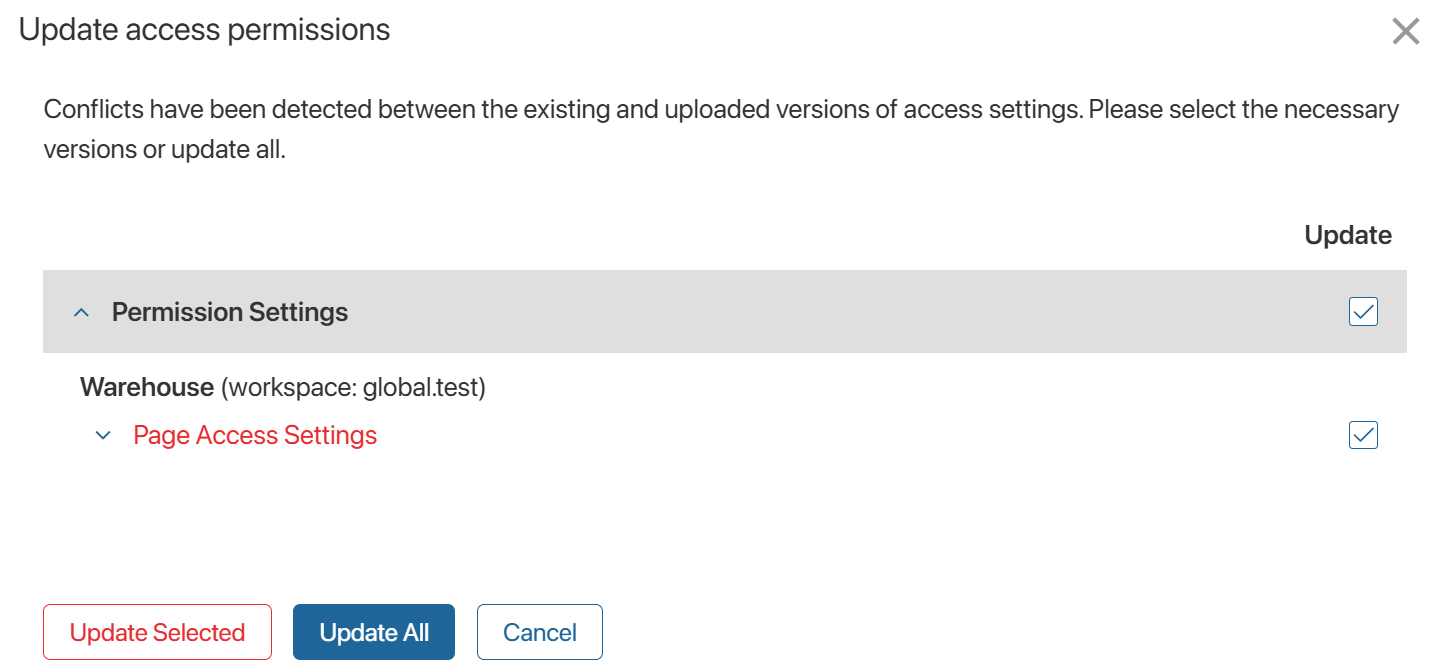
Check for mismatched access permissions
If access rights were edited in the current company, select in the window that opens which settings to update to the new version. Unchecked permissions will remain unchanged. You can also update all access settings or cancel the update.
During updates, “false” conflicts in access settings may occur
|
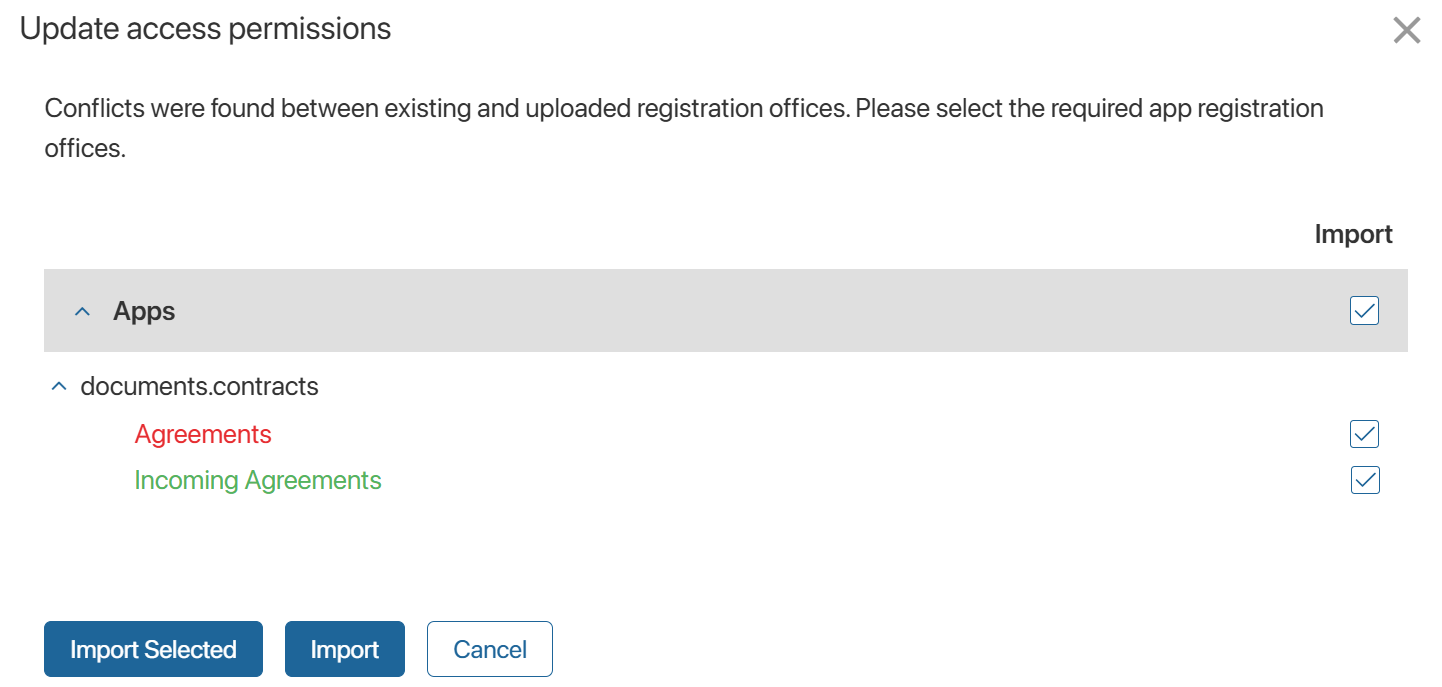
Check for differences in the registration settings of the Document type apps
If the registration settings do not match in the current and downloaded versions of the workspace, a list of differing document registration folders will open. They are highlighted:
- In green. Folders that are specified in the registration settings in the new version of the workspace, but are missing in the current version. Check the box next to the folder to add it to the Document Categorization workspace and to the registration settings in the current company.
- In red color. Folders that are used in the app registration settings in the current company, but are missing in the downloaded version of the workspace. Check the box next to the folders you want to keep. The unchecked folders will be removed from the app registration settings, but will remain in the Document Categorization workspace. You can re-add them to the registration settings.