Low-code designer allows you to quickly customize the apps by using drag-and-drop. You can configure:
- Forms. For example, pages for creating and viewing a document.
- Pages. User interface for working in the system.
- Widgets. Components that help customize forms and pages.
The image below shows what the low-code designer looks like.
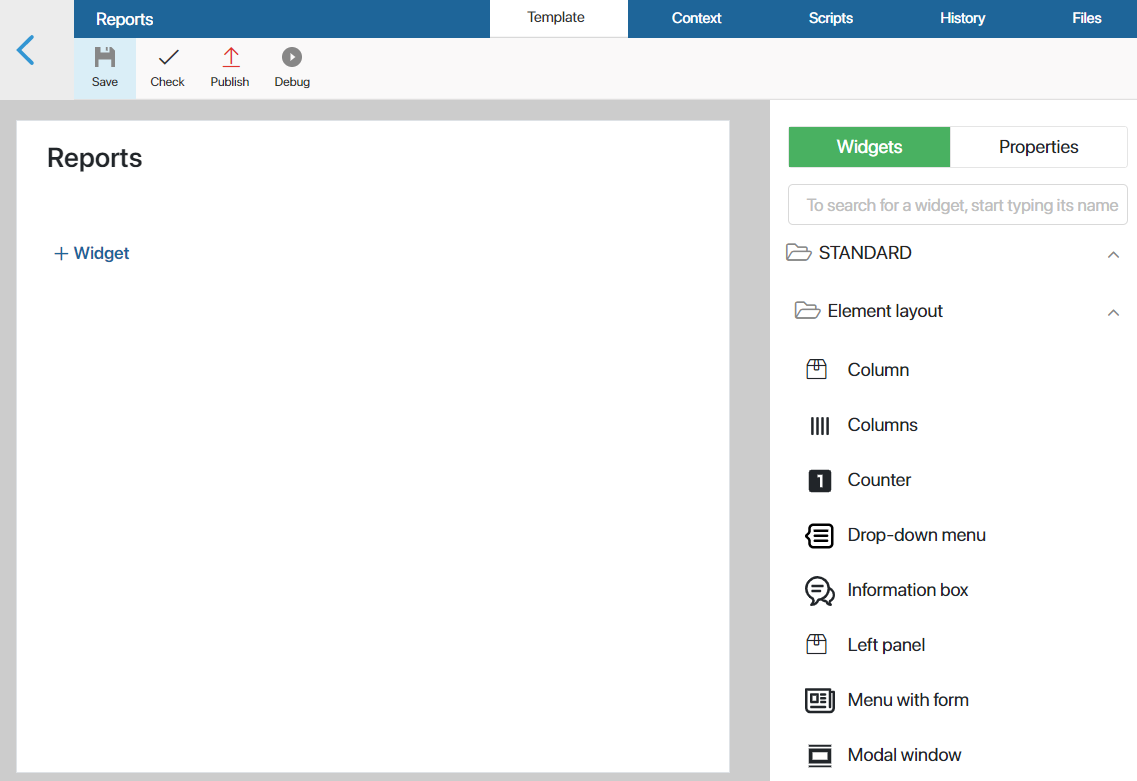
The main field for configuring a page or a form is located in the center. On the right side you can see a panel with all available interface components and properties. You can drag them to the field and place where needed.
Set up your app form
You can configure your own forms in low-code designer after you have created an app. To learn more about creating new apps, see Create an app article. Now, let’s see how to configure a form that users will fill out when creating a new contract in the Contracts app.
Go to low-code designer
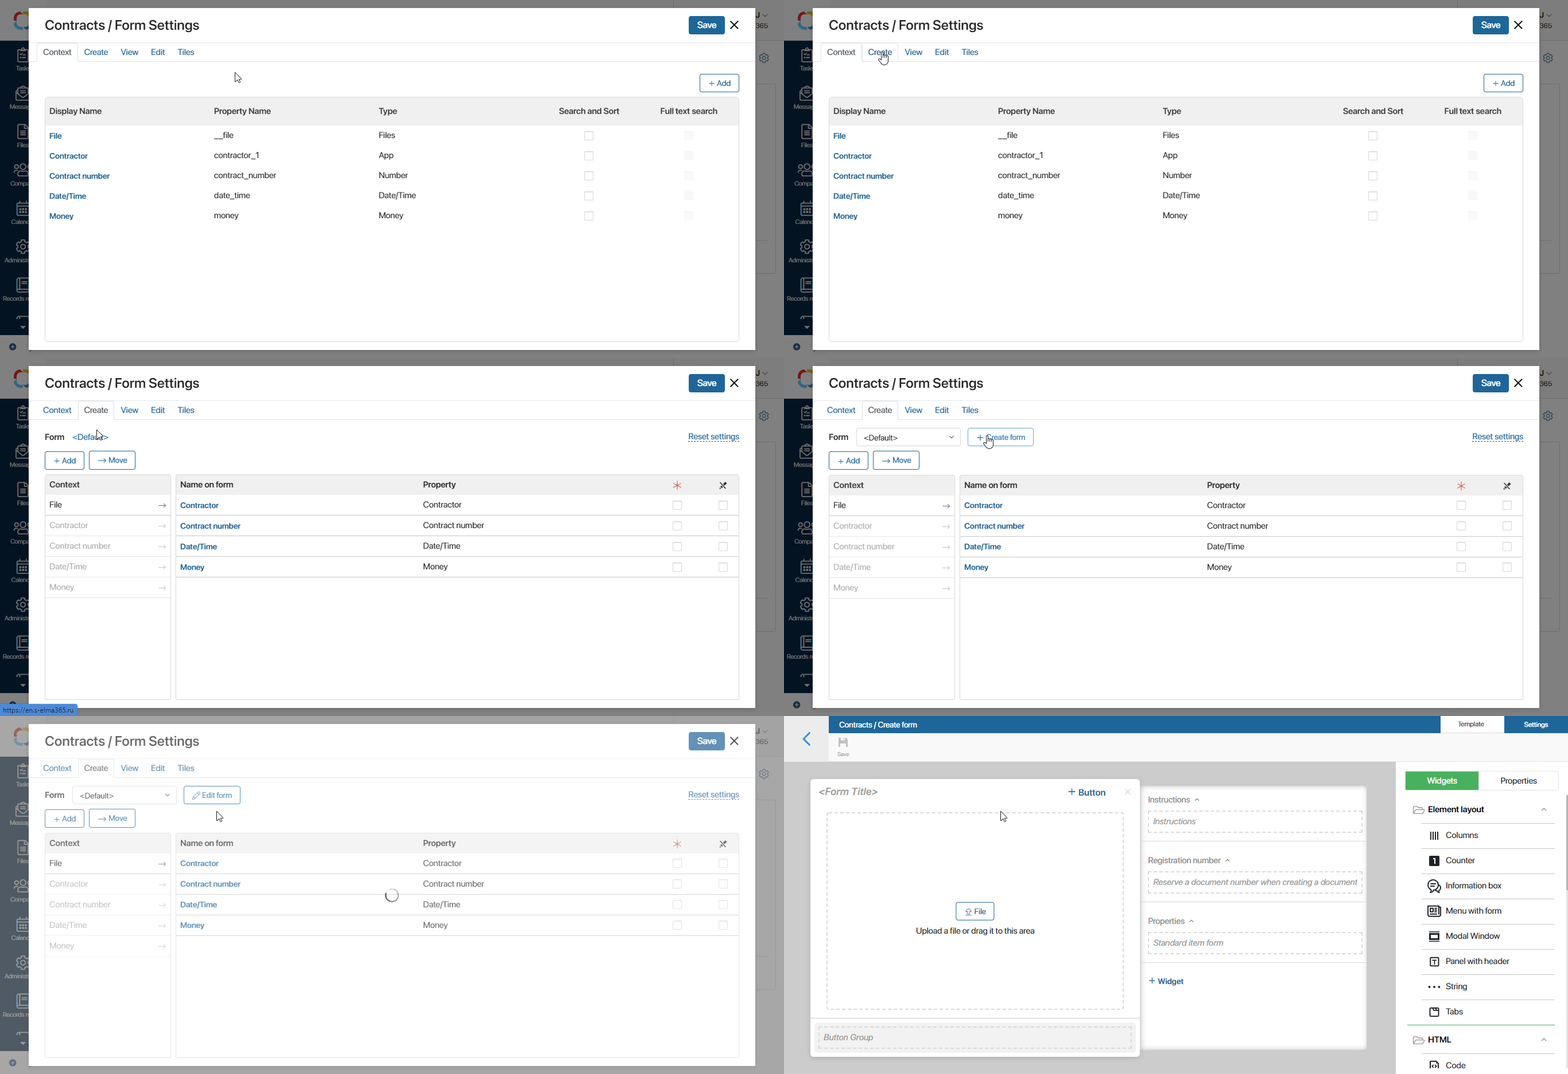
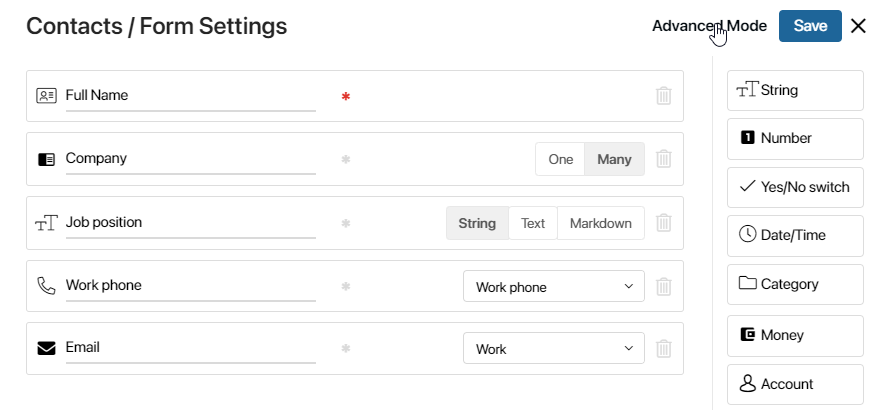
- Open the Contracts app and click the gear icon next to its name. In the menu, select Form Settings. In the pop-up, click Advanced Mode.
- The Context tab opens. Here you can add new fields that are not in the app context yet. For example, add the Responsible user field for selecting an employee to be in charge of a contract. To do this, click the +Add button and fill out the settings. As property type, select Users in order to be able to select a user of BRIX.
- Go to the Create tab. Click the <Default> link. The +Create form button appears. Click on it to go to the low-code designer.
Configure the form
You can create a convenient form by using widgets and properties located on the right panel: add different blocks to the form and enter clear instructions for users.
- Drag the Panel with header widget to the form. In Title, type Enter contract information.
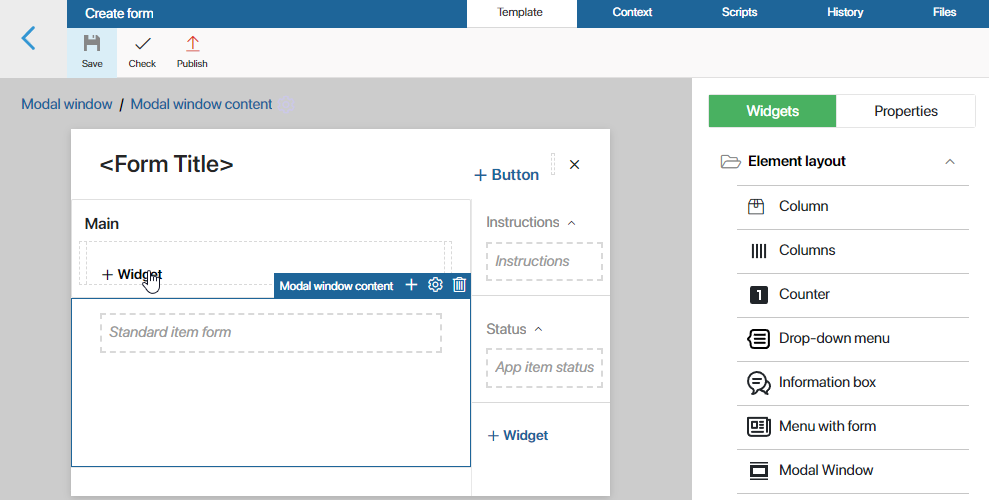
- Drag fields from the Properties tab to the panel. Here, users will enter the information: the contractor’s name, the total sum, the contract number, etc. Note that the field for the file upload is added by default. You can move it to a separate panel of needed.
- Configure the sidebar. Note that the Standard item form widget is placed there by default. This widget contains the fields you added when creating the app. As we have already added them in the previous step, delete this widget.
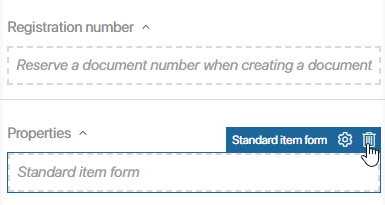
- Now, set up the field to add the user in charge of the contract. Add the Side panel widget to the side panel. Name it Control and drag the Responsible user property into it.
The final form looks like this: the main part is divided into two blocks, one for entering information, and one for uploading a file. The sidebar has a field for selecting a user in charge of processing the contract.
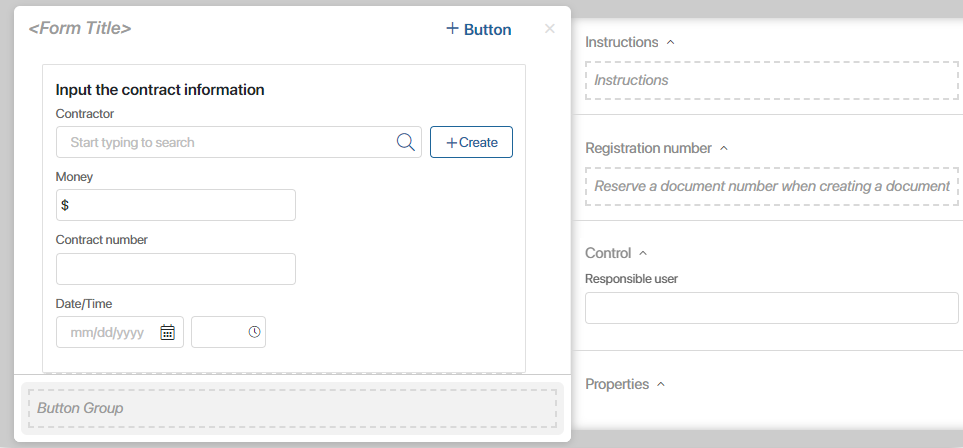
- Click the Save and the Publish buttons in the top menu to make it available for the users.
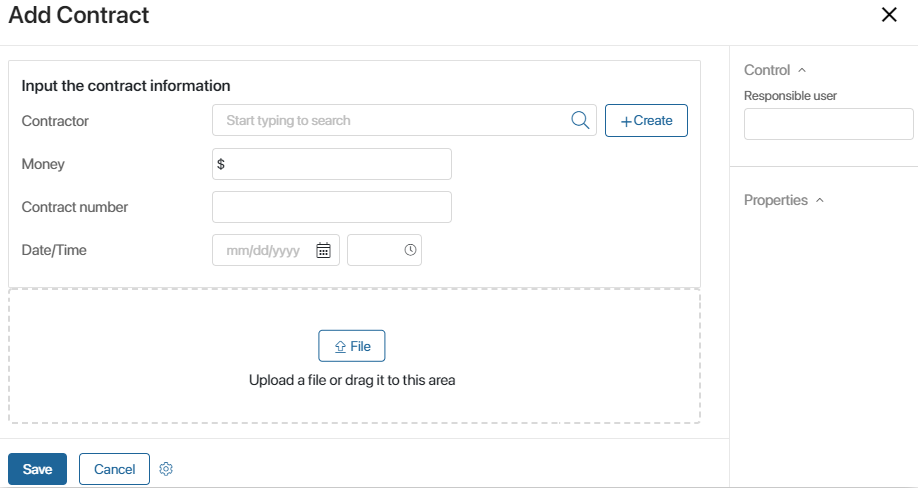
Now, the form for adding a new contract looks like this:
Add a script
Widgets allow you to create interactive forms by using simple scripts. For example, when a user hovers the mouse over a field for file upload, a window with additional information pops up.
To add a script:
- In the interface designer, go to the Context tab and add a variable of the Yes/No switch type. Let’s name it
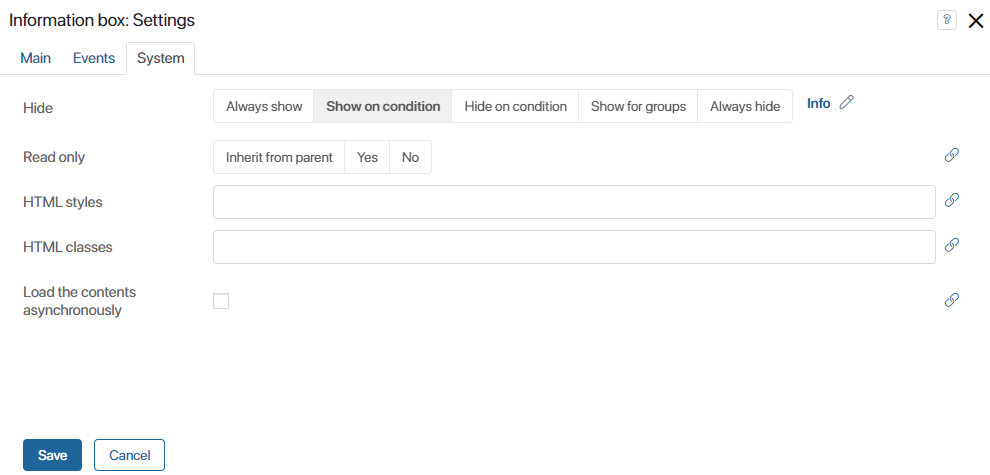
info. - Add the Information box widget to the canvas. In widget settings, enter instructions, for example, Upload a file in the .docx format. Then, go to the System tab and in the Hide field check the Show on condition option. Select the
infovariable. The Information box will be displayed if the variable’s value istrue.
- Select the Upload and preview file widget and open its settings by clicking on the gear icon.
- Go to the Events tab and add a script that will change the value of the
infovariable totrue: in the On mouse enter handler field, click Create, specify the function name: showInfo, select Save, and then click Open.
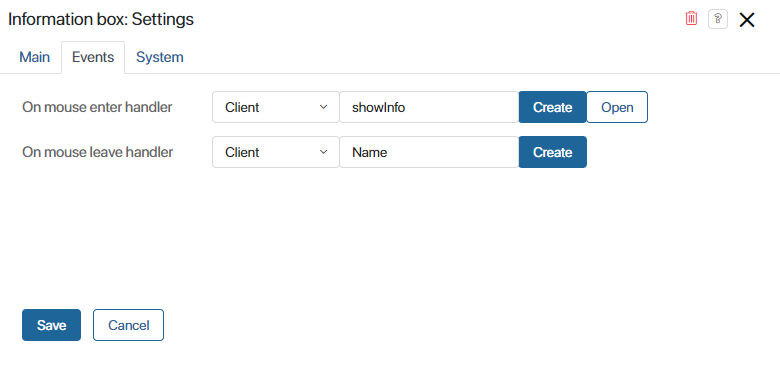
- On the provided Scripts tab, add the code to the created function. This code will determine the value of the
infovariable:
async function showInfo(): Promise<void> {
ViewContext.data.info = true
}
- Save and publish the changes.
Now when a user hovers the mouse over the area for uploading a file, the value of the info variable will change to true and instructions will appear on the page.
Found a typo? Select it and press Ctrl+Enter to send us feedback
