You can create a Contract in two ways:
- Import a contract from another company as part of the solution in the .e365 format.
- Create a contract from scratch.
начало внимание
Only users included in the Administrators group can create and configure Contracts.
конец внимание
Import a contract from a .e365 file
A contract can only be imported from another company as part of a workspace or solution. To add a contract, you must export the workspace or solution in which it is created as a .e365 file, and then import the entire contents of the file into your company. This will upload the contract with only the source apps that are part of the imported file.
Let’s look at an example of importing a contract. Suppose that in the Orders workspace you have created a Documents contract with the following sources:
Contracts app included in the Orders workspace.
Invoices app from another workspace, All Documents.
To add a contract to another company, we export the entire workspace that includes the contract. When you export the Orders workspace you will see a warning that the contract has sources from workspaces that are not exported. Continue to export the workspace by selecting export to .e365 file format.
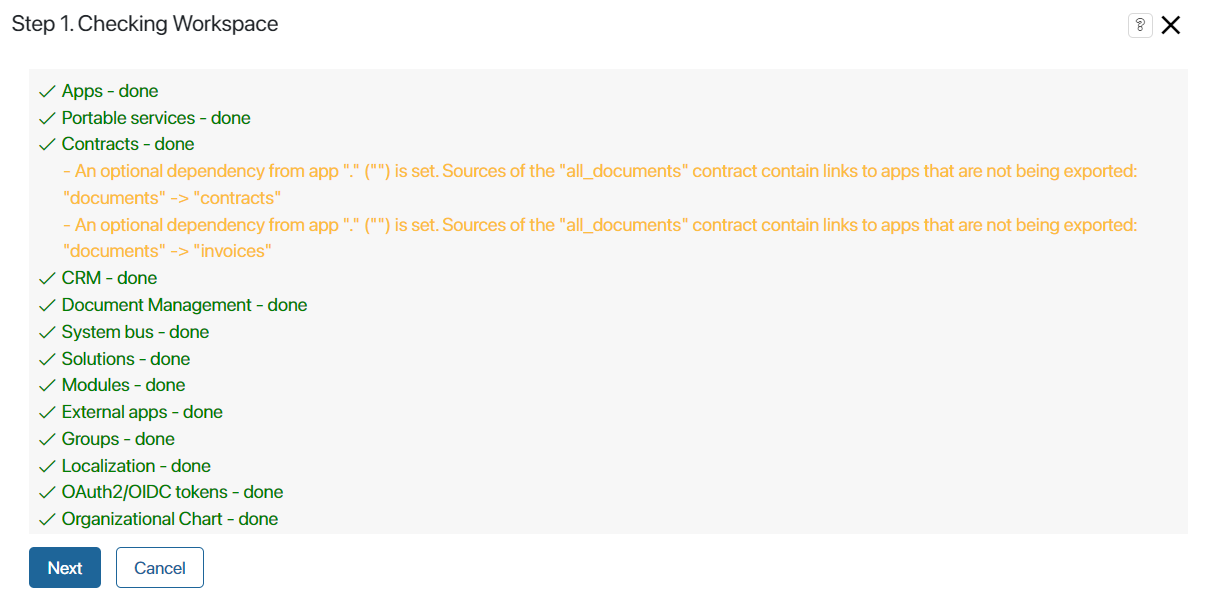
When importing the Orders workspace, the Documents contract will also be added to the company. In the list of its sources, only the Contracts app will be displayed, because the source of the Invoice has not been exported to the file.
Read more about the process of exporting and importing system components in the articles:
- Export a workspace.
- Create a workspace.
- Export a solution to a .e365 file.
- Import a solution from a .e365 file.
Create a contract from scratch
Contracts are created in workspaces. You can add a new contract the same way as a standard BRIX app:
- Open the workspace and click the Add button in the left menu.
- Select the Contract option.
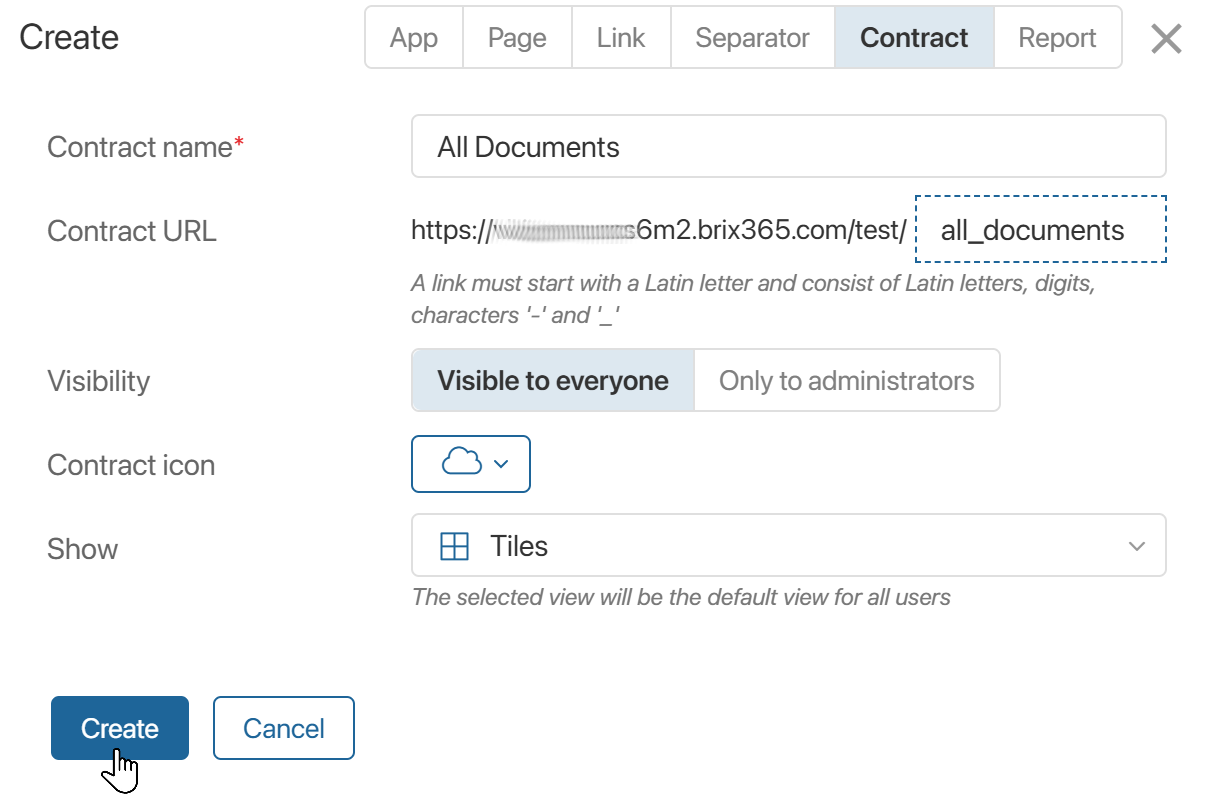
- Contract name*. Enter the contract’s name that will be displayed in the left menu.
- Contract URL. The link is formed automatically based on the contract’s name. While you’re creating a contract, you can edit this link. It is used to access the contract quickly.
- Visibility. Specify who can see the contract in the left menu of the workspace:
- Visible to everyone. The contract will be available to all users.
- Only to administrators. The contract will be available only to users included in the Administrators group.
- Contract icon. A small image assigned to the contract that is displayed in the left menu of the workspace. It helps users find the right app faster.
- Show. Choose the way items will be displayed on the contract’s page: Tiles or Table. The view you choose will be automatically applied for all users.
- Click Create.
- The Fields Settings window will display the system fields of the contract, added by default.
To work with data from different apps, add custom fields to the contract context and map them to the fields in the source apps. When creating a contract for the first time, you can skip this step by clicking Save in the upper-right corner of the window.
To edit the contract context later, go to its settings and select Fields Settings. The created contract will appear in the left menu of the workspace. You can now proceed to configure its sources.