You can use the Columns widget to structure interface elements in tasks, apps, and pages. This widget helps you to arrange any kind of information, for example, client details, order lists, names of data types, etc.
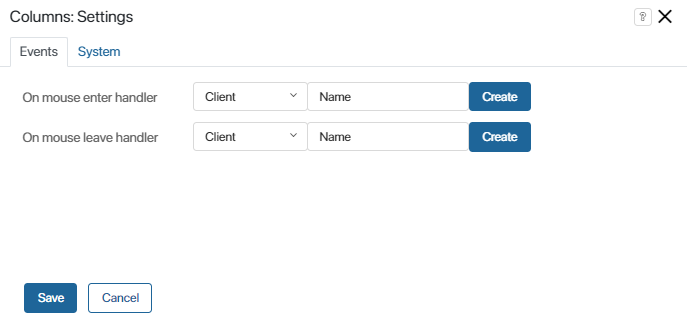
To add the widget to a form, drag it from the side panel of the interface designer to the canvas or use the +Widget button. Read more in the Form templates article. The settings window opens featuring two tabs: Events and System.

The settings on the Events and System tabs are similar for all widgets. They allow you to set the widget’s visibility and access permissions, configure the widget’s behavior when the user hovers over it, etc. To learn more about these settings, see System widget settings.
To finish configuration, click Save.
To make the form available to users, click Save and Publish in the designer's toolbar.
Column widget
By default, the Columns widget adds two columns to a form. To change the number of columns, drag the widget from the right-side panel to the canvas several times.
Moreover, you can add one additional column using the Column widget. It is set up the same way as described above.
начало внимание
You can only place the Column widget within the Columns widget added to the form.
конец внимание
Example
In the example below, the Columns widget was used to arrange the file upload element and a warning.

Found a typo? Select it and press Ctrl+Enter to send us feedback