To add a new asset, go to the CMDB app and click the +CI button. In the opened window, enter the asset details:
- The General section:
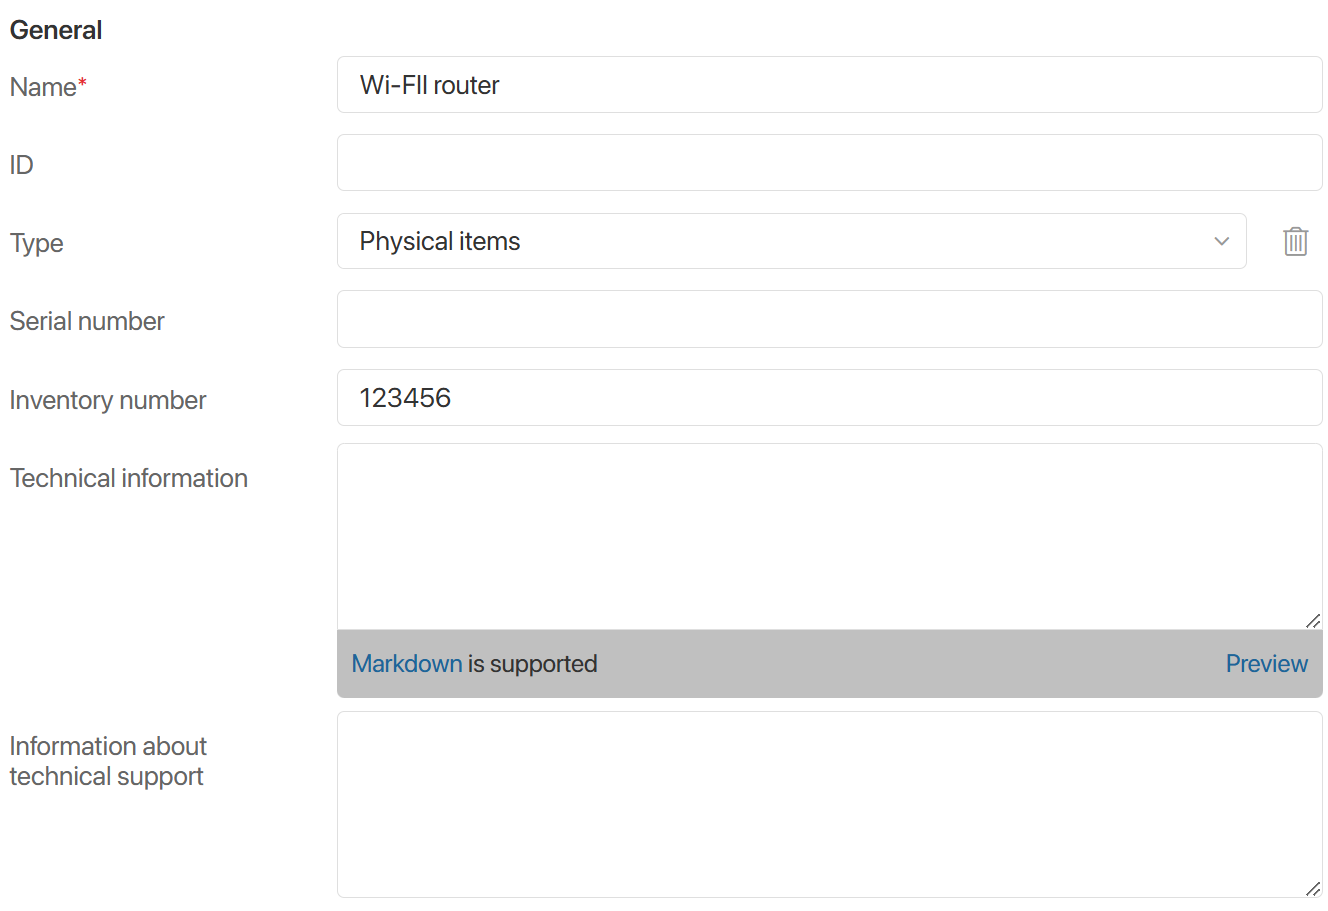
- Name*. Asset name.
- ID. Asset ID.
- Type. The category to which the asset belongs, such as IT services, Applied architecture, Physical items, Licenses and software, or Network node.
- Serial number, Inventory number. Numbers assigned to the CI.
- Technical information. Asset’s technical capabilities and operational characteristics description.
- Information about technical support. Maintenance specifics of the CI.
- The Delivery Information section:
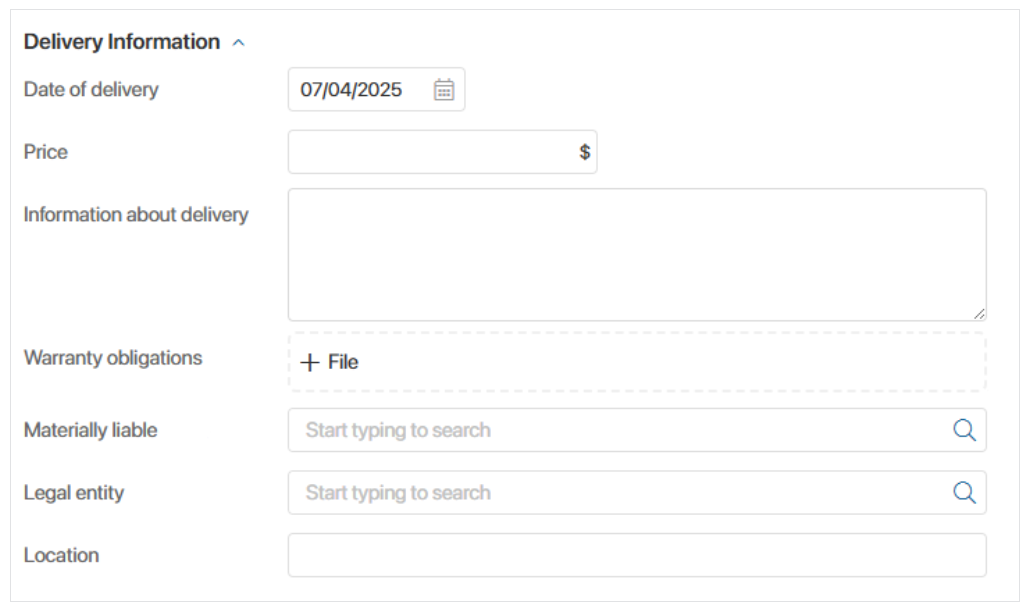
- Date of delivery. The asset delivery date to the organization’s balance sheet.
- Price. The asset value in dollars.
- Information about delivery. Information about the supplier and documents confirming the asset delivery.
- Warranty obligation. A file containing information about the manufacturer’s warranty obligations.
- Materially liable. A person who is materially liable for the asset.
- Legal entity. Specify the legal entity supplying the asset. Items from the My legal entities directory can be selected.
- Location. Specify the asset location.
- The Availability Management section:
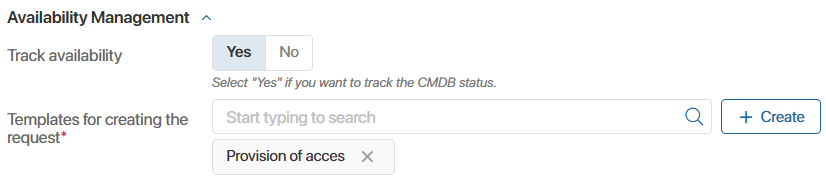
- Track availability. Select Yes to have a request automatically created in the system if the assignee sets the CI operational status to Unavailable or Partially Unavailable.
- Templates for creating the request*. An item from the Request Templates app containing the text of the request for CI inspection and repair.
- The Links section:

- Related services. Services whose delivery depends on the availability and operability of the CI.
- Parent CI. An item from the CMDB app that serves as the main CI of a set. For example, a system unit in relation to a workstation.
- Child CI. An item from the CMDB app that supports the operation of the parent CI. For example, a power supply unit in relation to a monitor.
- Associated with. Items from system apps, such as requests, whose execution is affected by the CI.
After filling in the fields, click the Save button.
The created asset will be displayed in the CMDB app with the New status.