Only users included in the Administrators group can manage the settings of project resources.
- Display the following components in the left menu of the workspace: the Resources separator, and the Resources, Resource Groups, and Workload directories. By default, they are hidden.
- Set access permissions to the Resource groups and Resources directories.
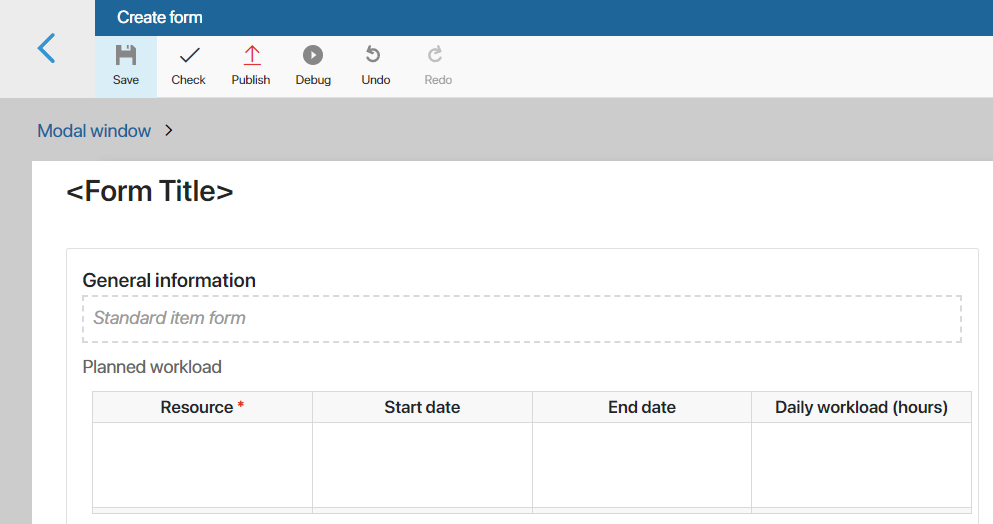
- Customize the Project Plan Element app so that you can add resources to project plan tasks. First, make the app visible in the left menu of the workspace. Then, in the app settings, go to Interfaces. Add a new Planned workload field to the create, view, and edit forms.
- Customize the app item view in the Workload app, e.g. as a table. Select in the table settings the properties of the items that the user will see and set the sorting by parameter.
- To allow sales reps to view summary data on resource workloads when working with projects, you can customize a report in the Projects workspace. You can also use the Workload app data export and search by parameters on its page.
Fill in the resource directories
To make a selection of resources available in a project task, fill in the Resource groups and Resources directories. Let’s look at the example of the Resources app to see how to do this. To create a resource:
- On the directory page, in the upper-right corner, click +Resource.
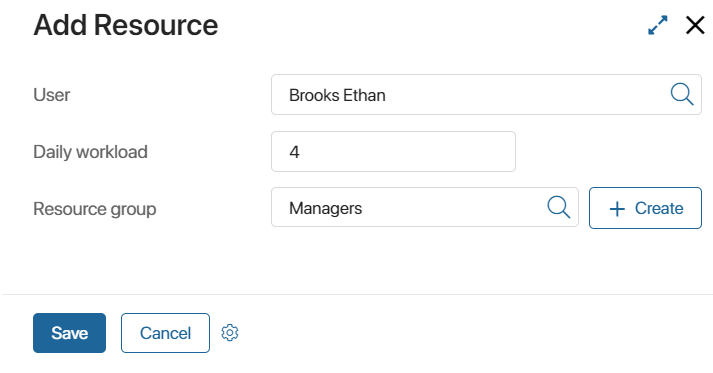
- In the opened window, select a user and also specify their daily workload in hours. To classify the new resource, select an appropriate group.