The widget allows you to group interface elements and display them in a row or stacked vertically, as well as set alignment and spacing between them.
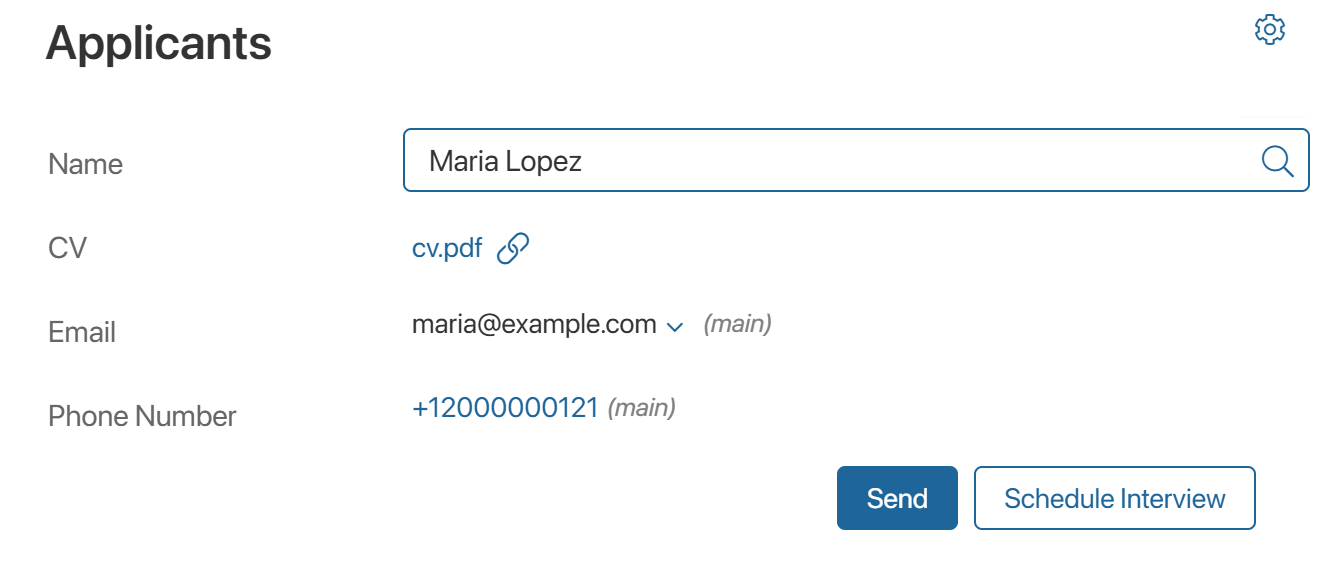
For example, on a page for searching candidates for a position, a user specifies an applicant and can launch business processes: send the candidate for review to a manager or schedule an interview. Two buttons for launching processes are placed on the page. To display the buttons to the right of the data and configure the spacing between them, they are placed in the Container widget.
Main tab
Set up the widget
To add the widget to a form, drag it from the side panel of the interface designer to the canvas or use the +Widget button. Read more in the Form templates article. Set up the widget in the window that opens.
Main tab
Configure how interface elements are displayed inside the container:
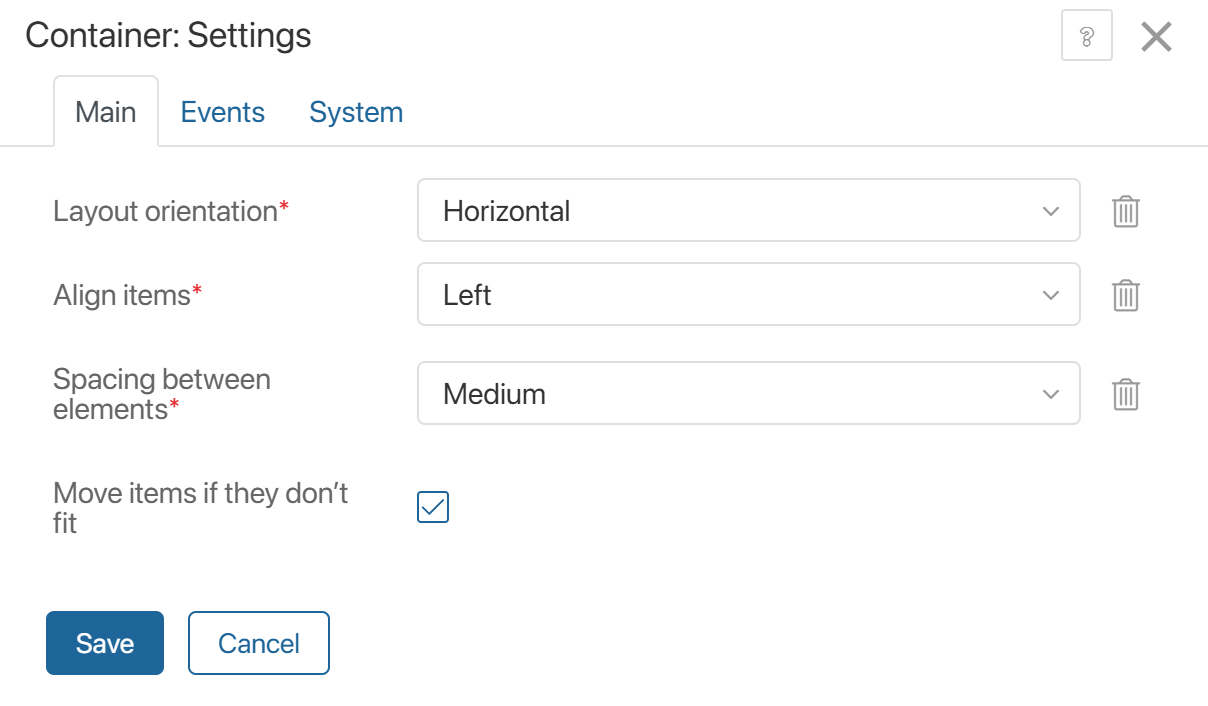
- Layout orientation*. Define how widgets added to the container are displayed:
- Horizontal. In a single row.
- Vertical. Stacked vertically.
- Align items*. Set the alignment of widgets inside the container based on their orientation:
- For horizontally arranged elements: left, center, or right. You can also align widgets to the width of the container or configure even spacing between them and the container edges.
- For vertically arranged elements: left, center, or right of the form or page.
- Spacing between elements*. Set the gap width between widgets inside the container.
- Move items if they don’t fit. This option is available for horizontal element orientation and is enabled by default. You can disable it so that widgets inside the container display in a single row and do not automatically wrap to a second line.
Events and System tabs
These tabs are similar for all widgets. They allow you to set the widget’s visibility and access permissions, configure the widget’s behavior when the user hovers over it, etc. To learn more about these settings, see System widget settings.
To finish configuration, click Save.
To make the form available to users, click Save and Publish in the designer's toolbar.