A system configuration is a structure that includes:
- Pre-built and custom workspaces and their content.
- Solutions of all types: custom, system, and business solutions.
- Custom modules.
- Business processes, groups, widgets, document templates, and other entities associated with the company.
- Organizational chart.
- Document categorization.
To avoid errors and failures, you can develop complex custom solutions that are closely related to each other and global objects first in a test environment. You can then upload all the created entities to the company where your employees work.
To implement such an approach to development it is possible to export a configuration from one company and update it in another.
Export the configuration
Once you have implemented all your ideas and created modules, workspaces, apps, and solutions, you can export the configuration to an .e365 file or upload it to the official BRIX Store catalog.
начало примечание
Note
BRIX Store will be available soon. Please export your configuration as a file.
конец примечание
To do so, follow the steps below:
- Go to Administration > Home and in the System Settings section click Configuration Export.

- In the opened window, click Start Export.
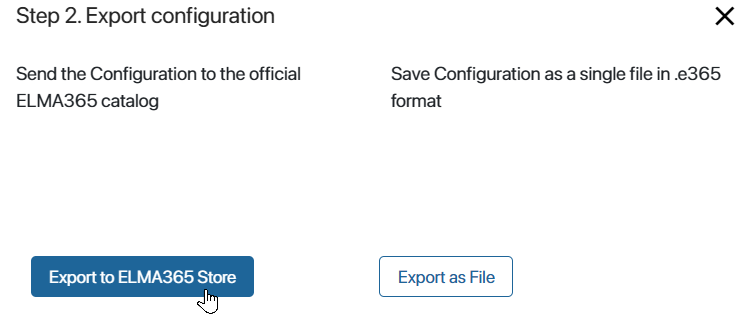
- Select how to export the configuration: save to an .e365 file or send to the BRIX Store catalog.

- The next steps will be different depending on the method you have chosen:
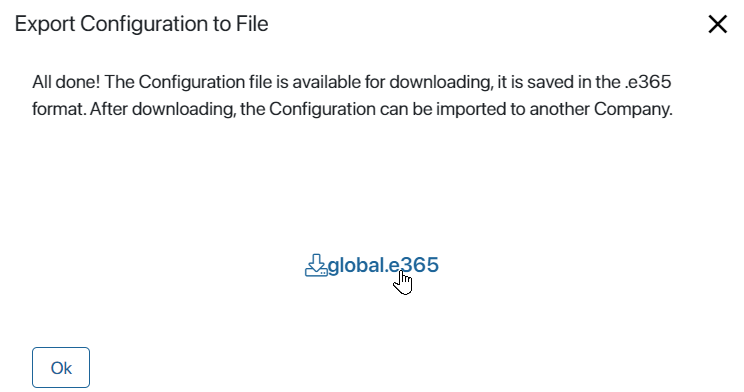
- If you select Export as File, wait until the configuration verification is complete, and then click global.e365 in the opened window and download the file to your local computer.

Users will then be able to update their company’s configuration using the .e365 file provided.
Please note that the exported configuration file with paid system or business solutions will be encrypted. If such a file is unzipped, its contents cannot be fully viewed or edited.
Sending a configuration to the BRIX Store is done in the same way as exporting a custom solution to BRIX Store.
- After selecting the option, fill in the configuration information in the opened window: specify the name, description, language, add screenshots, etc. Then log in to the BRIX Store and publish the configuration.
To update the configuration in another company, the user needs to go to the BRIX Store, download the file, and upload it to the system.
Updating configuration
To upload a new version of the configuration to the company, follow these steps:
- Go to Administration > Home and in System Settings, click Configuration Update.

- Select the .e365 file from your local computer or your BRIX files and click Next.
If you upload a configuration created or modified in a newer version of the system (e.g., 2024.4) than your current version (e.g., 2024.1), a warning message will appear. The upgrade may fail or the configuration may not work properly because the newer version may have changes that are incompatible with your version. Select whether to cancel or continue the upgrade process.
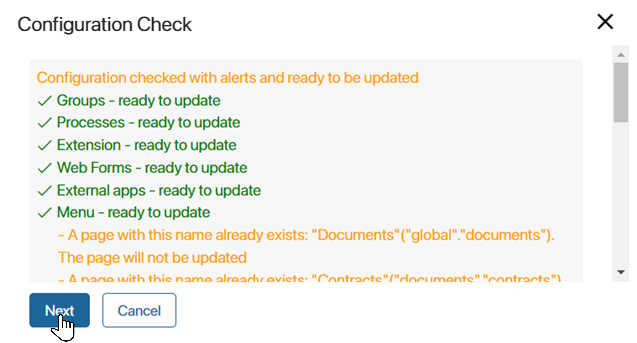
- All components included in the configuration will be checked. In the opened test window, the errors found will be displayed.
If the error is critical, for example, if the field description differs in two versions of the same app, you will not be able to update the configuration.
If the error is non-critical, for example, there is no custom solution in the current company, you will be able to continue the update. When it is finished, new solutions and their components will be added to the company.

- Click Next to continue with the update.
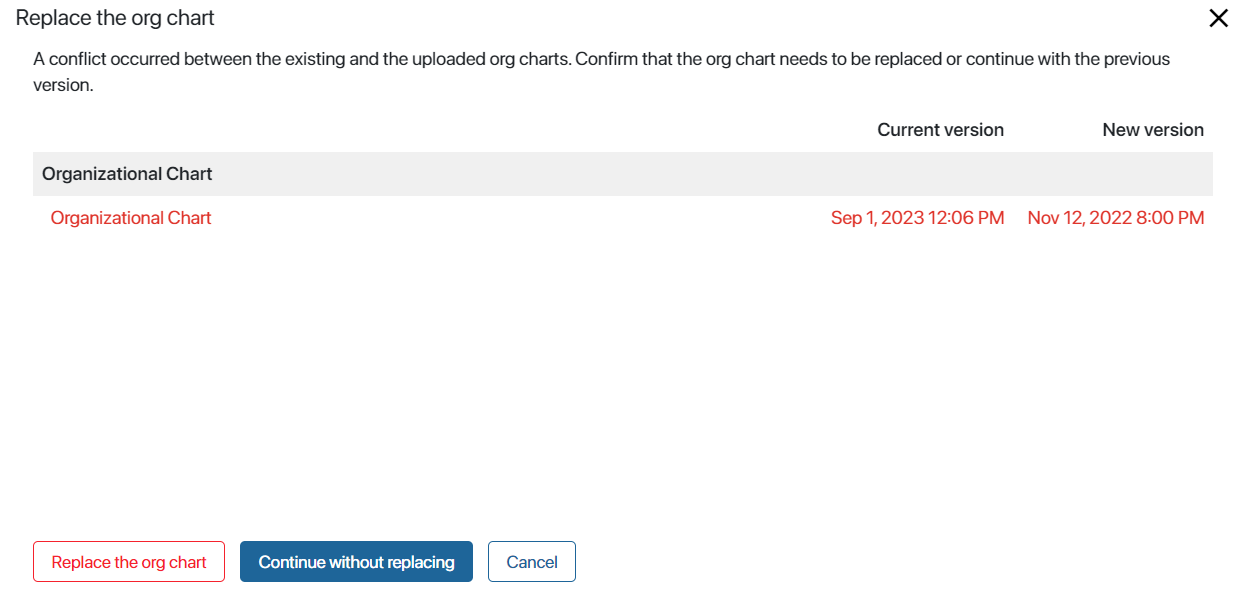
The uploaded configuration will be compared with the current configuration. Detected conflicts will be displayed in a separate window. For example, the versions of the company’s organizational chart may be different.
To continue the update, confirm the replacement of the current configuration with the configuration you are uploading. In the case of differences in the organizational chart, you can also continue the upgrade by leaving its existing version.
Cancel the update if you do not want to make changes to the current configuration.

- When the update completes successfully, click To main.

Please note that licenses for paid system or business solutions are not transferred along with the configuration. If the updated configuration includes a solution that was not previously used in the company, enter a new activation key for it. Solutions with valid licenses do not need to be reactivated.
Found a typo? Select it and press Ctrl+Enter to send us feedback