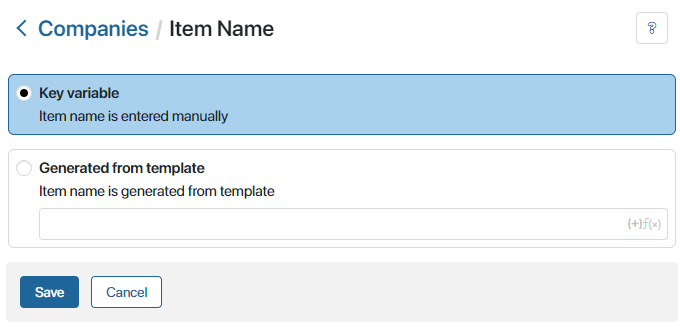
App items are entries with a specific set of fields. Items are displayed on the app page. Item names can be specified manually or generated from a template.
начало внимание
Only users included in the Administrators group can configure item name settings.
конец внимание
To configure the way app items are named, click the ![]() icon next to the app’s name and select Item Name.
icon next to the app’s name and select Item Name.
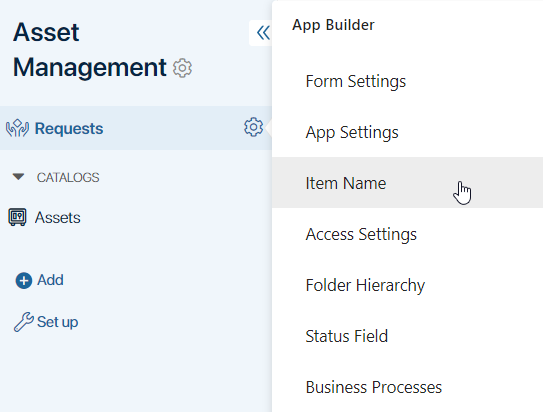
In the opened window, select one of the two options: Key variable or Generated from template.
Key variable
Select this option if you want users to enter the name of each item manually.
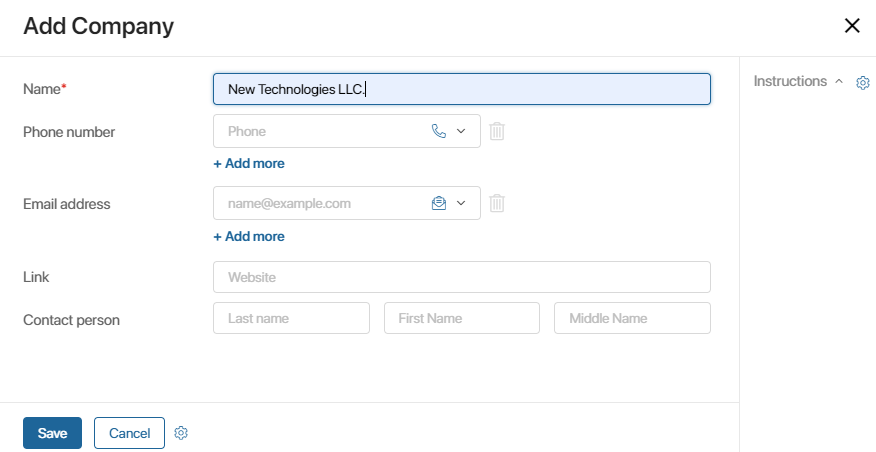
A key variable is a required field marked with the ![]() icon on the creation form, for example, it can be called Name.
icon on the creation form, for example, it can be called Name.
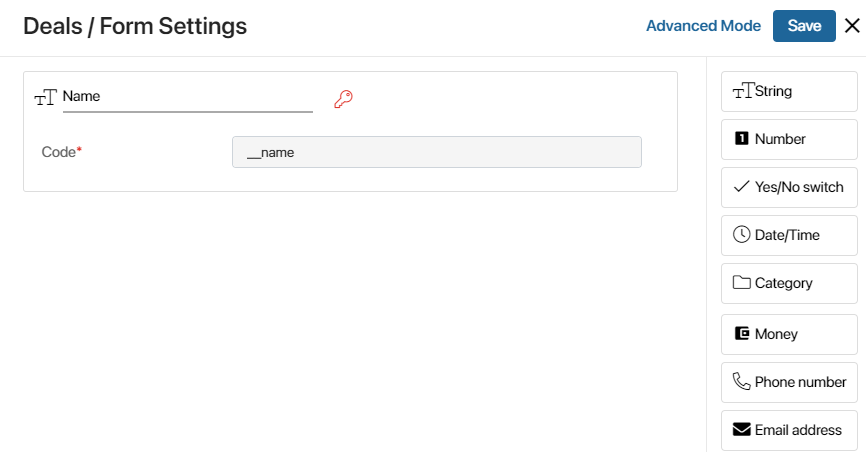
This field is set when creating the app and displayed on the app item form if the Key variable option is selected.
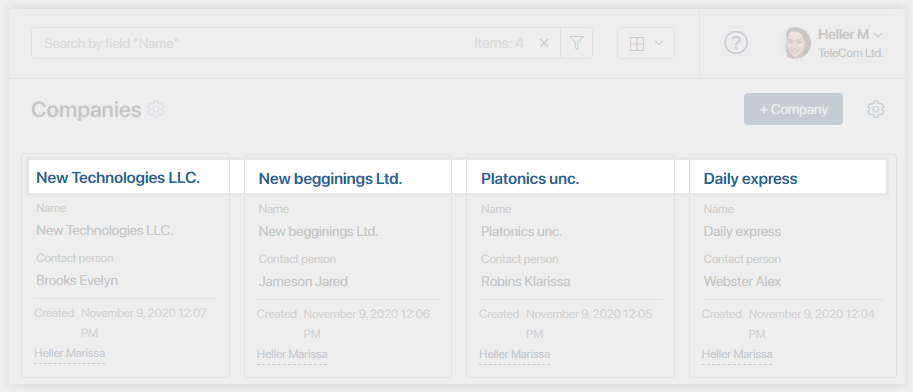
When creating a new item, the user fills out this field manually. Its value is used as the item name that is displayed on the item page and app page.
Generated from template
If you select this option, item names will be generated automatically based on the template you set.
In a template, you can use app fields, their nested properties, as well as functions, conditions, and any additional text.
Add properties to the template
To add context variables to the template, click {+} in the right corner of the Generated from template field and select the properties you need from the drop-down list.
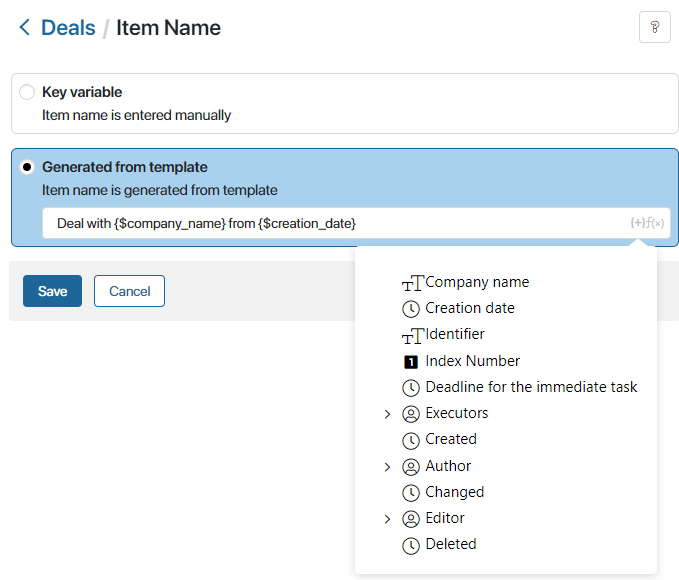
Here you can select both from the system fields, which are the same in all apps, and from the custom fields added to the app when configuring its form.
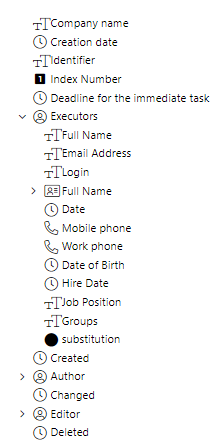
- Identifier. The item’s ID. It is used for integrating BRIX with third-party systems.
- Index Number. The serial number of an app item, for example, a contract. The index number is given according to counter settings.
- Created.The creation date of the item. By default, the full date is specified in the following format: 2025‑04‑05 10:56:06 +0000 UTC. You can change the date format using the DateTime() function.
- Author. The first and last name of the user who created the app item. This field has such nested properties as Full Name, Email, Hire Date, and Birthday. They can also be used in the template, for example, to specify only the last name of the user instead of their full name.
- Changed on. The change date of the item. By default, the full date is specified. You can change the date format using the
DateTime()function. - Editor. The first and last name of the user who was the last to edit the app item. This field has the same nested properties as the Author.
- Deleted. By default, the full date is specified. You can set the desired date format using the
DateTime()function. If you add this variable to the template, the deletion date will be added to the item’s name when it is deleted, and you will see it in search results if you apply the Deleted filter.
Add conditions and functions to the template
Apart from context variables, you can use conditions and functions in you app name template to make the name more informative.
For example, use the DateTime function to add the date and time to the name. To add the function, click f(x) in the right corner of the Generated from template field. See below for more information on using the DateTime function.
To create an even more informative name, you can include other functions by typing them in the Generated from template field. For example, you can format the string variables to change the name from singular to plural. To see the full list of functions and examples of how to use them, go to Template syntax.
Use conditions to add rules for how the item name is generated. Let’s say you have added the Priority property to the app context. If when creating a new app item you set this property to Yes, the word Urgent will be added to the item’s name. To learn more about using conditions in templates, see Template syntax.
DateTime() function
To add the DateTime() function to the template, click f(x) in the right corner of the Generated from template field.
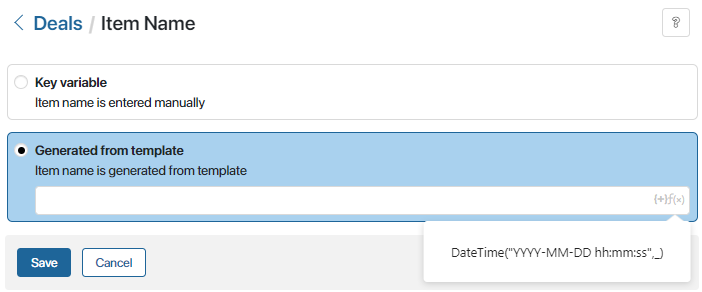
It is used to change the date format in the Created on, Changed, and Deleted fields.
By default, these dates are displayed in the full format, specifying the year, month, date, and the exact time. To change the format, add the DateTime() function to the template and insert the field you need to add instead of the underscore symbol.

Now you can specify the desired date format by typing it in quotes of the following types: " ", « », “ “, ” ”, ' '. For example, if you want to specify only the day, the month, and the year, manually change the format to {DateTime("DD-MM-YYYY",_)}:.

In this case, an item name will look like this:

Read more about the DateTime() function in the Template syntax article.
After you add all the fields and click Save, the item name template will be created. Names for items will be generated based on the values of the variables you added to it.
Change the naming method
You can change the selected naming method. In the app menu, select Item Name and choose the desired method.
- If you select Generated from template, names created manually earlier will remain the same. They will change according to the template after the items are edited.
- If you select Key variable, the key variable field will be added to the app form. In this field, you will be able to manually edit names generated from template or leave them without changes.
Found a typo? Select it and press Ctrl+Enter to send us feedback
