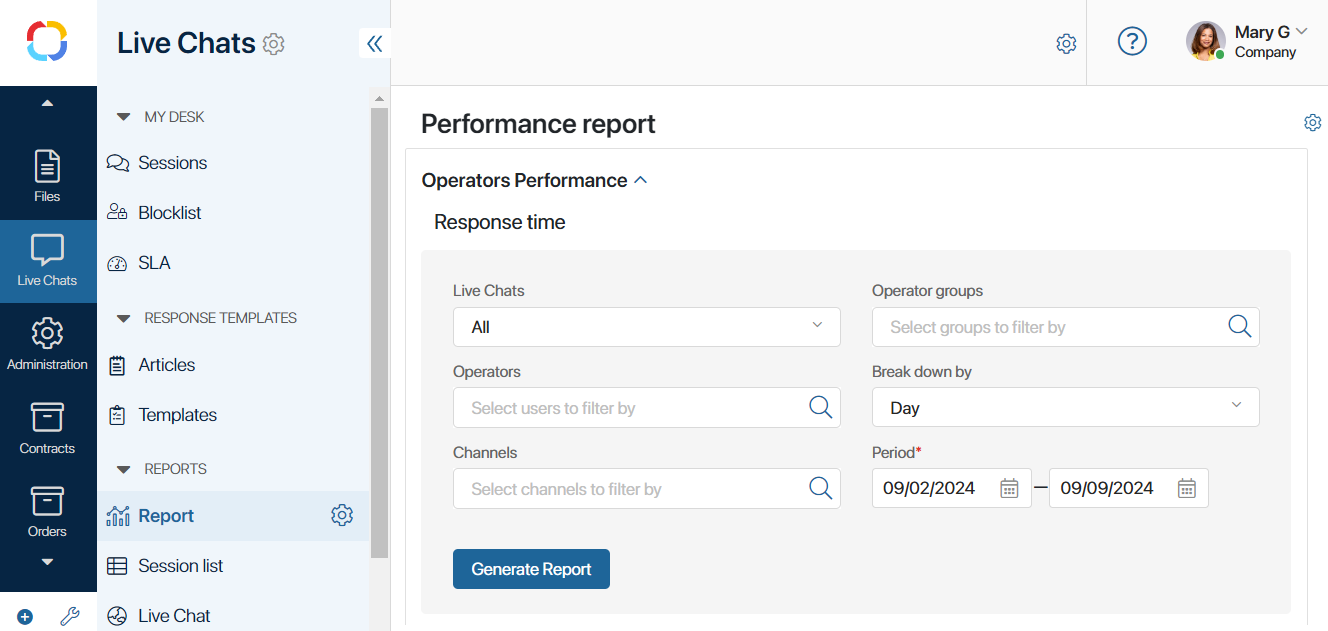
The Report tool helps you analyze the performance of your live chats. You can check the efficiency of operators for each live chat and assess the number of incoming requests.
To open the reports page, click Report in the menu of the Live Chats workspace.

There are two categories of reports added to the page by default:
- Operators Performance. Reports in this section are charts that show individual metrics for operators within a live chat. The following three metrics are available:
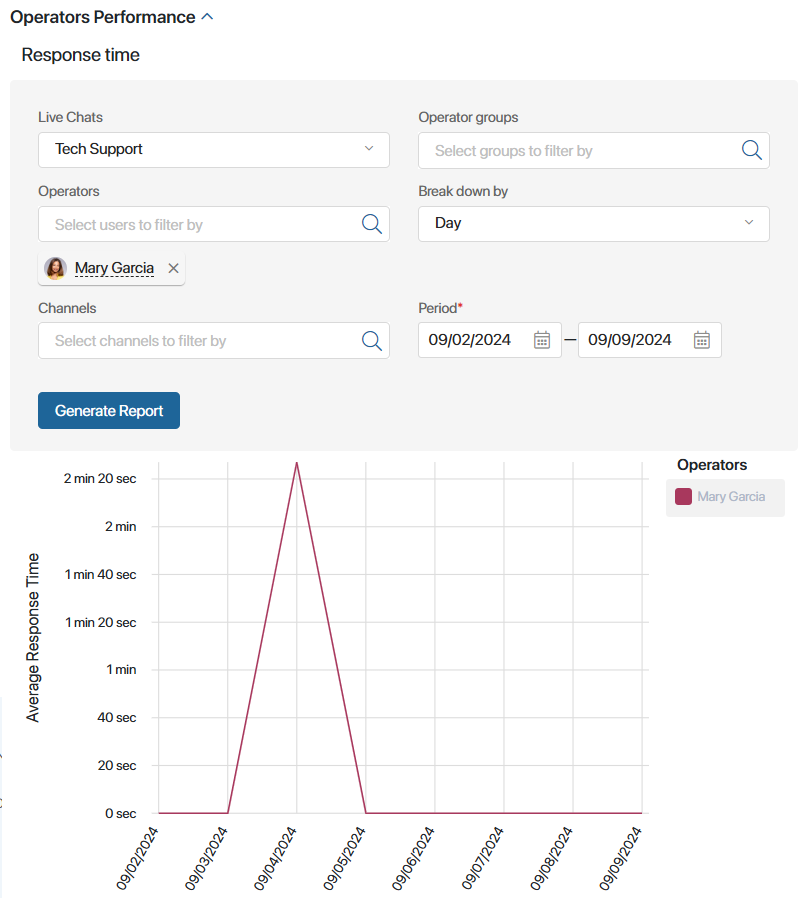
- Response time. The average time it takes the live chat operators to respond to a customer’s message.
- Wait time. The maximum time a customer has to wait in between the operator’s responses.
- Session duration. The average duration of a session before it is closed.
- Live Chat Performance. Reports in this section show the overall performance and the number of requests in a live chat. The following metrics are available:
- First response time. The average time that passes between the moment a session is assigned to an operator and the moment the customer gets a reply.
- Processed requests. The total number of requests received and processed in a live chat displayed as a live chart.
Each report is displayed via the Live Chats Report widget. You can change the layout of the page by changing the settings of the existing widgets or adding new ones. To do that, go to the interface designer, click the ![]() icon next to the page name, and select Widget Builder.
icon next to the page name, and select Widget Builder.
Generate a report
Select a report and fill out the fields.
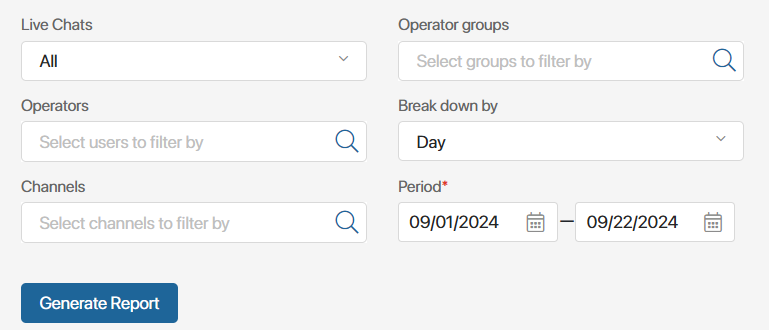
All the reports have the same set of fields:

- Live Chats. Select a live chat to analyze. If you select All, the report will include all the live chats.
- Operator groups. Click the
 icon and select a group of operators to analyze. This field is optional.
 - Channels. Click the
 icon and select the connected communication channel, for example, Telegram, by the sessions from which the report will be built. This field is optional.
 - Operators. Click the
 icon and select one or several operators. This field is optional.
 - Break down by. Select how you want to break down the report: by Day, Week, or Month. For example, if you select Month and then enter dates from January 1 to April 1 in the calendar, the chart will have four bars, one for each month. If you select Week, the chart will be broken down by weeks within the period selected in the calendar. This field is displayed in reports containing charts.
- Period*. Type in the reporting period or select it from the calendar.
After filling out all the fields, click Generate Report. The page will show a report based on the parameters that you have specified.
Note that data about sessions marked as spam won’t be included in the report.

To view detailed data from each column in the chart, hover over it.
Found a typo? Select it and press Ctrl+Enter to send us feedback