The Directories store the data used in the CRM workspace. For better usability, the data is presented as lists and tables. Each user can change the way items are displayed using the  button at the top of the page. As Directories are apps, standard settings are available for them: set up business processes and custom forms, restrict access to data, add action buttons, etc. To open the settings menu, click the gear icon next to the corresponding directory’s name.
The CRM workspace includes two types of directories:
- Directories for users. Contain supporting data for sales management, such as company products, lead sources, etc.
- Sales Teams service directory. Configured by the system administrator to assign employees responsible for sales.
Let's see these directories work.
CRM directories for users
Directory entries are available for BRIX users who have been granted permission to create items. They can go to the CRM > Directories workspace and fill out the following service apps:
- Products. Allows you to create a list of products provided by your company. Products are linked to the Leads app. When adding a lead, you can specify the product the potential customer is interested in.
Instead of the Products directory, you can use the Product Catalog workspace, which allows you to create both simple and configurable products. - Industries and Company size. Allows you to manage your counterparties. Using these apps, you can track what kinds of companies are more interested in your products. The Industries and Company size apps are linked with the Companies app. When creating a new company, you can select the necessary entries from the linked apps.
- Marketing activities. Contains records of your company's marketing activities. On the page of a marketing activity, you can assign tasks to other employees and use the activity stream to discuss questions related to this activity.
- Lead sources. Contains information about where leads come from. These can be incoming calls, a web form on your website, an email newsletter, etc. Information in this app can help you to analyze which promotion channels your company uses are most effective.
How a user can populate CRM directories
New items are added to directories in the same way. You can create them manually on the required directory page or on the page of the linked app item. The administrator can also add items automatically using the BRIX Public API or import data from other company, e. g. a test environment.
The user can add a new item manually in several ways:
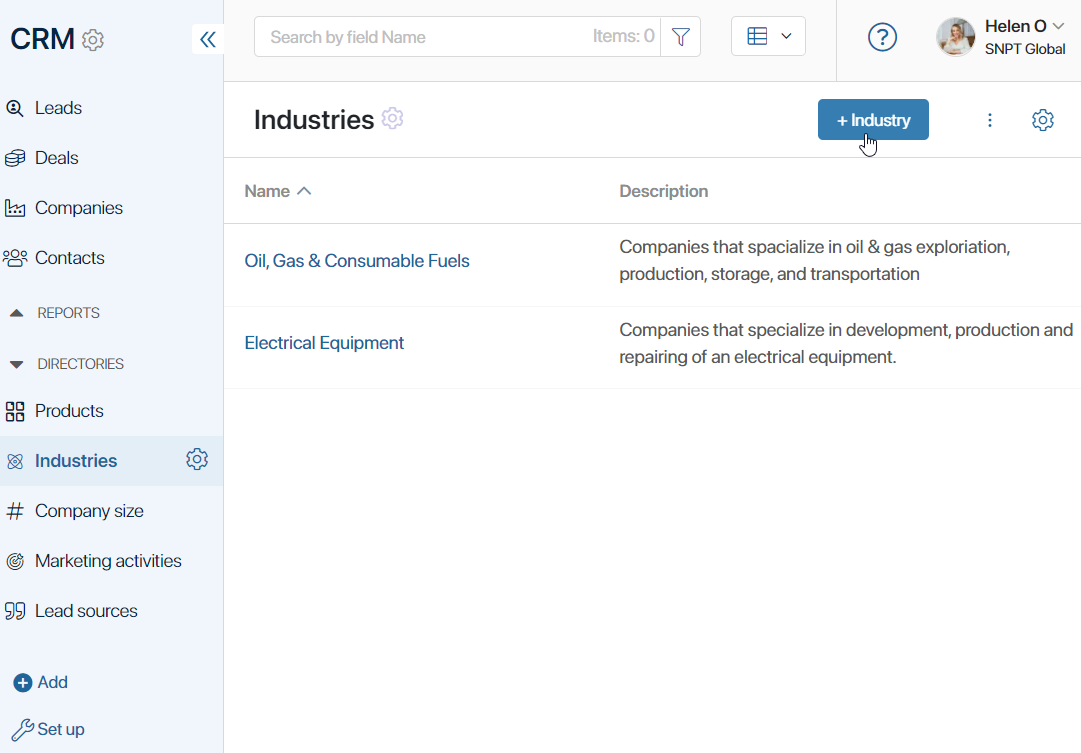
- In the CRM workspace, select the directory you need and click the +Item Name button, for example, +Industry.
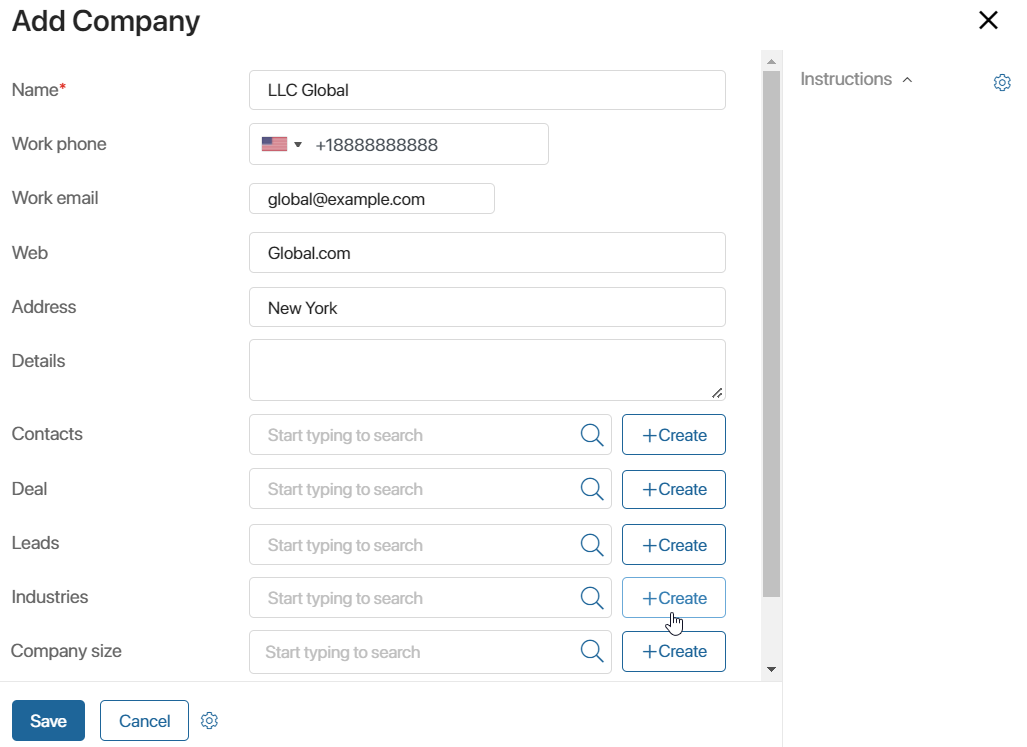
- On the creation or editing page of an item of a bound app, click the +Create button or the
 icon. For example, when you create a company you can also create an industry the company belongs to.
When you create a new item in Directories, the only required field is Name. All other information can be specified later on the item’s page.
Sales Teams directory
Unlike other directories, only system administrators have access to the Sales Teams app.
This directory helps categorize sales employees, for example by company branches.
How to populate the Sales Teams directory
The system administrator can add sales teams in one of the following ways:
- Adding records manually.
To do this, go to the Sales Teams directory page, click the + Sales Team button in the upper right corner, and enter the data in the window that opens.
After adding a sales team, a corresponding user group is automatically created. A record of this is stored in the directory settings on the Groups and Roles page. The user group can be used:
- To configure access permissions to CRM apps.
- When creating individual and group sales goals in the Incoming Payments workspace.
The participants of a user group can be changed by editing the corresponding item in the Sales Teams directory.
- Importing records from another company.
This method is available starting with system version 2026.6 if sales teams are already configured in another company and need to be migrated to the current one.
To migrate sales teams and their associated user groups:
- Include the Sales Teams app in a custom solution and export that solution.
- Import the solution with the Sales Teams app into the other company. In the new company, the items of the Sales Teams app will be added with the same IDs that were used for these items in the original company.
- If you need to populate the imported items with values from the original company, additionally export data of the Sales Teams app and import it into the new company. When importing, disable the Ignore event handler option.