A web form is a form where a user can enter data (for example, a phone number and an email) and send it to you. You can use these forms to accept orders, create email databases for newsletters, collect feedback from clients, and so on. Web forms can be created in BRIX.
How to use web forms
Suppose a visitor comes to your website, reads information about your product that catches their interest, and clicks on the Learn more button. A new window opens where the visitor enters their name, email address, and phone number. This data is sent to the CRM workspace, and a new lead is automatically created in it. Now your sales reps can start working with the lead, for example, schedule a phone call or send information to the potential client by email.
Set up a web form
To set up a web form, you will use properties from the app context. Note that only fields of the String, Number, Yes/No switch, Date/Time, Category, Phone number, Email, and Files data types can be used on web forms. Fields of other types are not available.
Let’s see how you can create a web form with the Leads app as an example.
- Click the gear icon next to the app name. In the app menu, select Web Forms. You will see a page with all forms you created in the app.
- In the upper right corner, click +Web Form. You will see a window with two tabs: Form Builder and Settings.
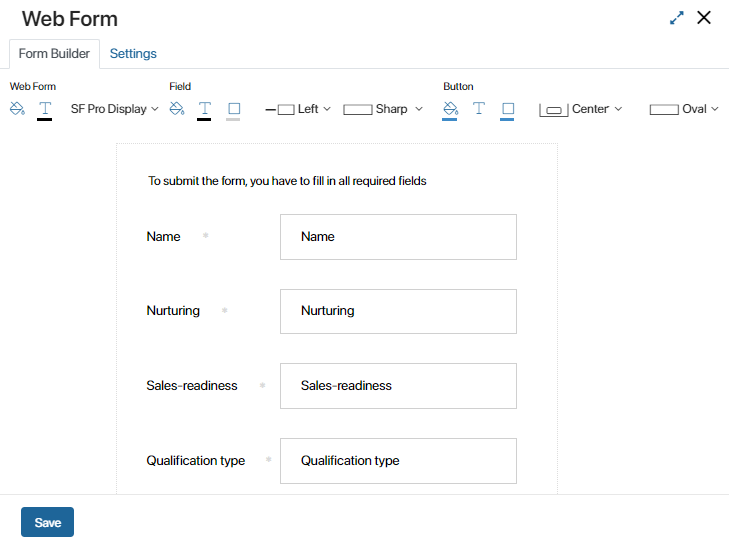
- On the Form Builder tab, set up the layout and content of the form.
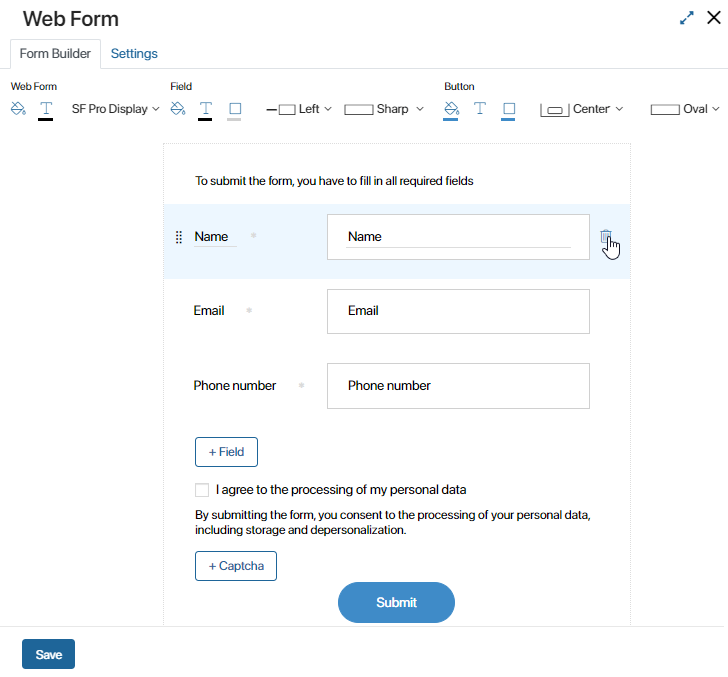
The form includes all the fields from the app context that have a type suitable for web forms. You can edit the names of the fields or make them required by clicking the asterisk icon next to them. To delete a field, click the recycle bin icon. You can also change the font and other text parameters, the background color, and the order of fields and buttons on the form.
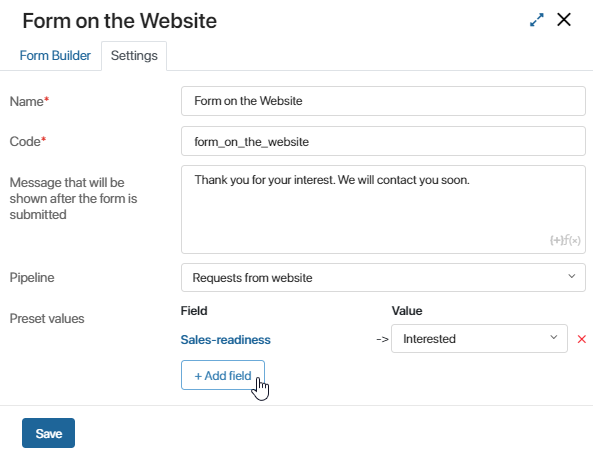
- Go to the Settings tab. Here you can set the following:
- Name*. Name of the web form in the system.
- Code*. Code of the web form used to work with APIs. It is formed from the form’s name when it is created.
- Message that will be shown after the form is submitted. The message that clients will see after submitting the form.
- Pipeline. The pipeline that a new app item will be created in after the client submits the form. This option is available for the Deals and Leads apps.
- Preset values. Select fields from the app context and set values for them that will be assigned when the form is submitted. For example, all leads who filled in the form on your website can be marked as Interested. To do that, select the Sales‑readiness field and set it to the value you need.
- Save the form.
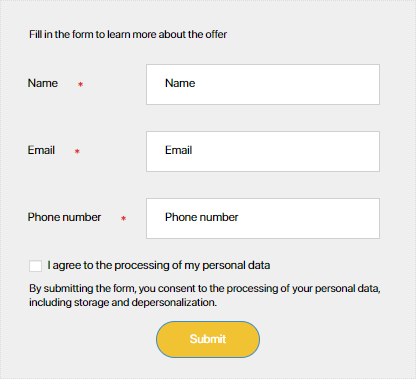
Here is what a web form may look like:
Add the form to your website
Now you can add the form to your website. Open the form by clicking on its name in the list of forms. You will see that the form has a new tab, Embed Code. Copy this code and place it wherever you want on your website.
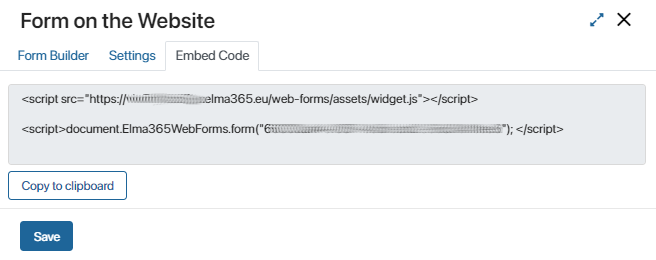
If you need to edit the form, return to the Form Builder tab and make any changes you need.
You can create web forms in other apps in the same way, for example, to collect feedback and suggestions from your clients.
Found a typo? Select it and press Ctrl+Enter to send us feedback