
The WOPI module can be used to set up integration with any online document viewing and editing service that supports the WOPI protocol (Web Application Open Platform Interface). For example, you can connect Microsoft 365 and work with documents in the BRIX interface.
To configure the integration:
- Download the office suite from the official website and install it on the system you are using. This can be either BRIX or a standalone digital loop.
- Import the WOPI module into BRIX.
Install and configure the WOPI module
The module can be downloaded from the BRIX Store catalog or as a .e365 file.
To do this:
- In BRIX, go to Administration > Modules and click the + Module button in the upper right corner.
- In the window that opens, navigate to the BRIX Store or select the Upload File link and add the .e365 file.
- Wait for the validation and installation to complete. Then click Go to Module.
- On the page that opens, fill in the fields:
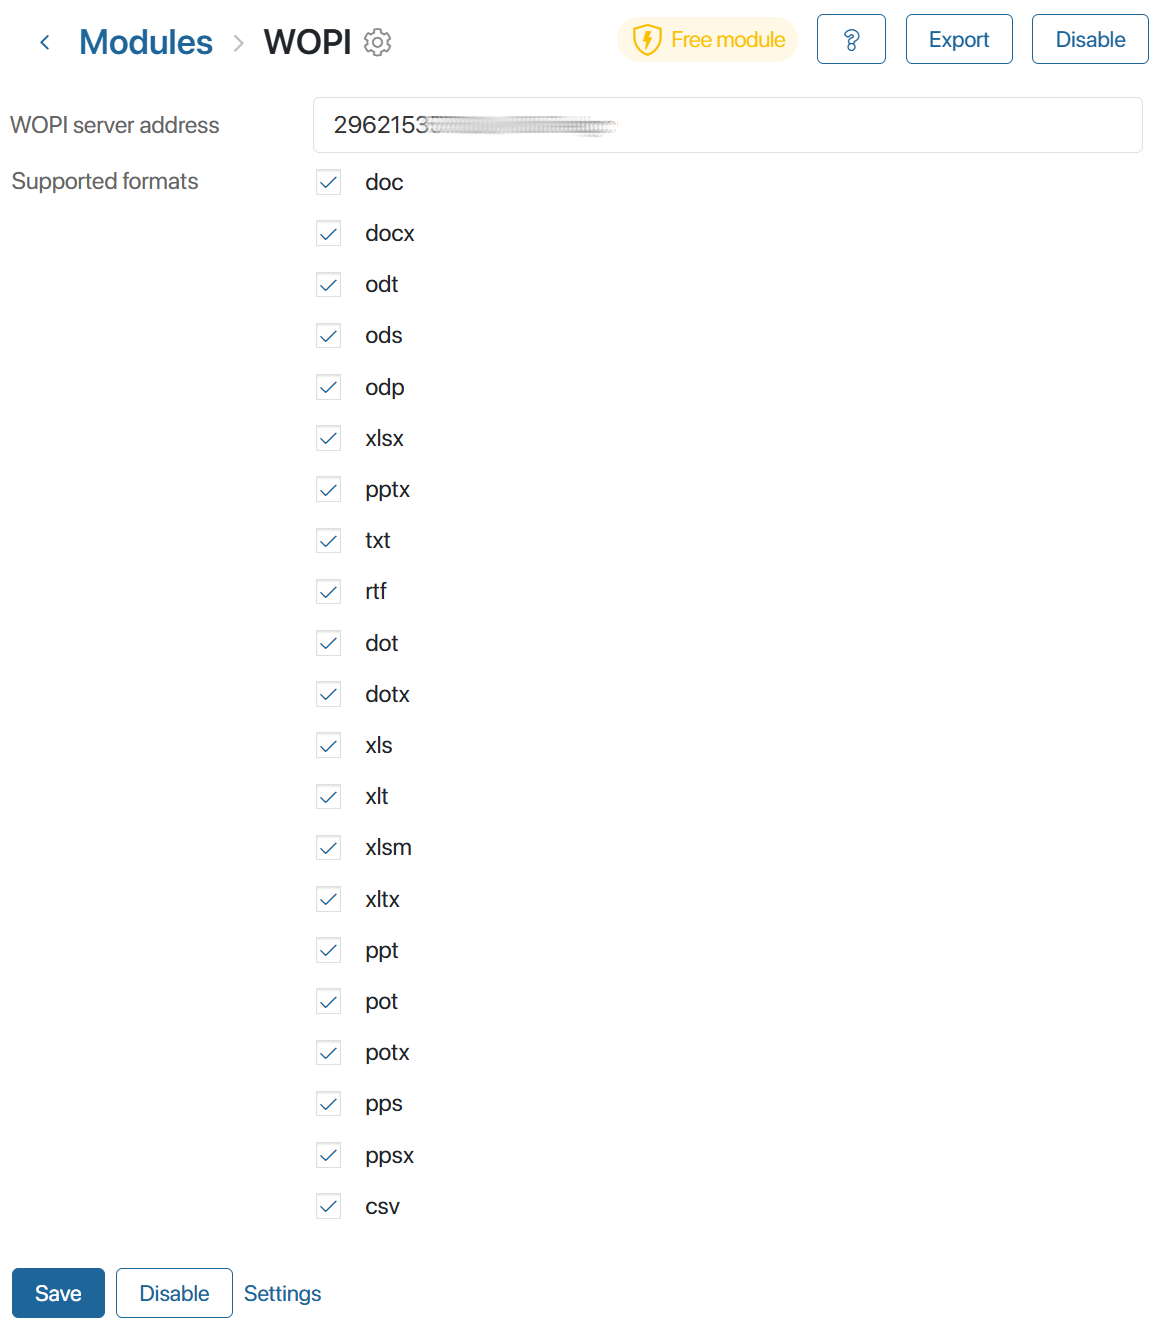
- WOPI server address. Address to the server of the office suite, e.g. Microsoft 365, in the
https://name.domain.com/format. - Supported formats. Check the file formats you want to work with in the module. You can check all the options at once.
- Save the settings.
Office suite application via WOPI protocol
After setting up the integration of the WOPI module with the office suite, you can view and edit files on the app forms of the Document type and in the Files workspace.
If you want to work with files in apps of other types, place the Upload and Preview File widget on their forms.
Was this helpful?
Found a typo? Select it and press Ctrl+Enter to send us feedback