Let's look at an example of creating and configuring a custom Calculator widget, which performs a specific accounting operation selected in its settings. The set of operations, their parameters, and calculation formulas are stored on the server and can be updated and extended.
You can place several such widgets on a page and configure each to perform a different operation.
User actions with the Calculator widget
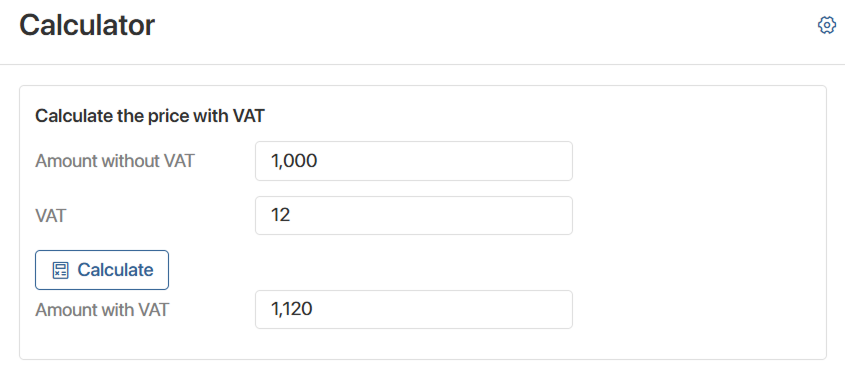
For the user performing calculations, the Calculator widget looks like a button on the page. There can be several of them.
The user fills in the fields with the initial data for the accounting operation and clicks the Calculate button. This triggers a request from the widget script to the server to perform the calculation. The result returned by the server is displayed on the page in a separate field.
For users to be able to use the Calculator widget, the system administrator performs the following configuration steps:
- Create the Calculator widget.
- Place the Calculator widget on the page and configure it for users.
Create the Calculator widget
Let's look at how to create the Calculator widget with dynamic context. In our example, we'll use scripts that retrieve prepared lists of operations, their parameters, and formulas from additional functions instead of sending requests to the server.
Follow these configuration steps:
- Add the widget at the workspace level where it will be used.
- Create properties in widget context.
- Create the widget settings form.
- Configure the widget's appearance and set up calculations.
Step 1: Add the widget at the workspace level
- In the settings of the workspace where the widget will be used, select Interfaces and on the page that opens, click + Create.
- Enter the Calculator name and the widget code, then save the settings.
- Click the name of the added widget. This opens the widget builder in Interface Designer.
Step 2: Create properties for the Calculator widget
In the widget builder, go to the Context tab and add the following properties:
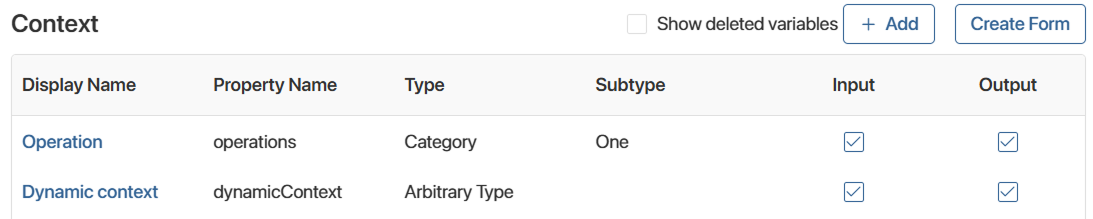
- Operation (code: operations): the Category type with the One option. Used on the widget settings form to select an operation. Stores the list of operations retrieved from the server via a script. The request to the server is sent after the widget is placed on the page when the widget settings window opens. In the property settings, leave the Values field empty, since the list of operations is not known at the stage of creating the Calculator widget.
- Dynamic context (code: dynamicContext): a system property of the Arbitrary type. It allows you to use a script to retrieve a list of parameters and their types in .json format for the values that will be available for selection in the Operation field.
Save the widget.
Step 3: Create the settings form for the Calculator widget
At this step, set the settings form of the Calculator widget, which opens in Interface Designer after the widget is added to the page. On this form, the system administrator selects an accounting operation from the list and maps its parameters to the page context.
- In the widget builder, on the Context tab, in the upper-right corner, click Create Form. This opens the settings form builder for the Calculator widget.
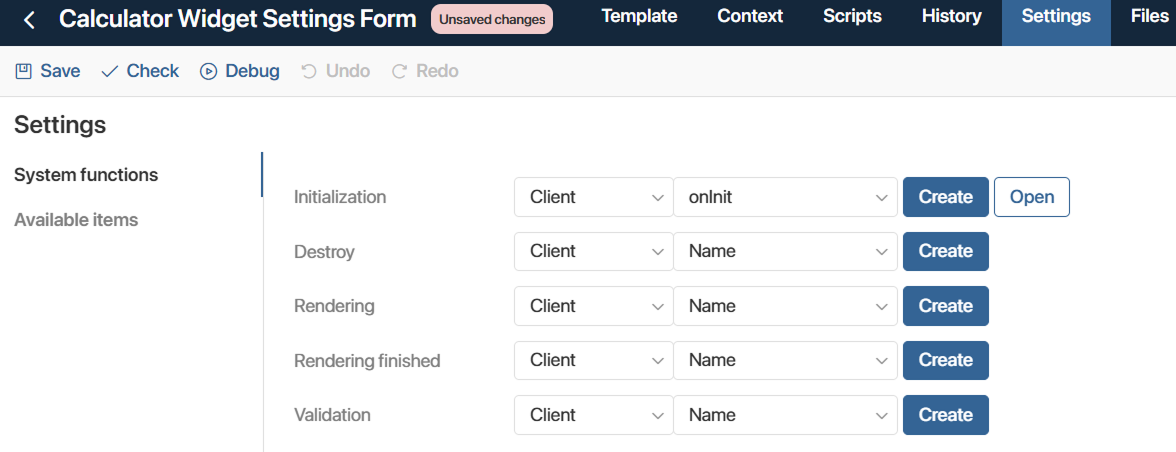
- Add a function to retrieve the current list of operations from the server. This function runs when the system administrator adds the Calculator widget to the page and the widget settings open. The retrieved values are saved in the Operation property and become available for selection.
To do this, go to the Settings > System functions tab and, in the Initialization field, add the onInit function.
Example script for getting the list of accounting operations
async function onInit(): Promise<void> { |
- Go to the Template > Main tab, remove the default Standard settings form widget, and add the Operation property. In this field, the system administrator selects an operation from the list retrieved using the onInit function.
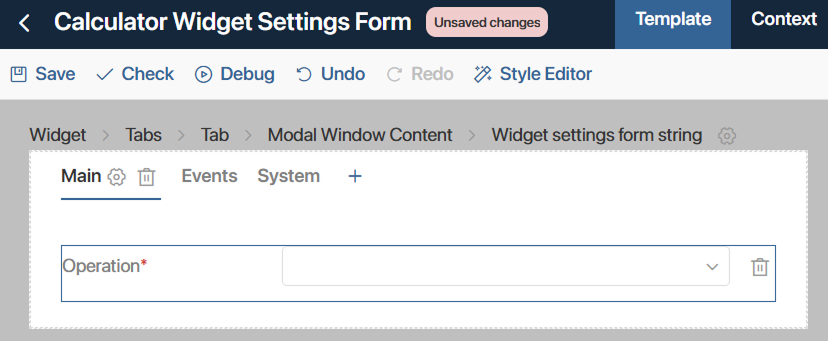
- Go to the settings of the Operation property and set the following parameters:
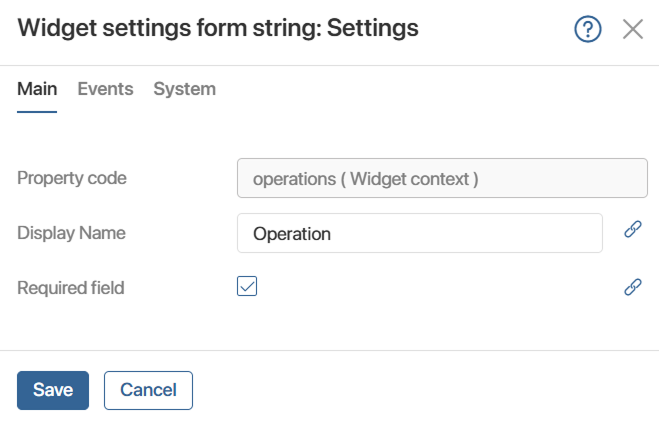
- On the Main tab, enable the Required field option.
- On the Events tab, in the On value change handler field, set a call to the operationChanged function, which requests from the server the set and types of parameters for the operation selected in the Operation field. This data is saved in the Dynamic context property.
The list of parameters returned by the request must have the DynamicBindingFields type. If the retrieved data is of a different type, convert it so it can be saved in the arbitrary-type property.
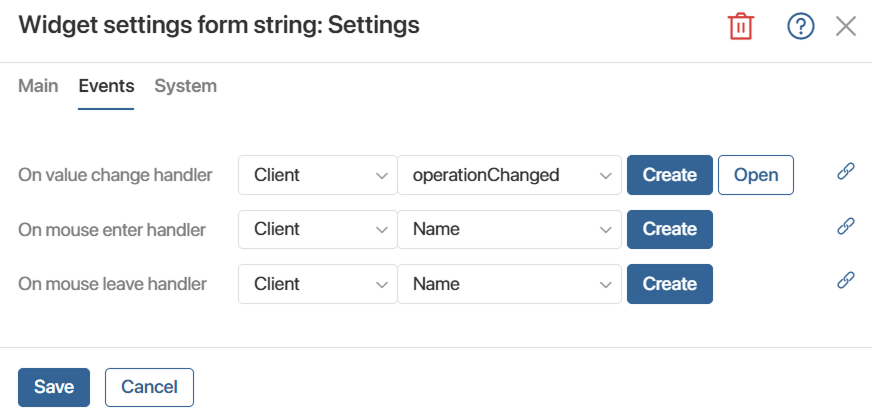
Example script for getting the list of parameters for the selected operation
async function operationChanged(): Promise<void> { |
- Go to the Template > Main tab, and add the Dynamic binding widget to the design form. It lets you display the set of properties retrieved by the operationChanged function, and map them to the context of the page where the widget will be placed.
- Configure the settings of the Dynamic binding widget:
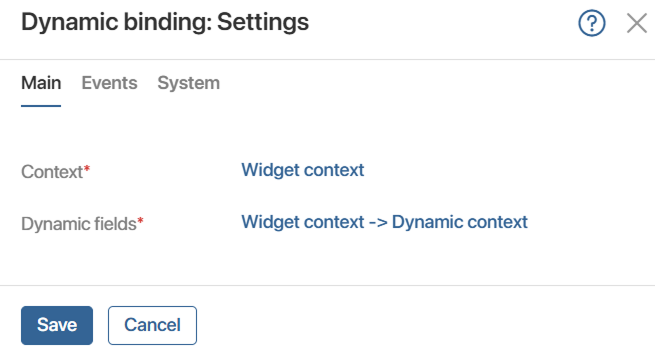
- Context*: It is populated in automatically.
- Dynamic fields*. Select the Dynamic context property of the Arbitrary type.
- Save the settings of the Dynamic binding widget, and then the settings form of the Calculator widget.
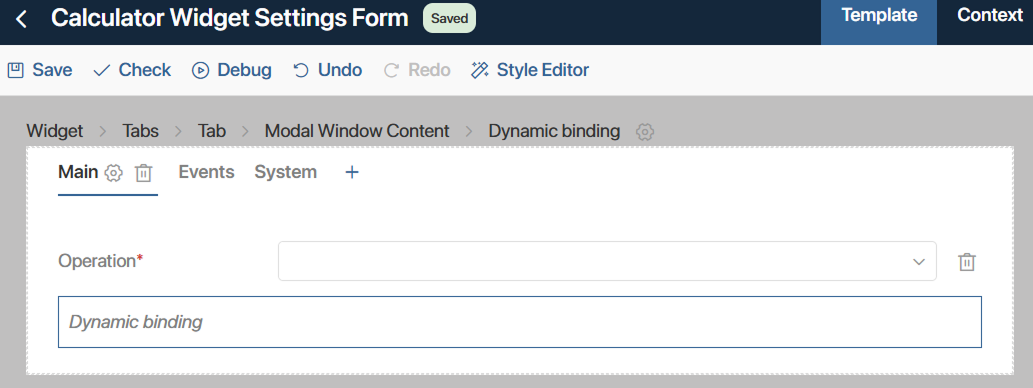
- Return to the Calculator widget builder by clicking the icon
 in the upper-left corner of the widget settings form.
Step 4: Configure the appearance of the Calculator widget and set up calculations
- In the widget builder, on the Template tab, place the Button widget.
- Configure the settings of the Button widget:
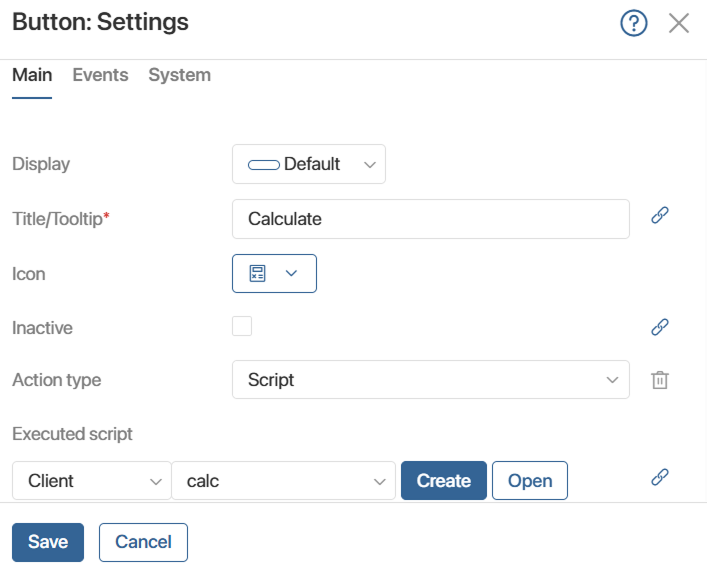
- Set the title as Calculate.
- Select the Script action type and create the calc function, which runs when the user clicks the Calculate button.
- Set the script for the calc function. In this function:
- Set the operation that the system administrator selected in the settings of the Calculator widget, in the Operation field.
- Set the input parameter values entered by the user on the page. These values are written to the page context and, through mapping in the Dynamic binding widget, saved to the Dynamic context variable. From the variable of the Arbitrary type, values are retrieved using the Context.data[`dynamicContext.${ key }`] template.
- Send a request to the server to calculate the result, passing the source data. The result returned by the server is written to the output parameter result of the Dynamic context variable:
Context.data[`dynamicContext.result`] = result;
Example script for getting the calculation result
async function calc(): Promise<void> { |
- Save and publish the Calculator widget.
The widget is now ready to be placed on a page, where it will be available to users.
Configure the Calculator widget for users
On the page where the Calculator widget will be used, follow this configuration sequence:
- In the page builder, on the Context tab, create properties to store:
- The input parameter values for the operation, entered by the user on the page.
- The output parameter value, retrieved from the server using the script.
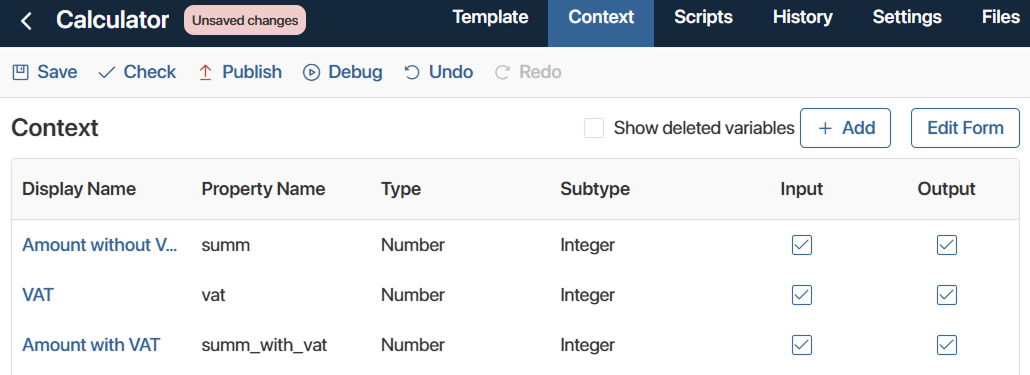
- Go to the Template tab, place the properties you created, and add the published Calculator widget.
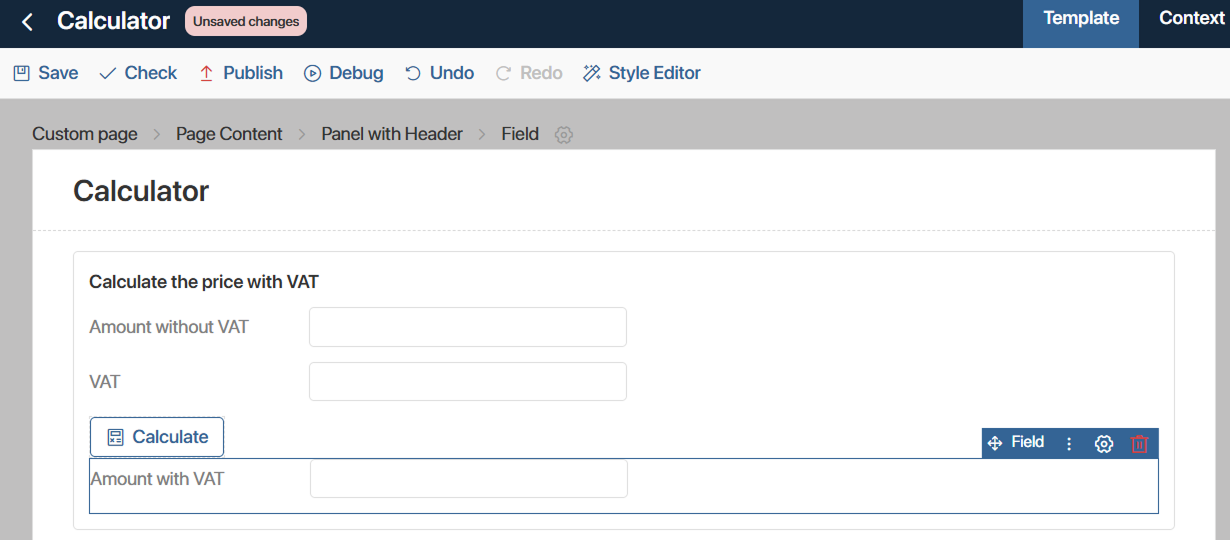
This runs the initialization script for the widget settings form. The current list of accounting operations loads from the server and is saved to the Operation variable with the Category type. The widget settings window opens.
- Select the operation that users will perform using the widget.
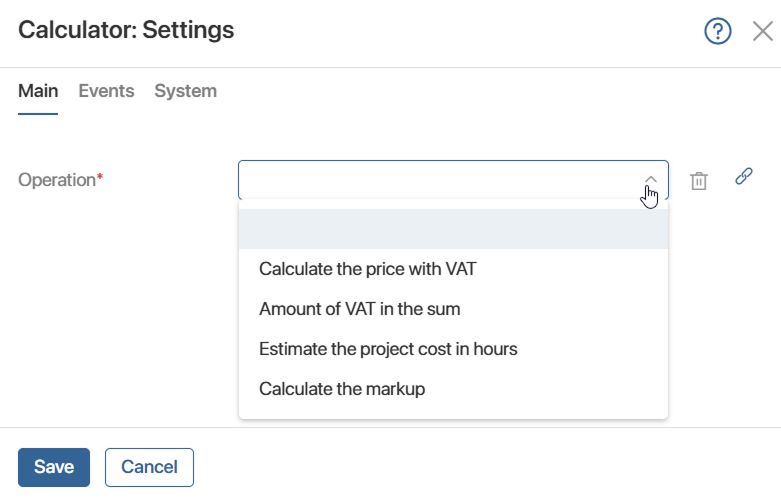
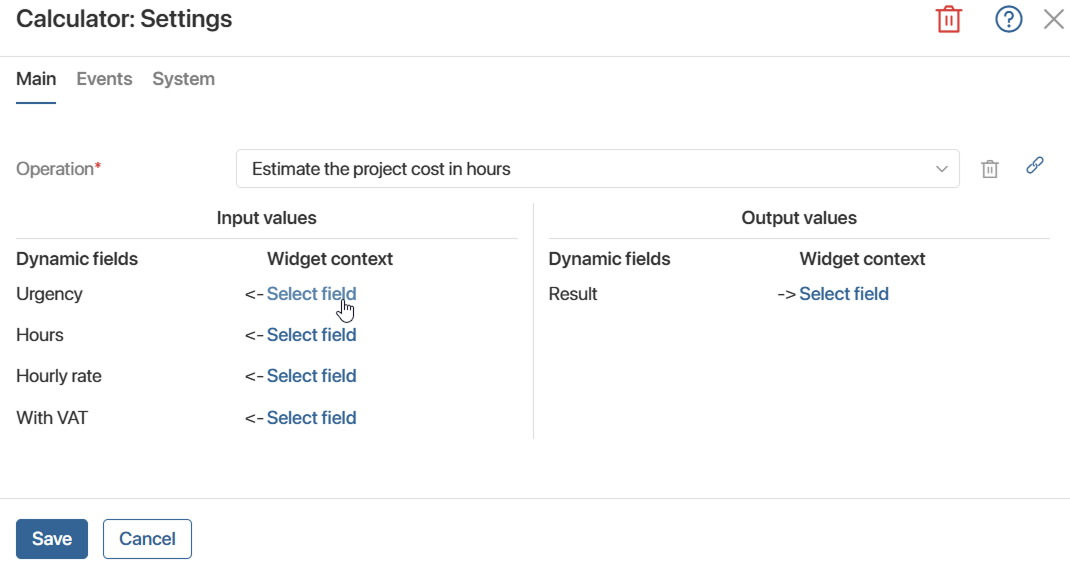
The script then runs again, and the parameters of the selected operation load from the server. They appear in the settings of the Calculator widget, shown by the Dynamic binding widget.
- Map the parameters of the selected operation to the page context in the Dynamic binding widget. Save the settings of the Calculator widget.
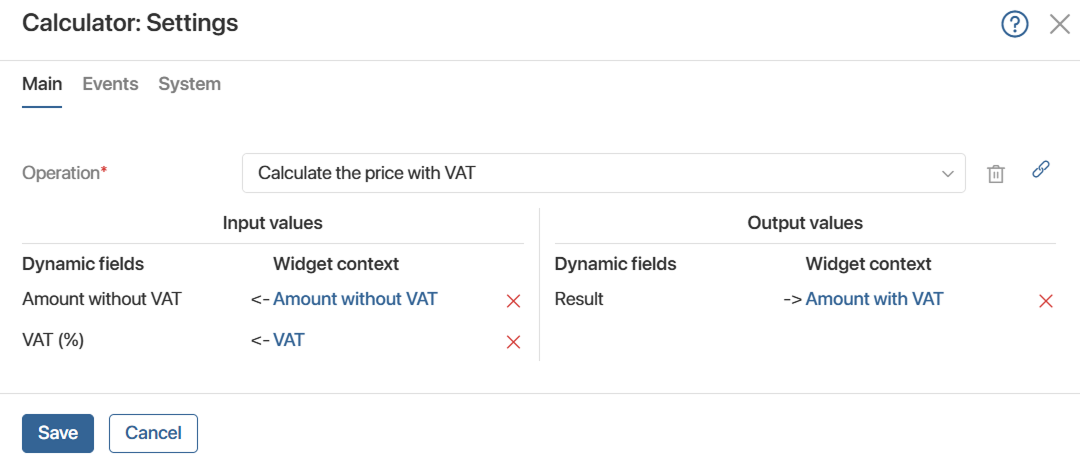
- Repeat the steps above to configure another operation by placing the Calculator widget in the page template again. The widget settings window then shows a different set of input and output parameters for the selected operation, retrieved from the server.
- Publish the changes in the page builder.
Now users can use the widgets to perform accounting operations on the page.